I had been looking to pay a visit to The Harvester Club since my first RGV Tour in 2018. Weather prevented my first visit and I missed another opportunity during my second RGV Tour in 2023. However, my third attempt to make it to The Harvester Club was a charm.
Since its creation in 2000, the Keith Foster design has been open to the public. It graced many Top 100 public lists and was largely regarded as one of the finest golf courses in Iowa. In 2018, Keith Foster came back for a renovation that would turn the course private and elevate its status even further. Trees were cleared that opened up the prairie terrain. Fairways were widened and reshaped. Modern bunkers were replaced with flat bottom bunkers resembling golden age architecture. The results have been well received and it was a joy to experience the course during my visit in 2026.
Hole #1 - Windmill - Par 4 - 421 yards
Like many golf courses, The Harvester opens up with a straight forward par 4. There is no shortage of contours as the fairway lines and bunkering do a great job of showing off what lies ahead. Two good shots and most players will be off and running with a hot par.
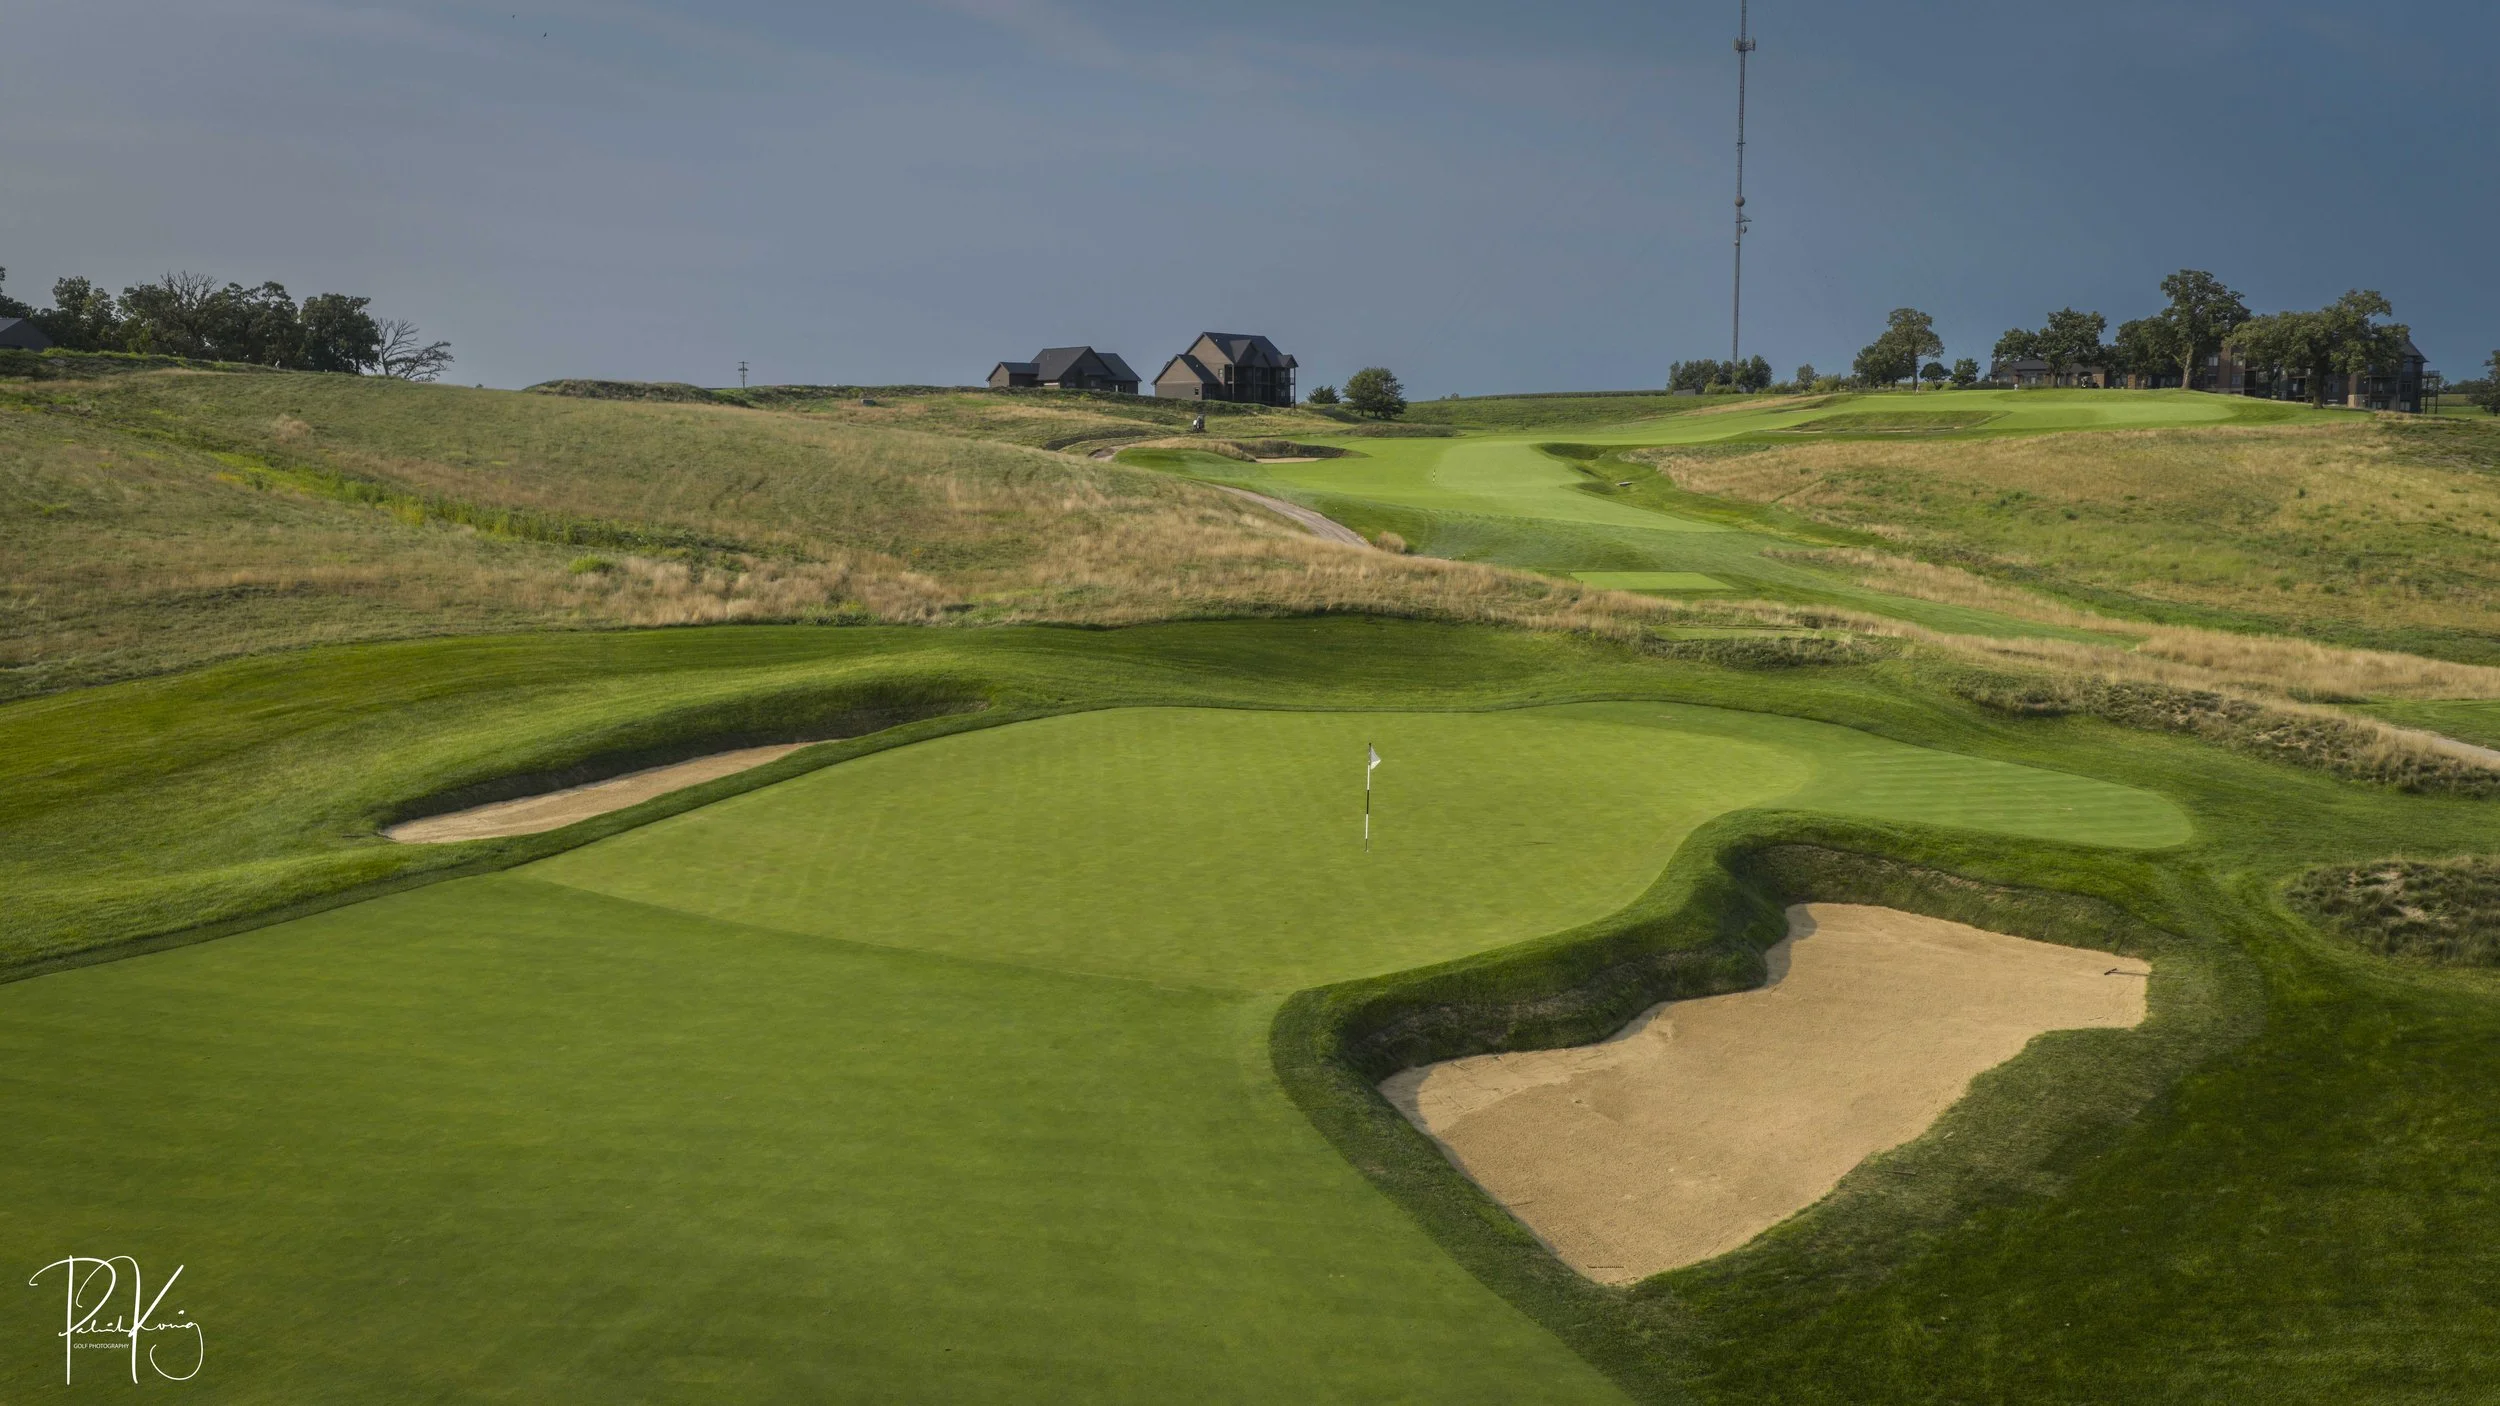
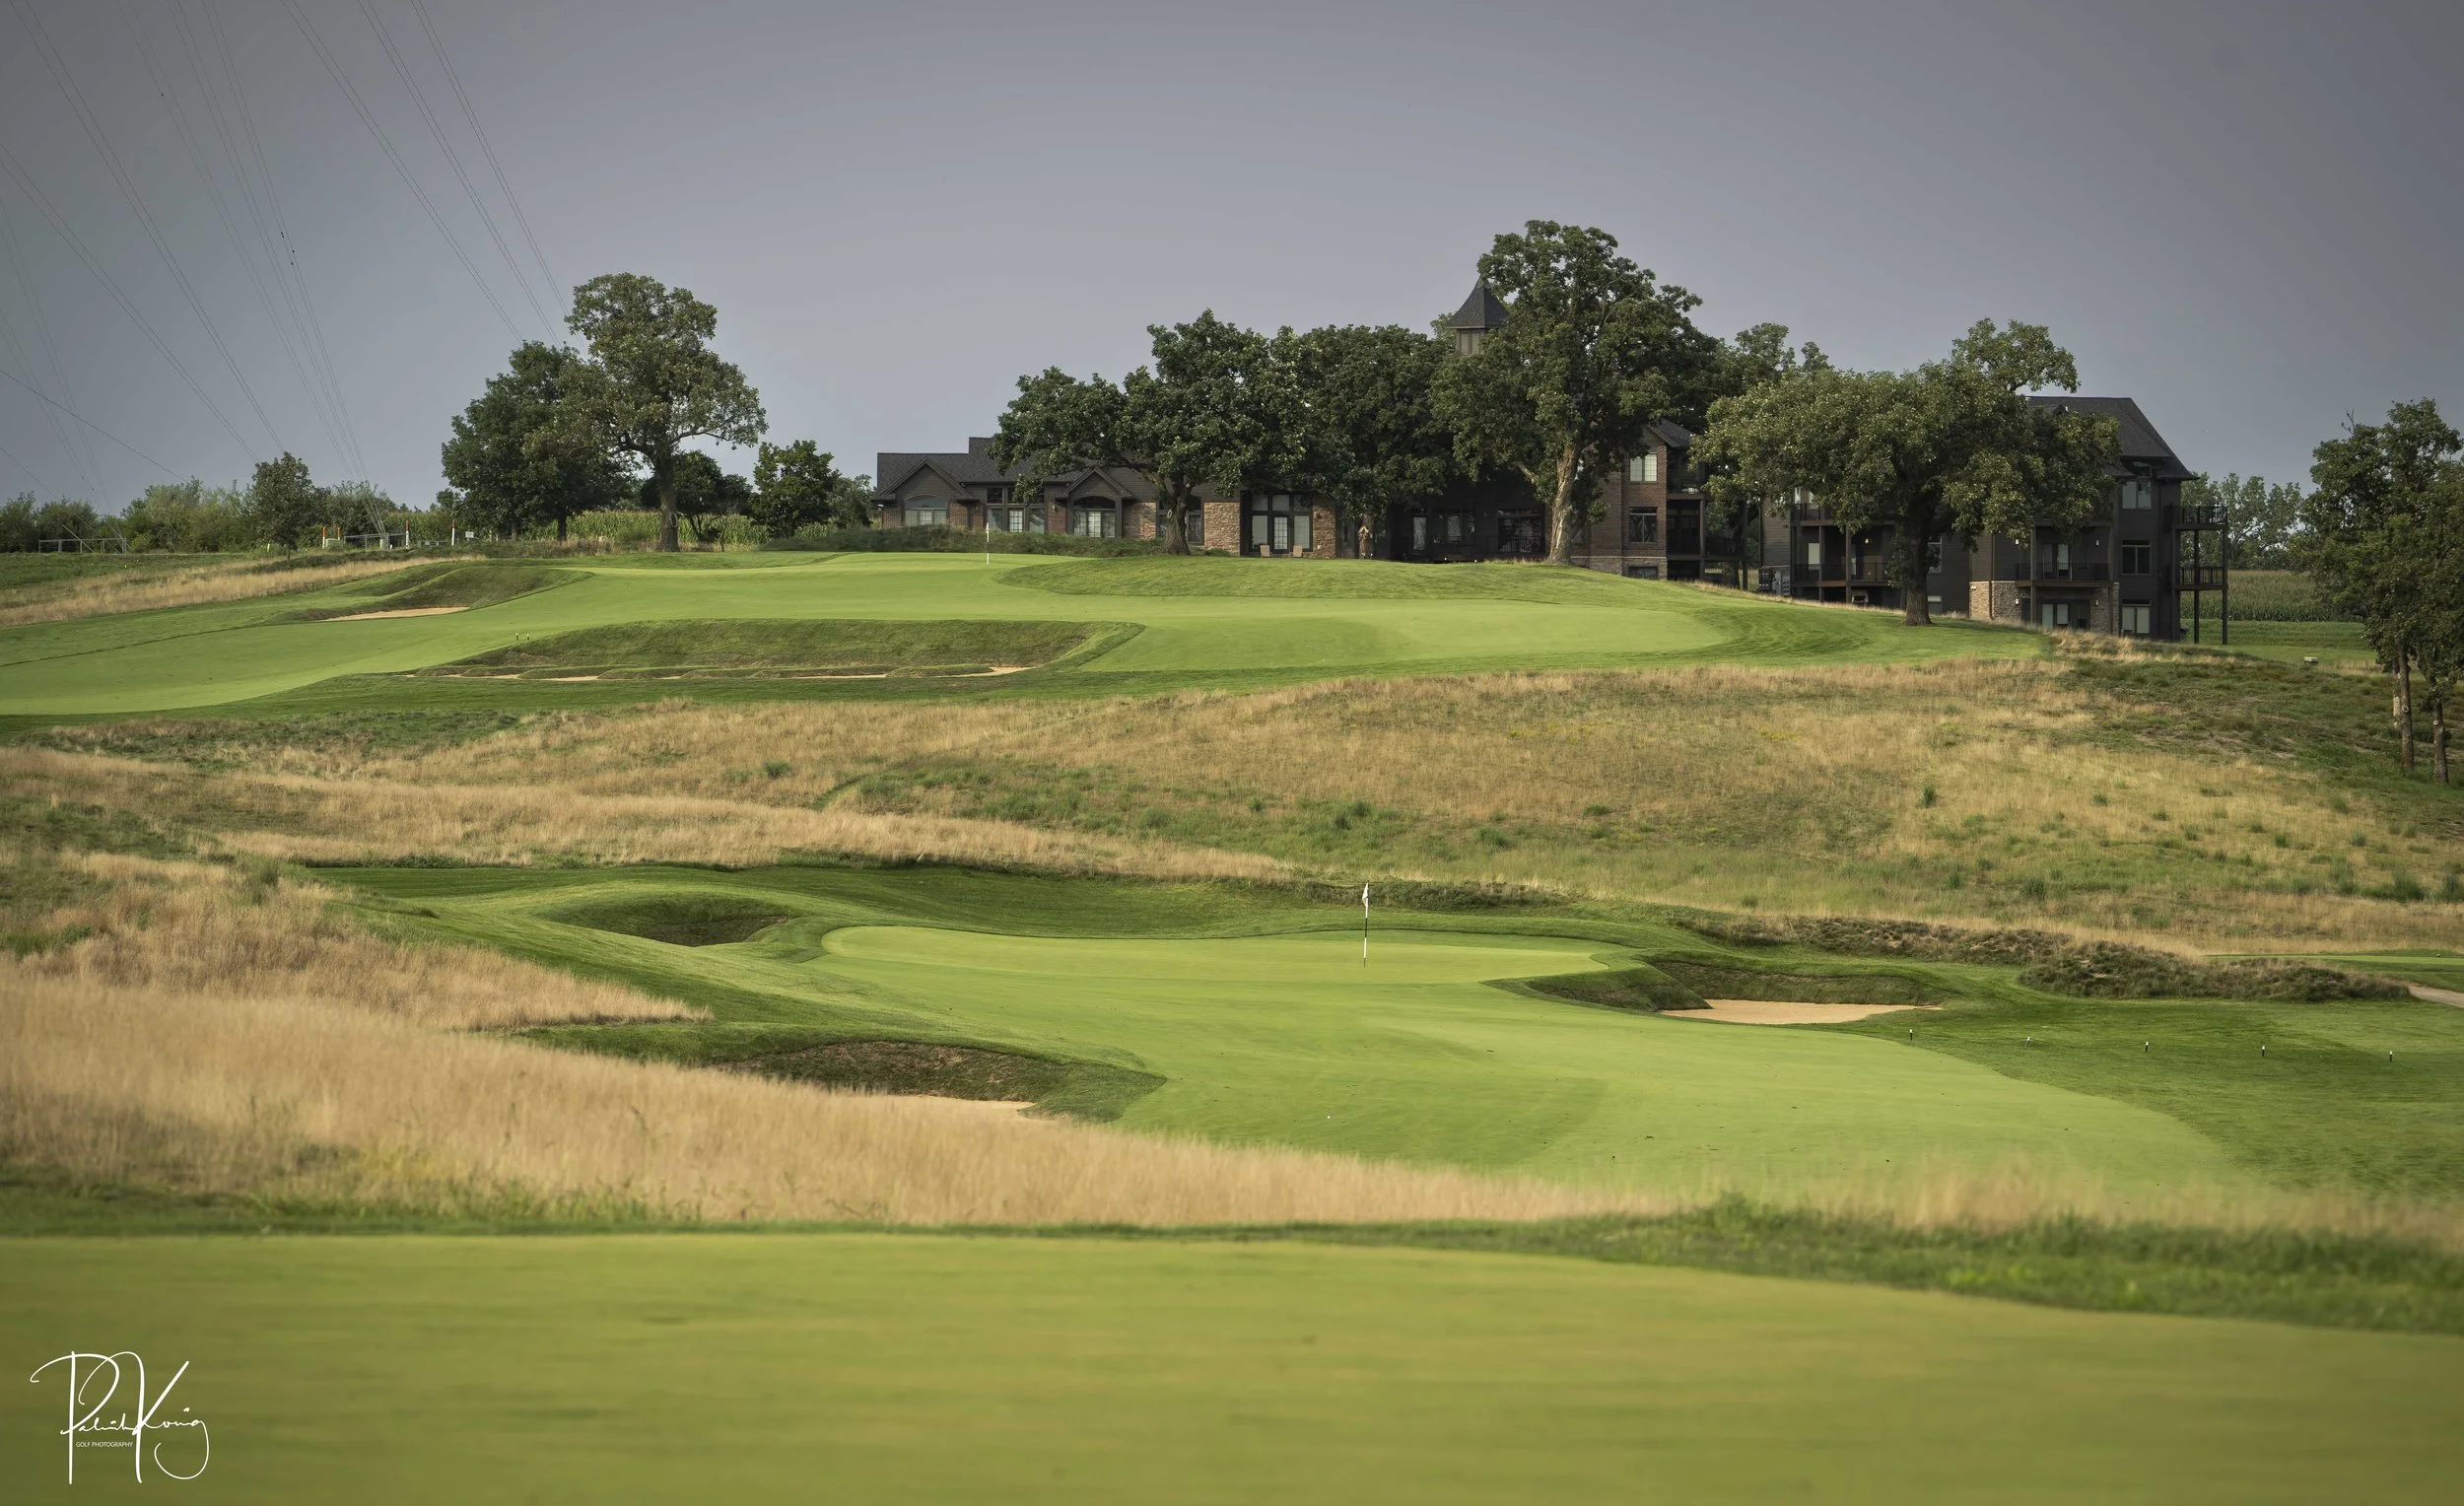
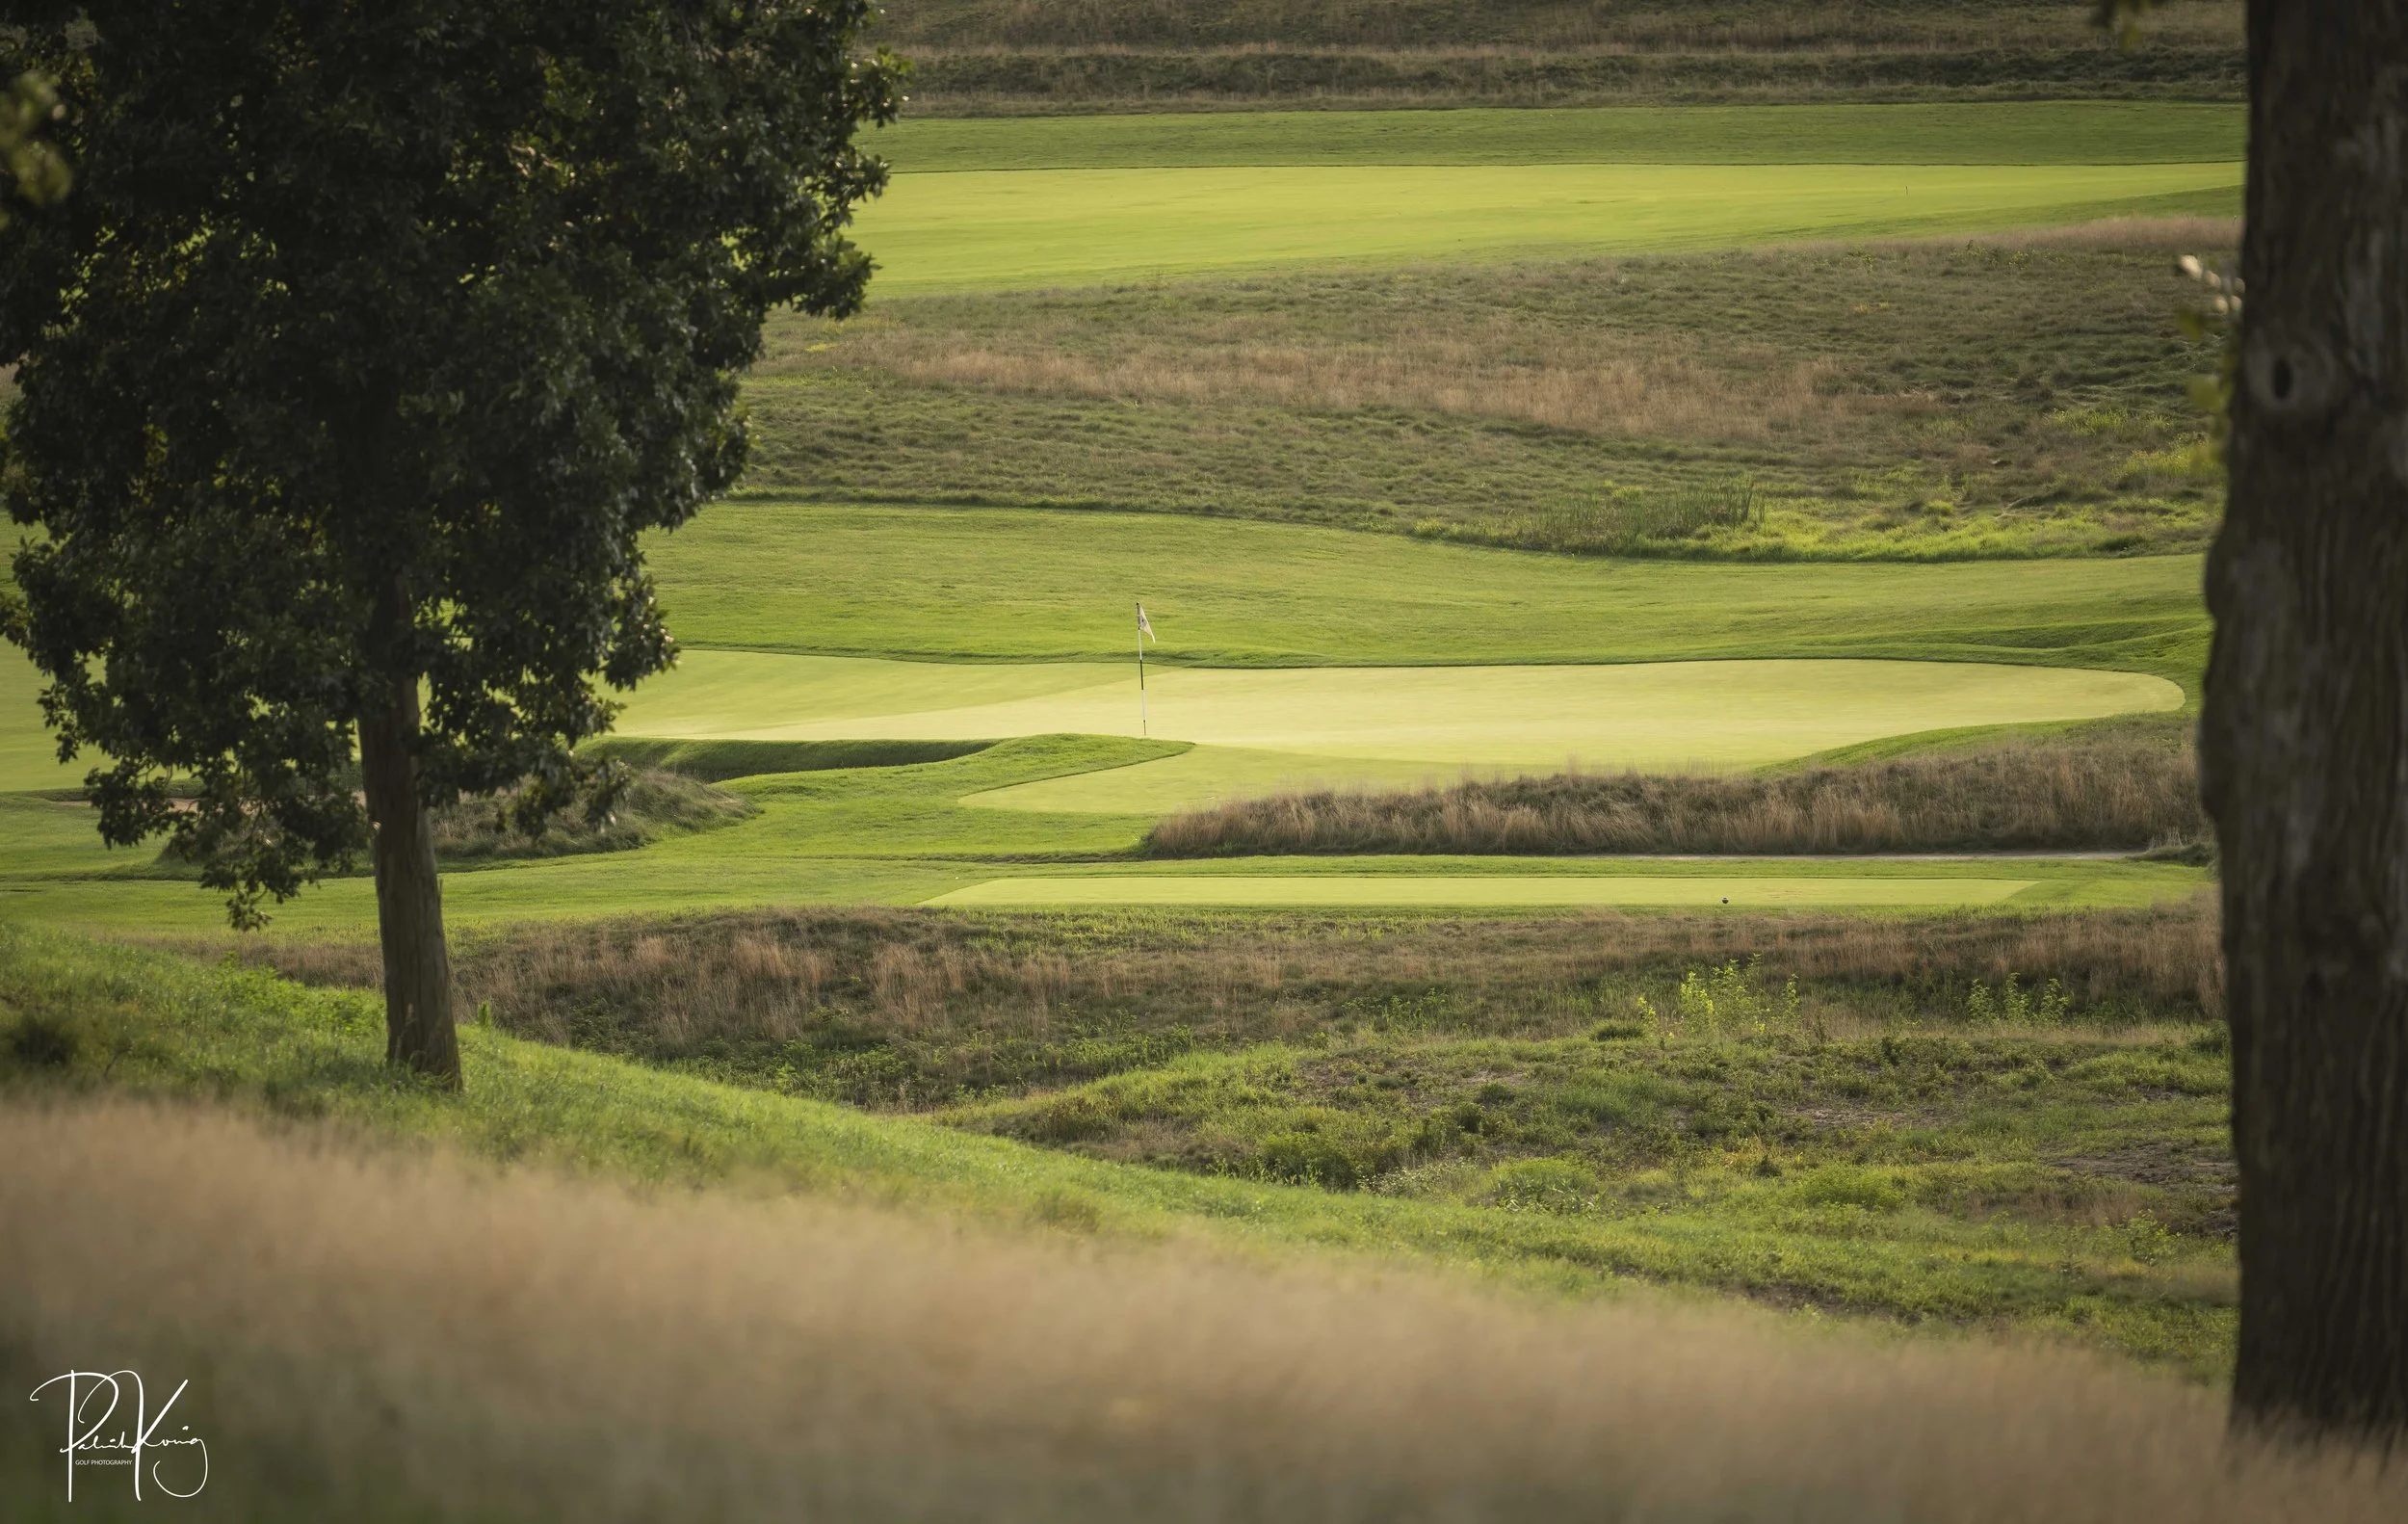
Hole #2 - Wright Way - Par 4 - 425 yards
The heat turns up quickly at Harvester with one of the marquee holes on the golf course. There are several options for play on the 2nd hole. A play out to the right side will challenge the bunkers but can leave a short approach into the green. A tee shot out to the left will leave a longer uphill approach to the green. It’s up to each golfer to decide what is the “wright way” for them. The church pew bunker adds a nice visual appeal to this unique hole.
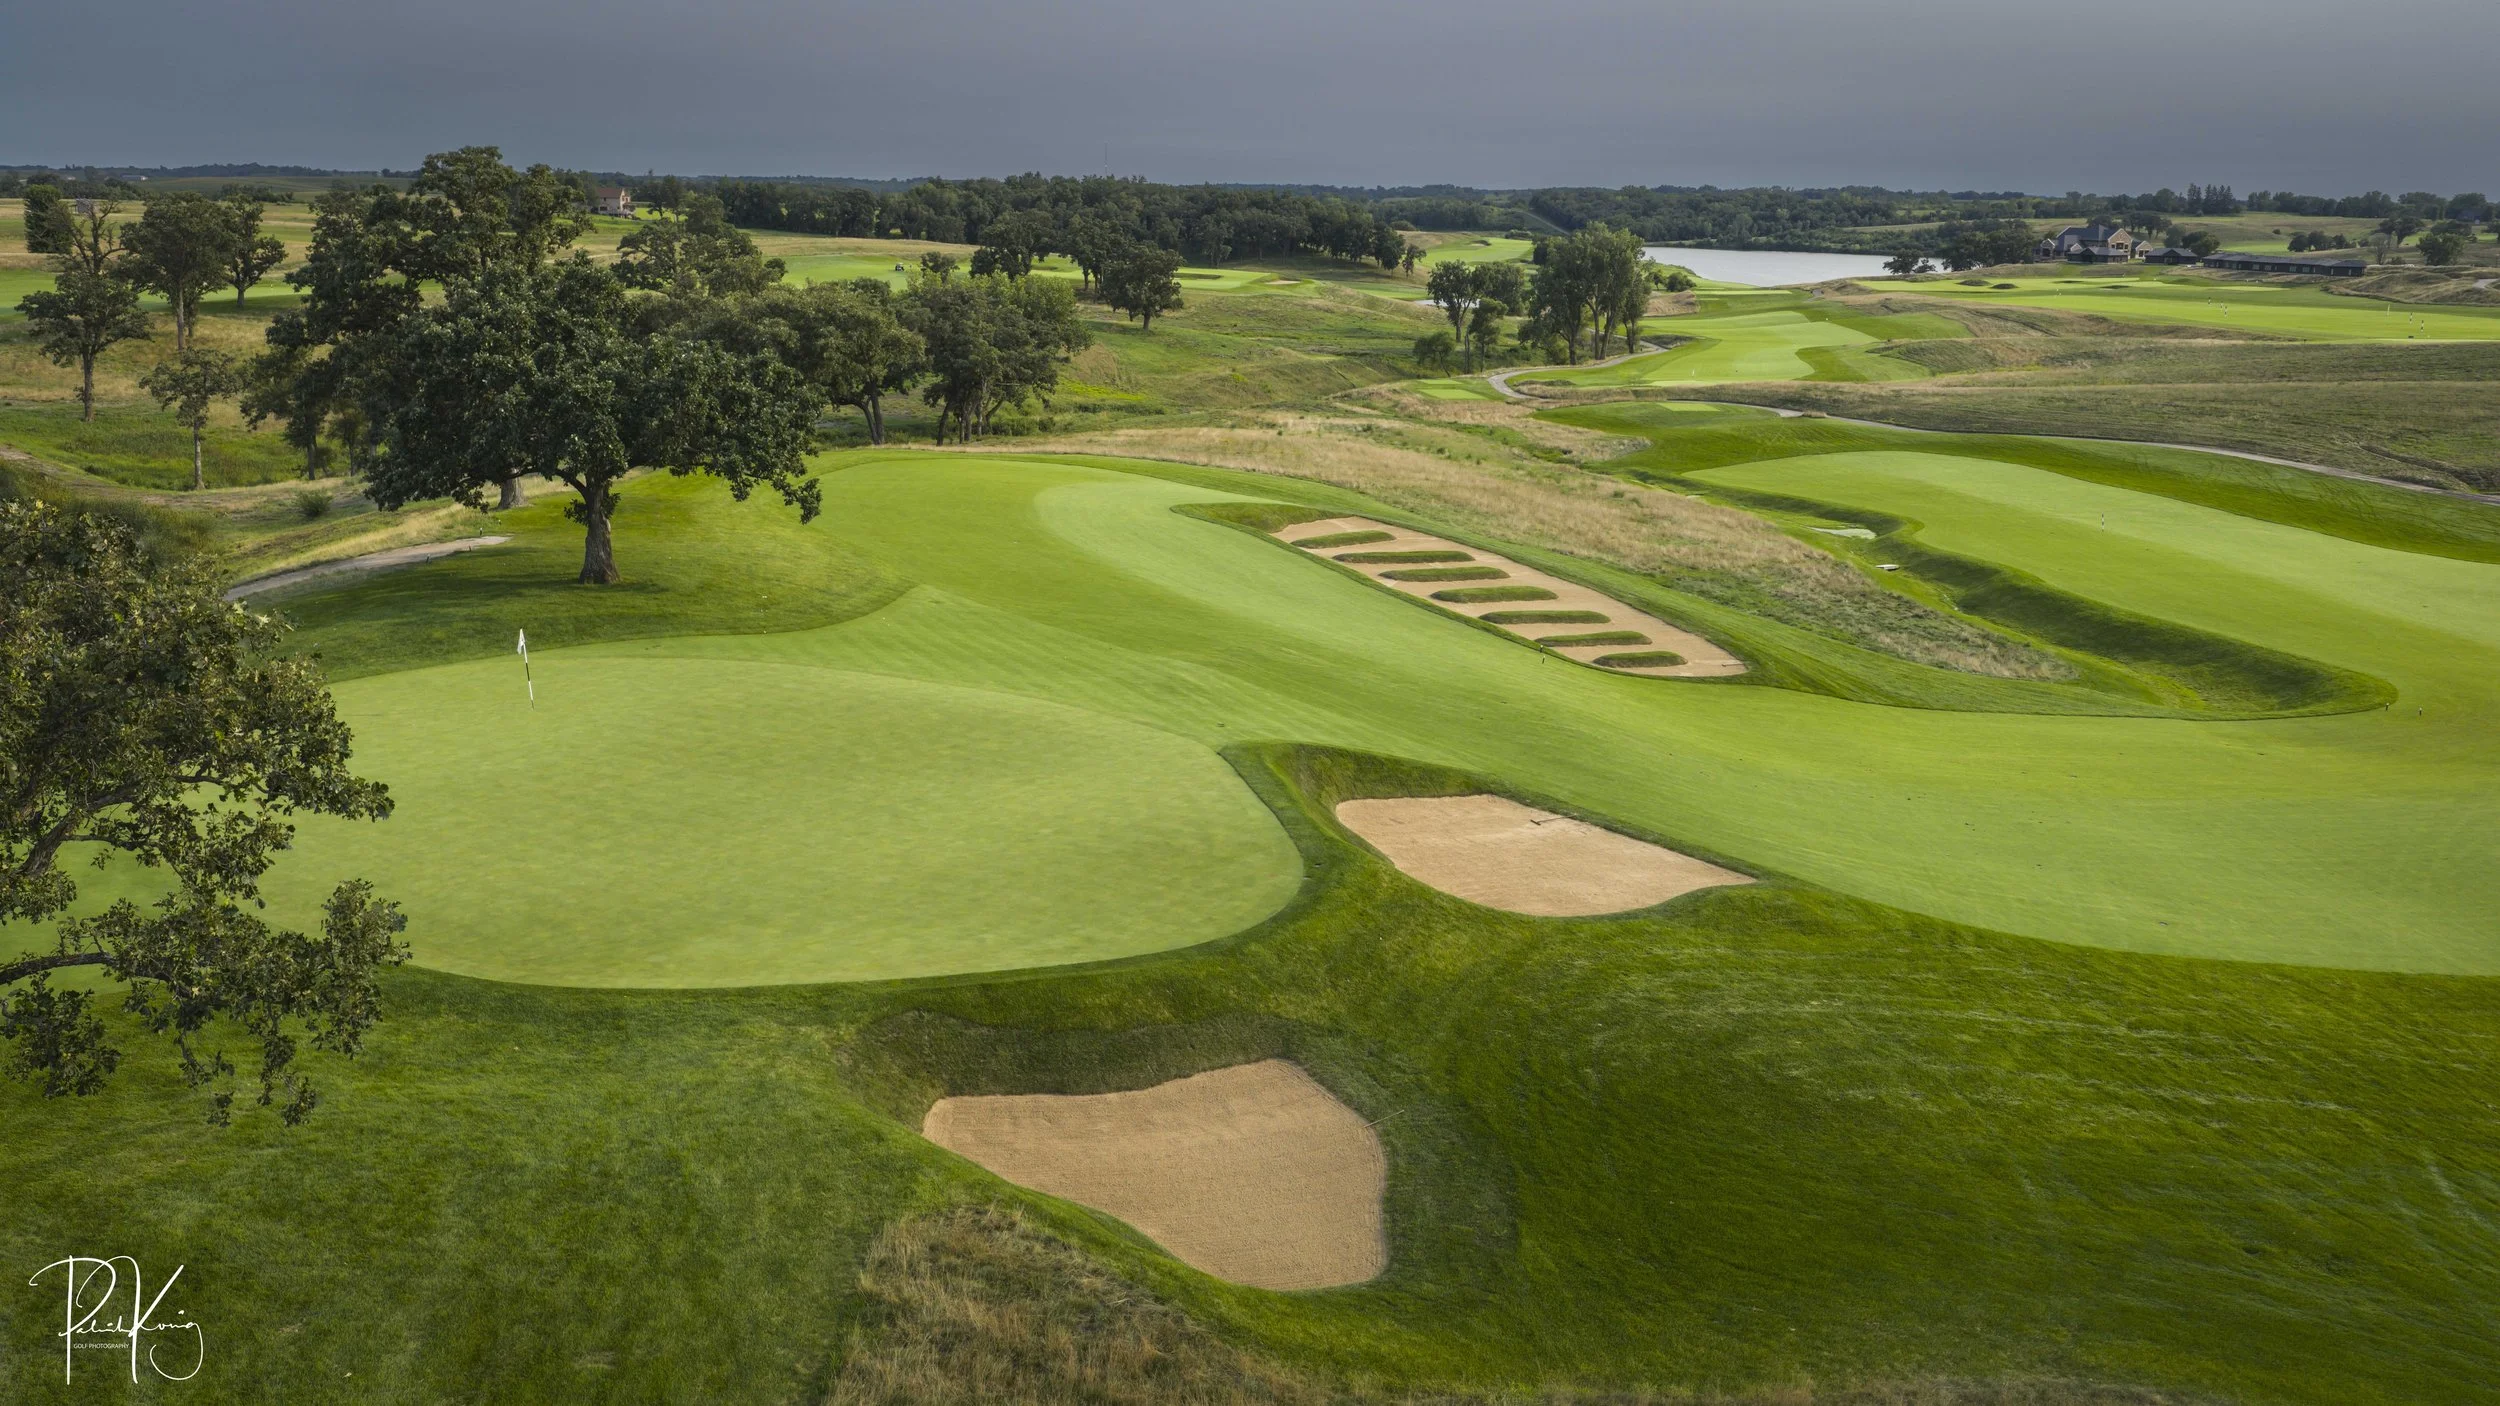
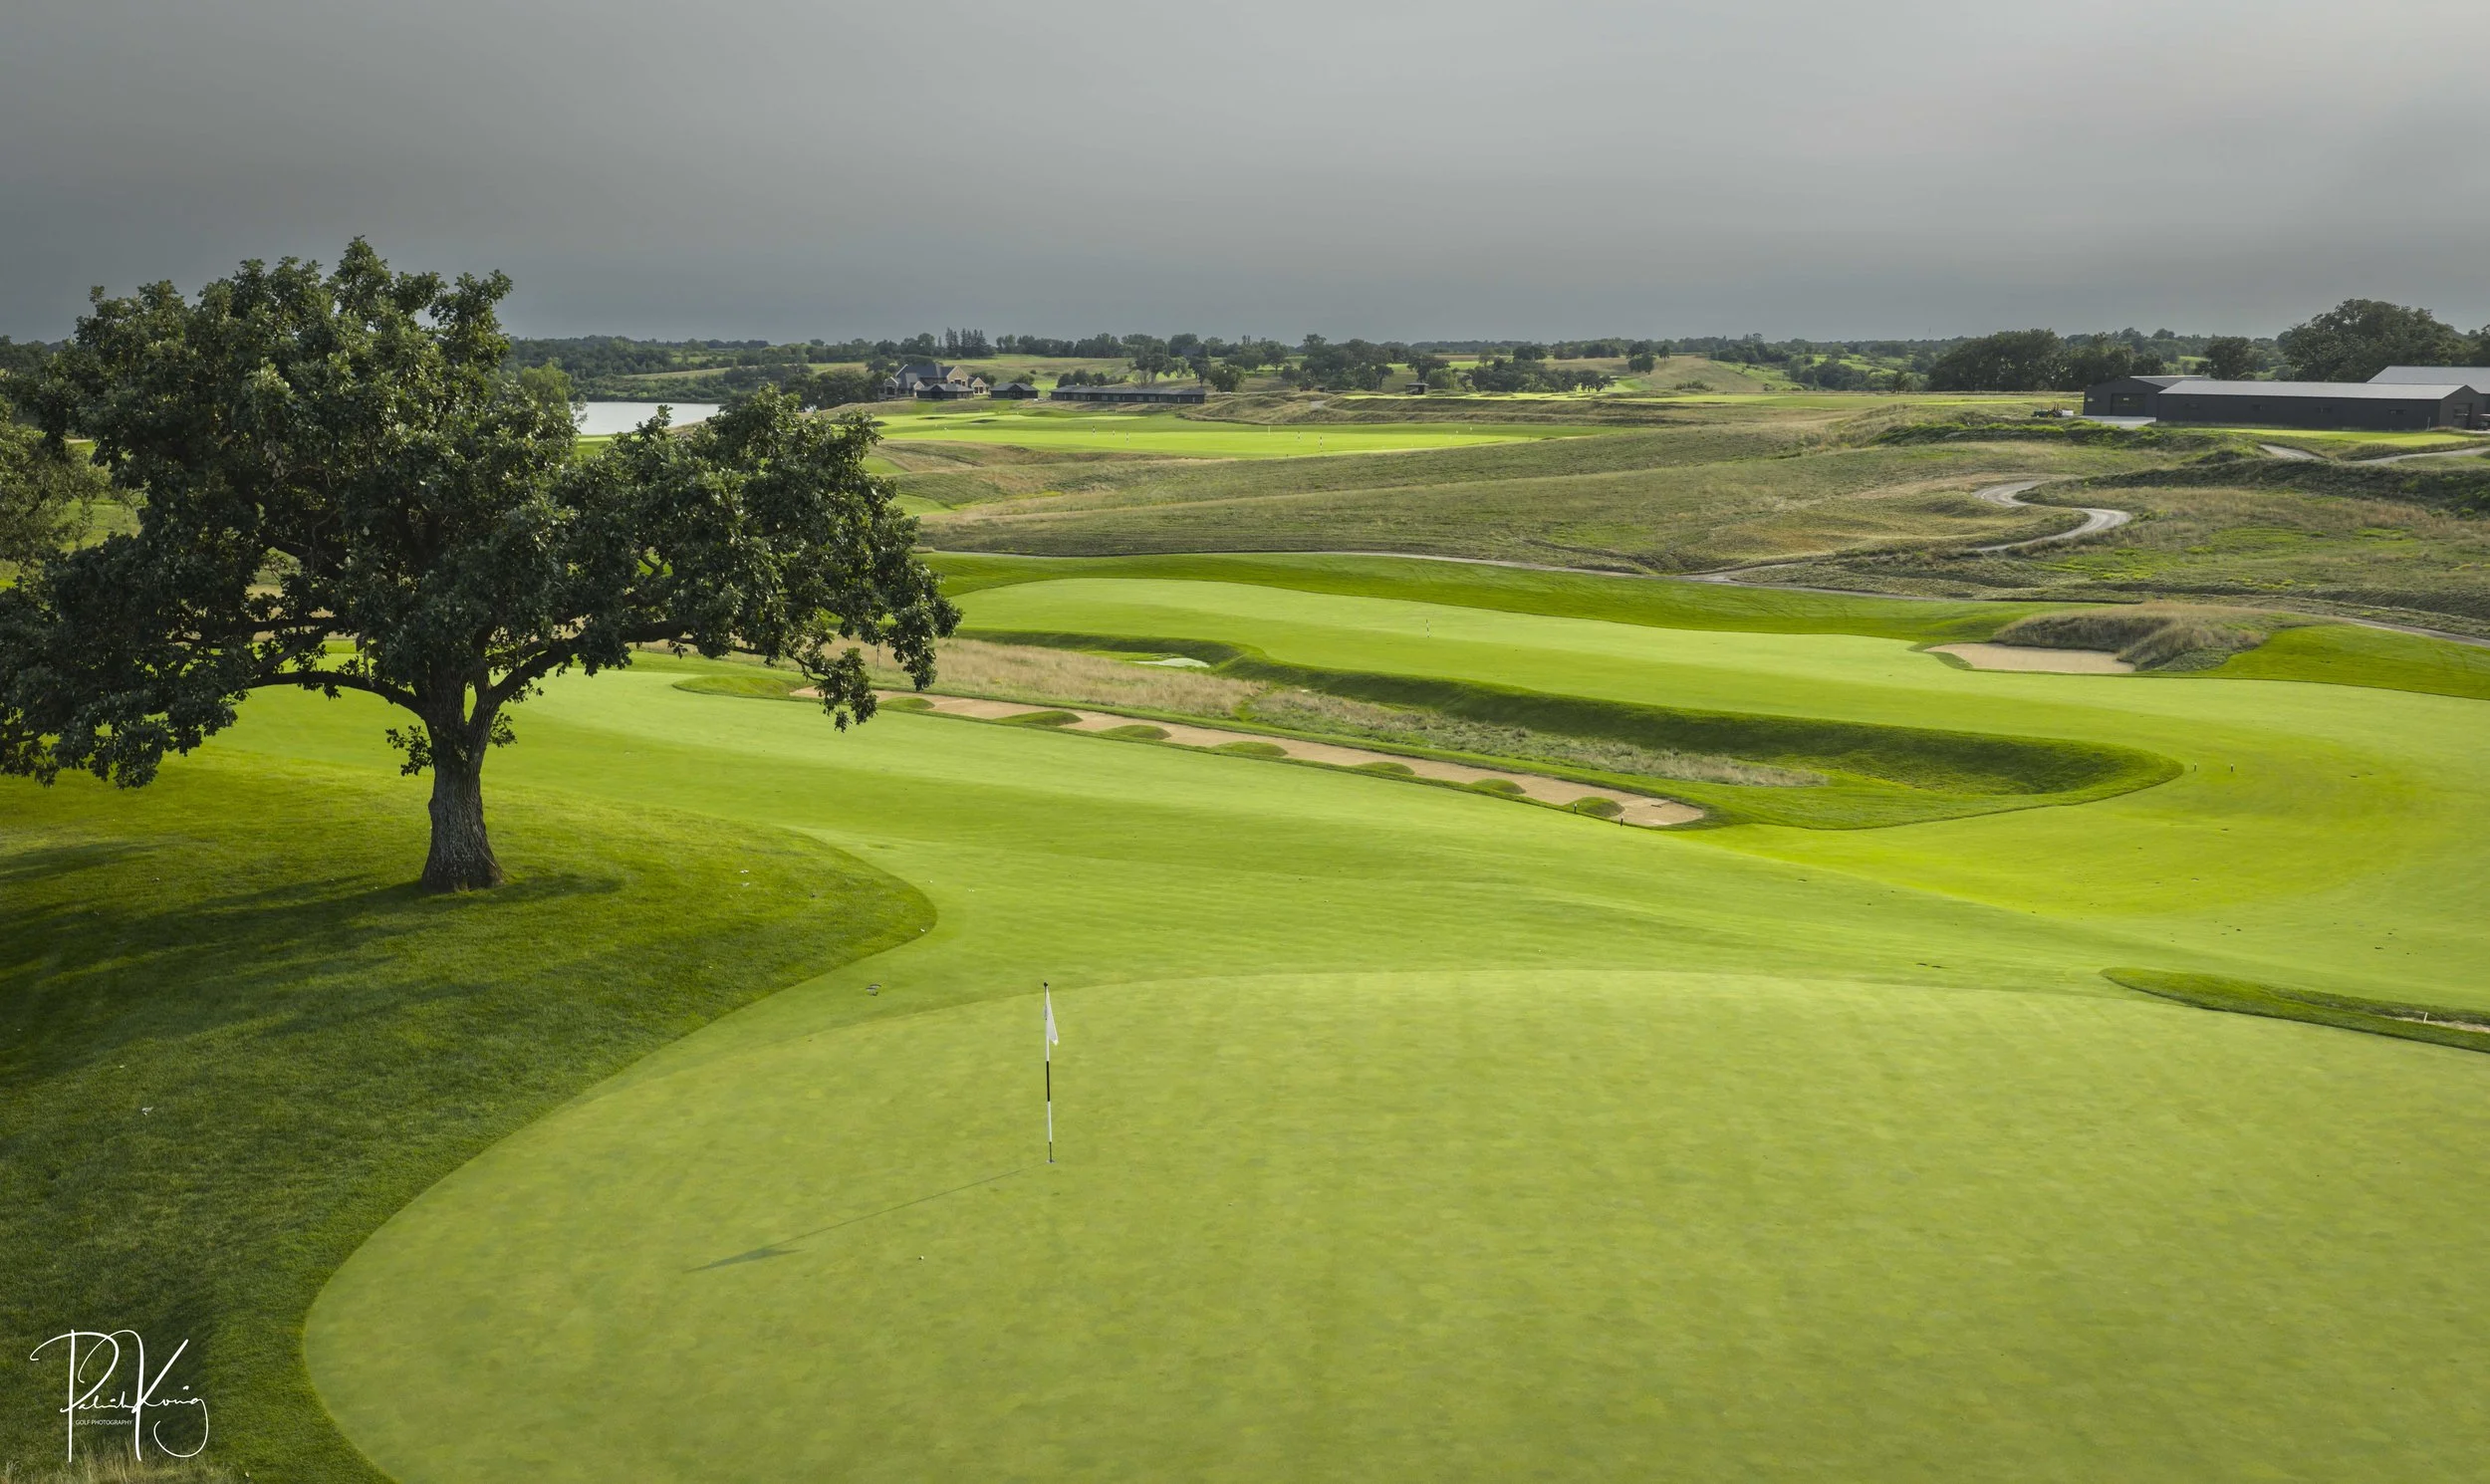
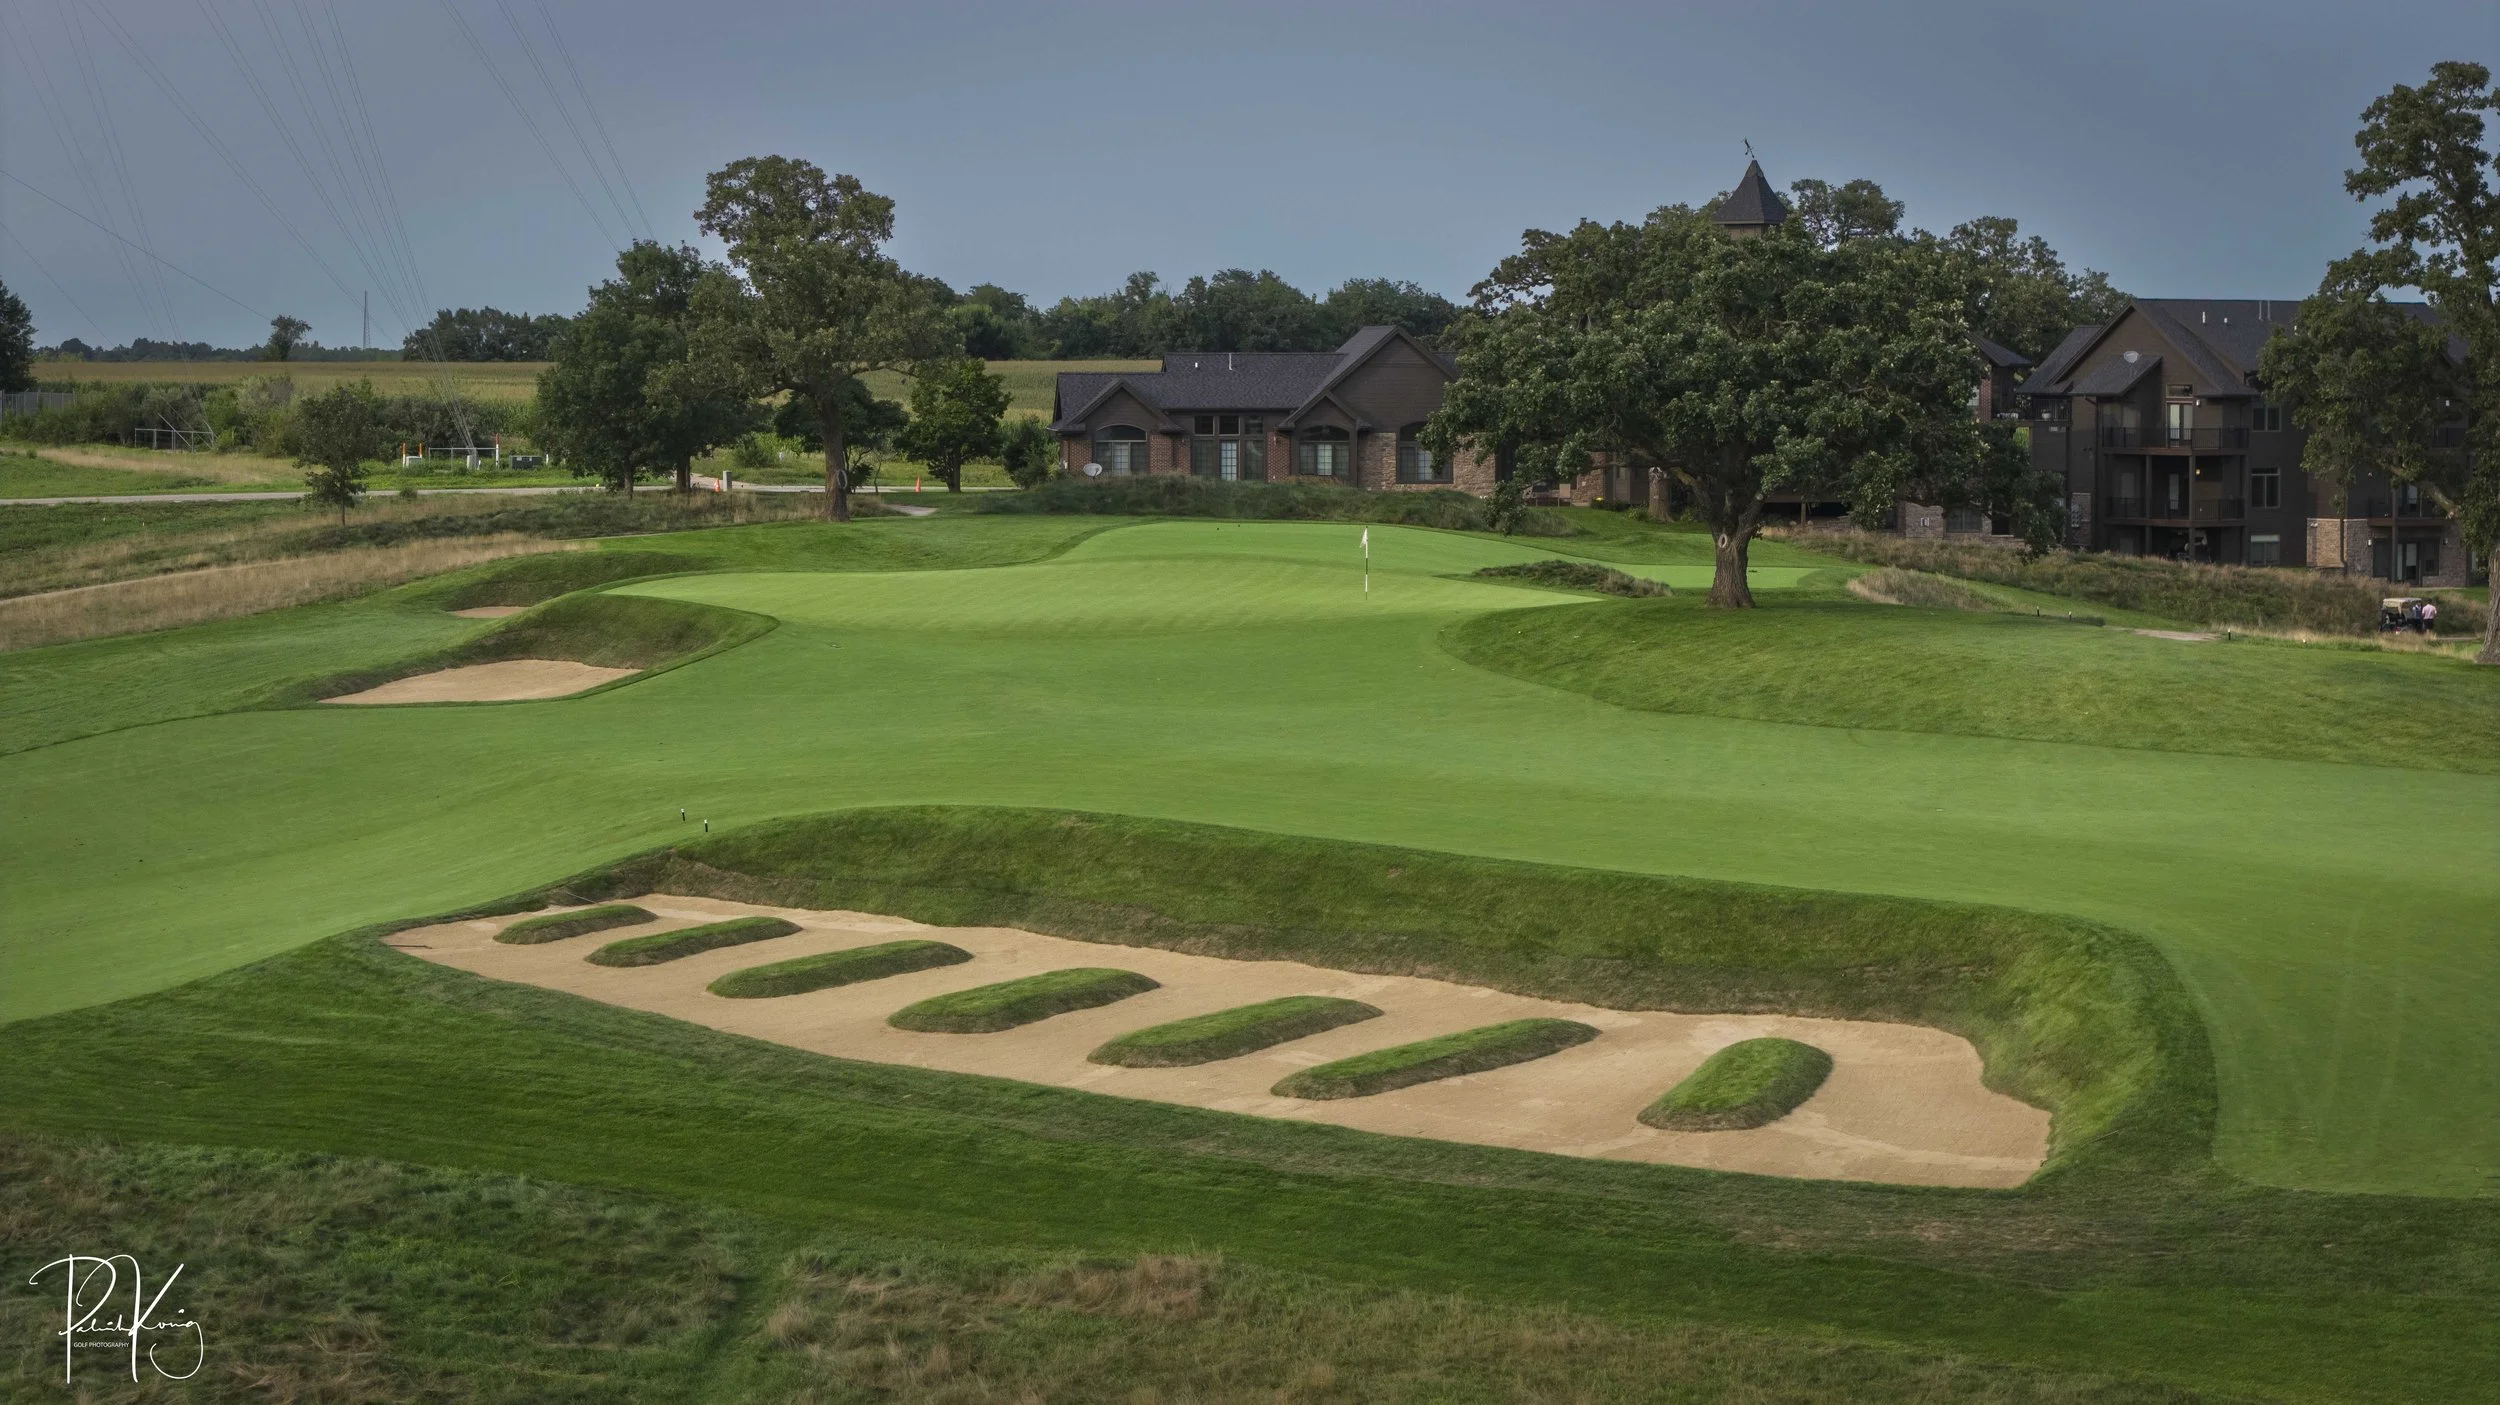
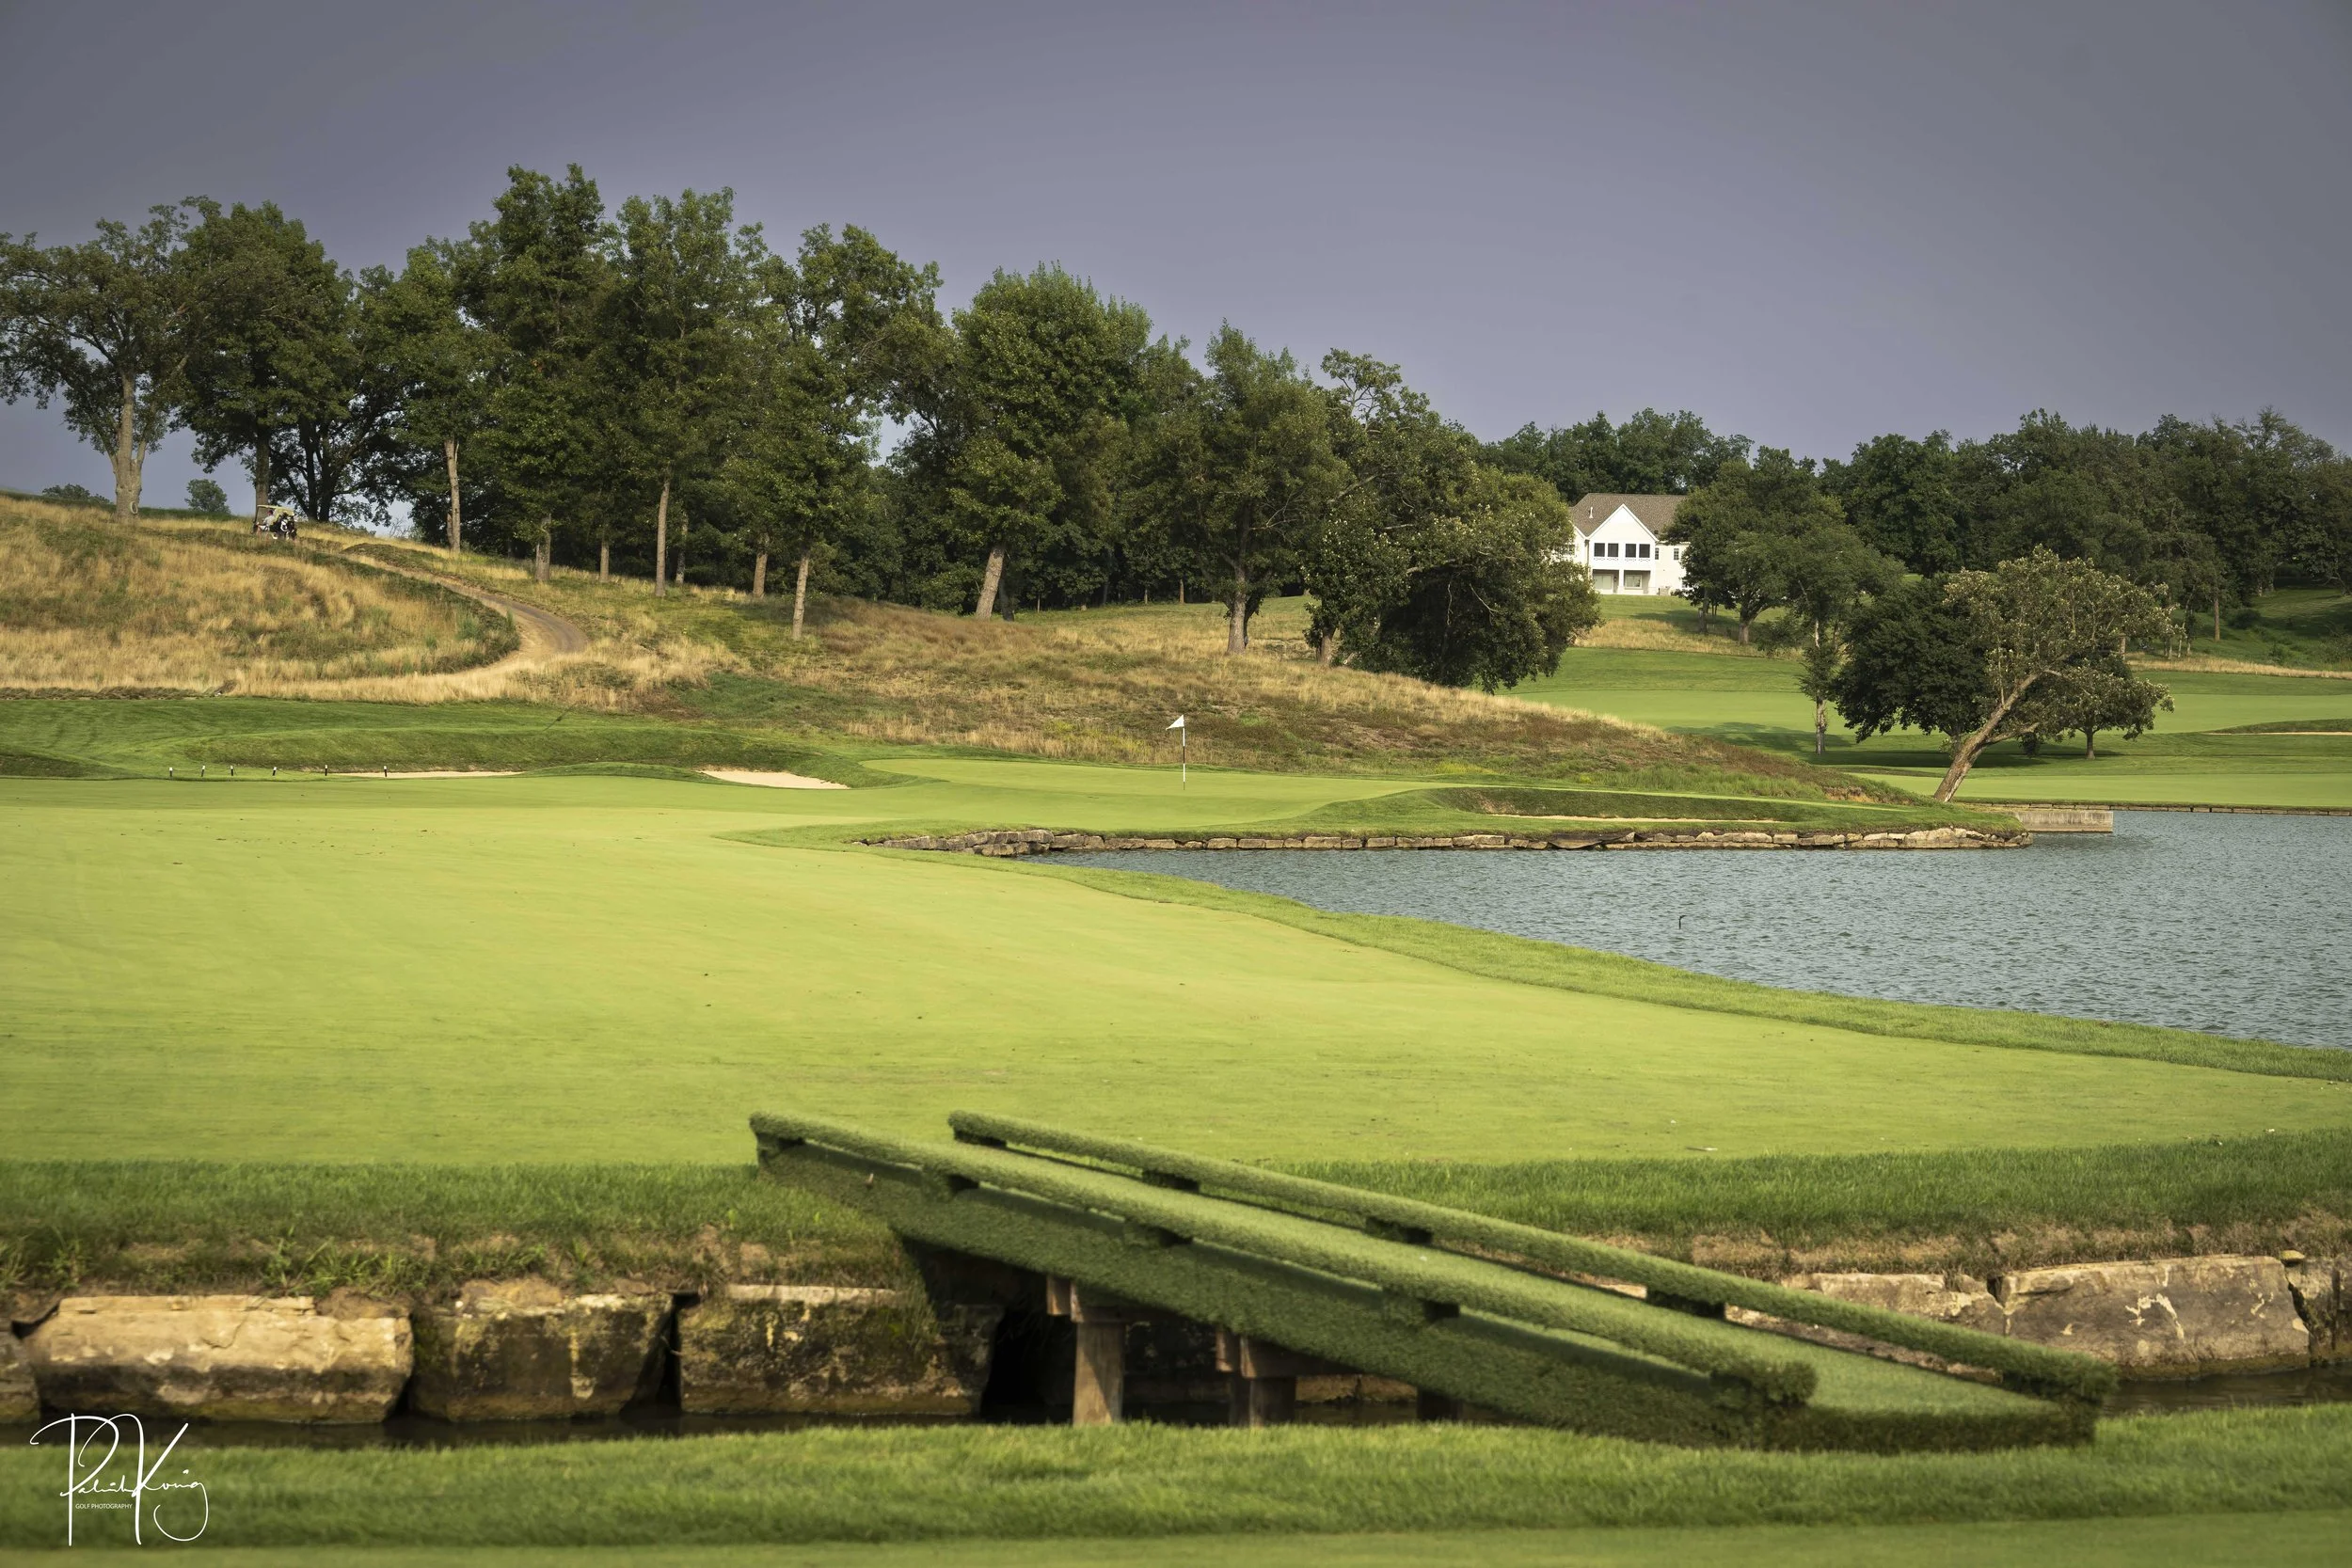
Hole #3 - Humble Crossing - Par 3 - 202 yards
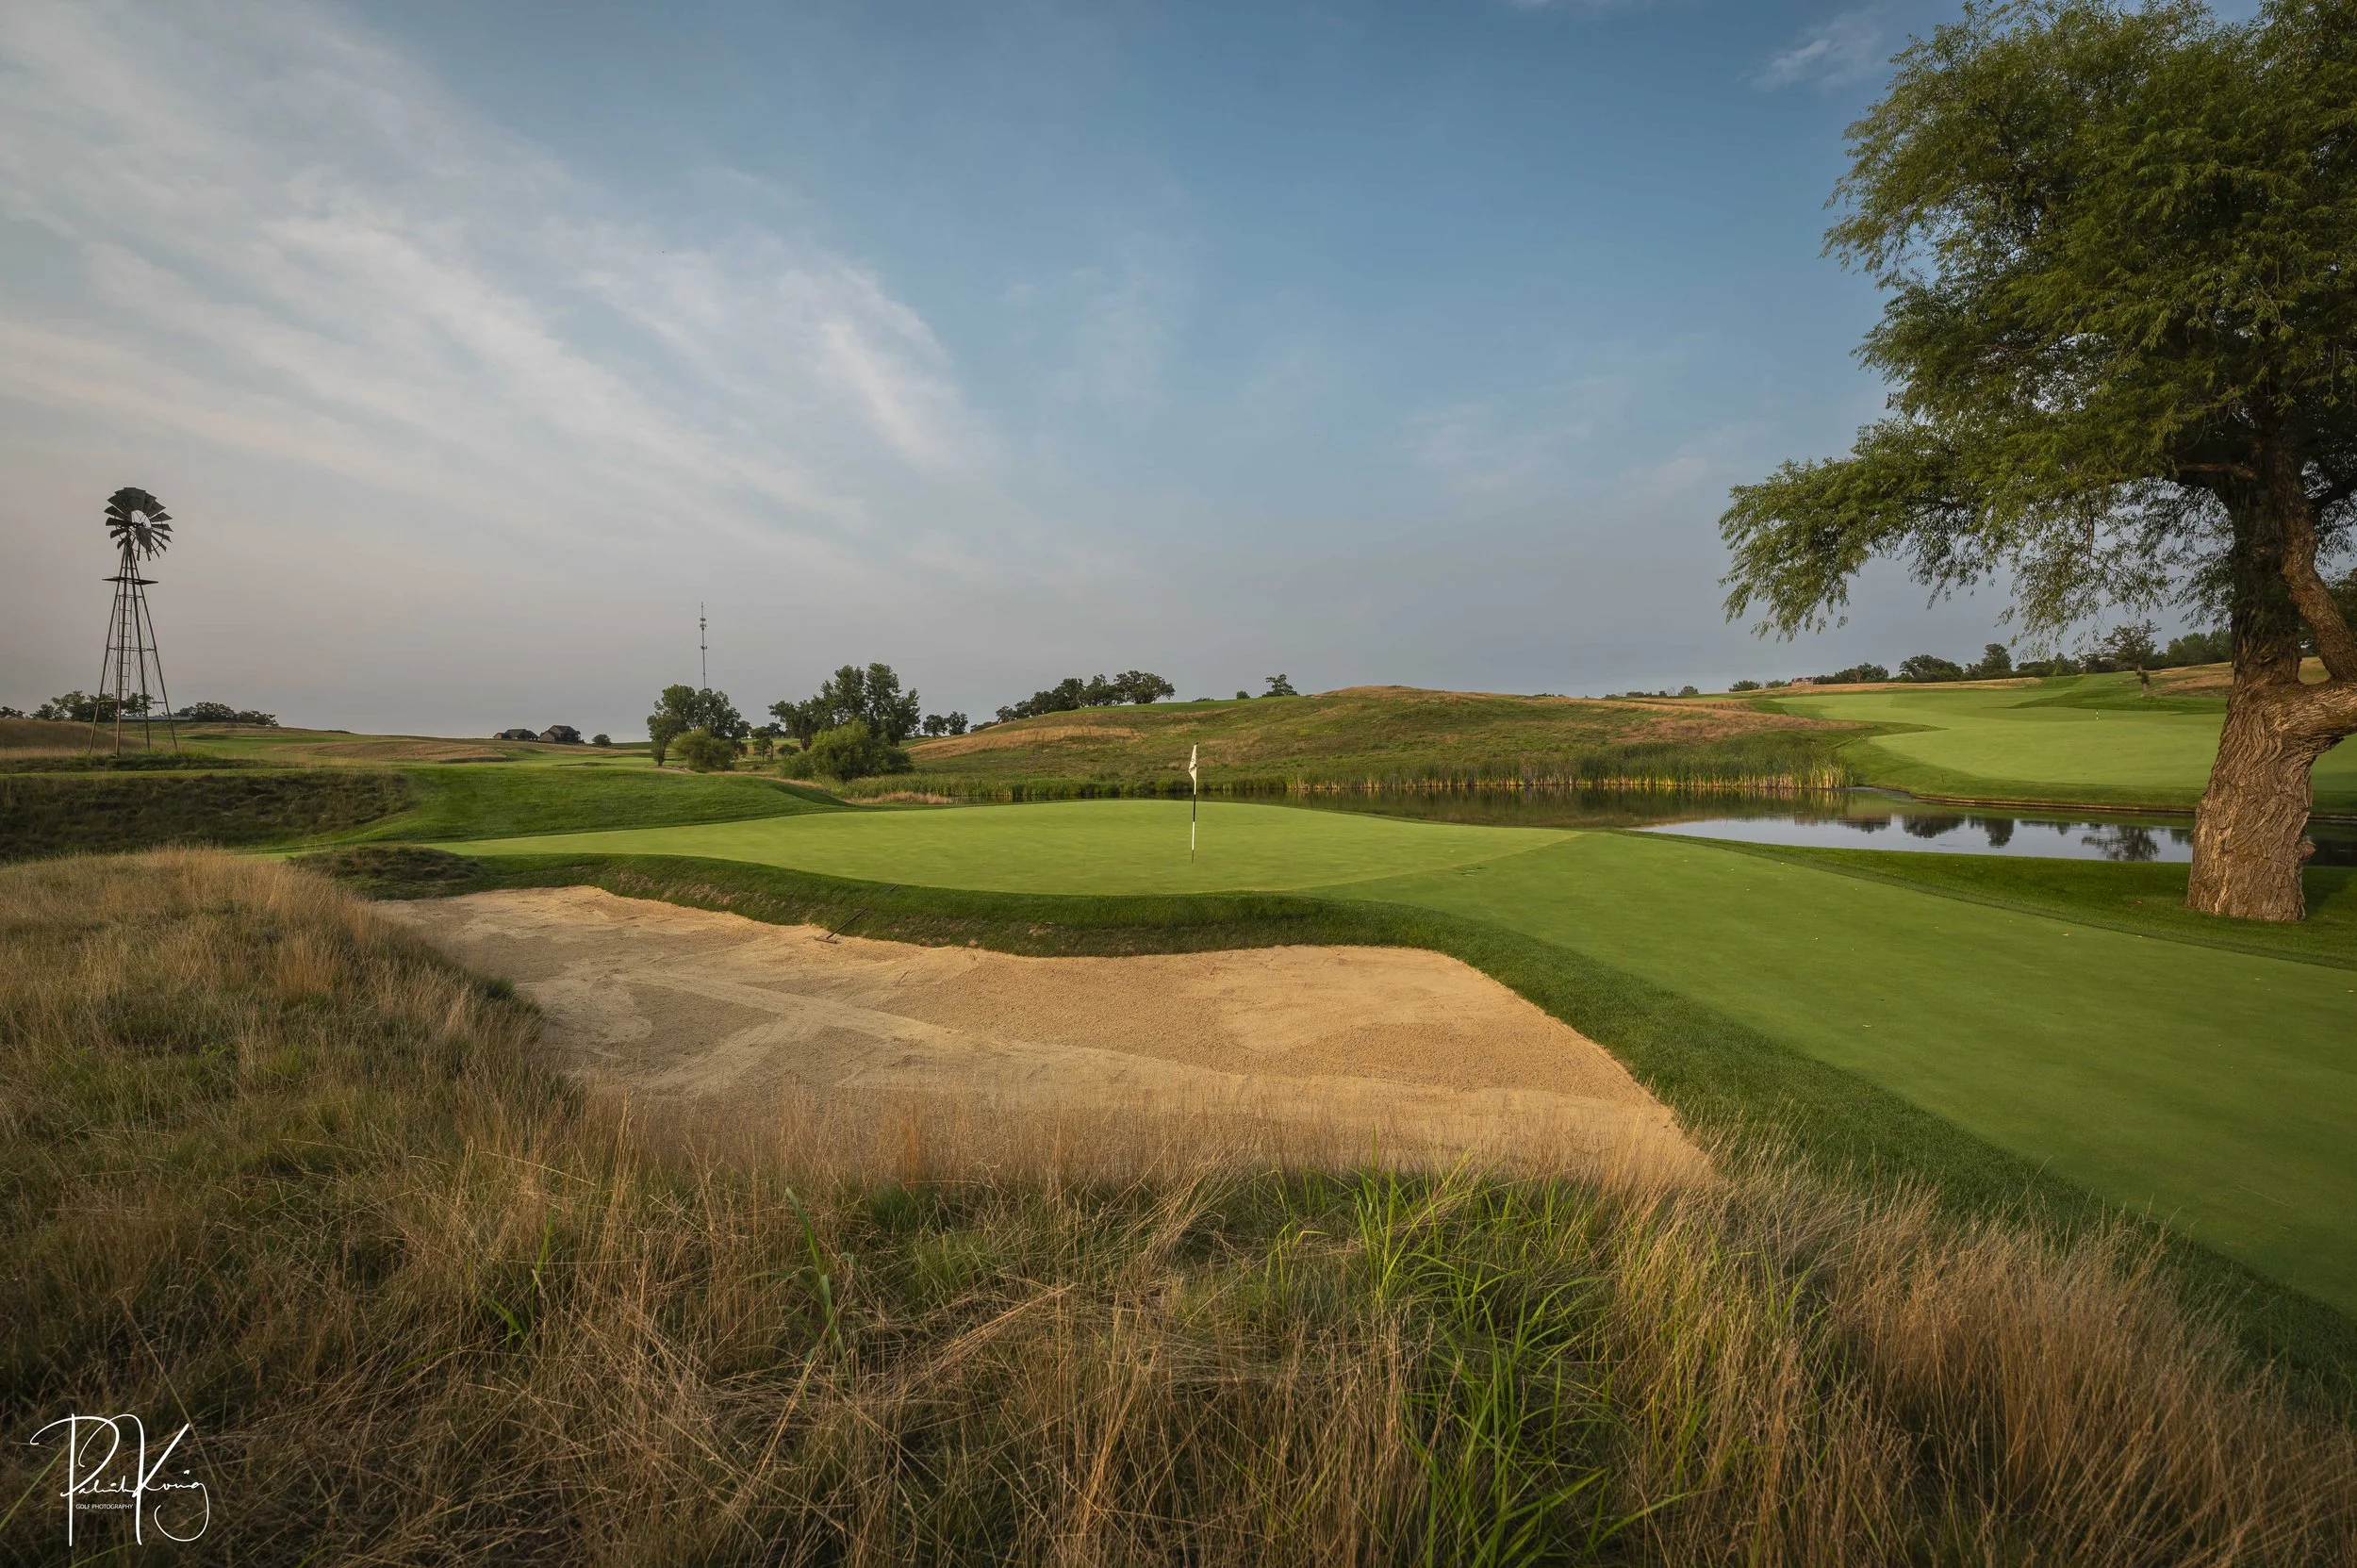
There was no humility involved when I made the crossing on the 3rd hole at Harvester. I loudly proclaimed that i was making an ace and proceeded to hit my slightly used Kirkland to 3 feet. A well placed bunker to the left of the green will gobble up those that shy away from the water.
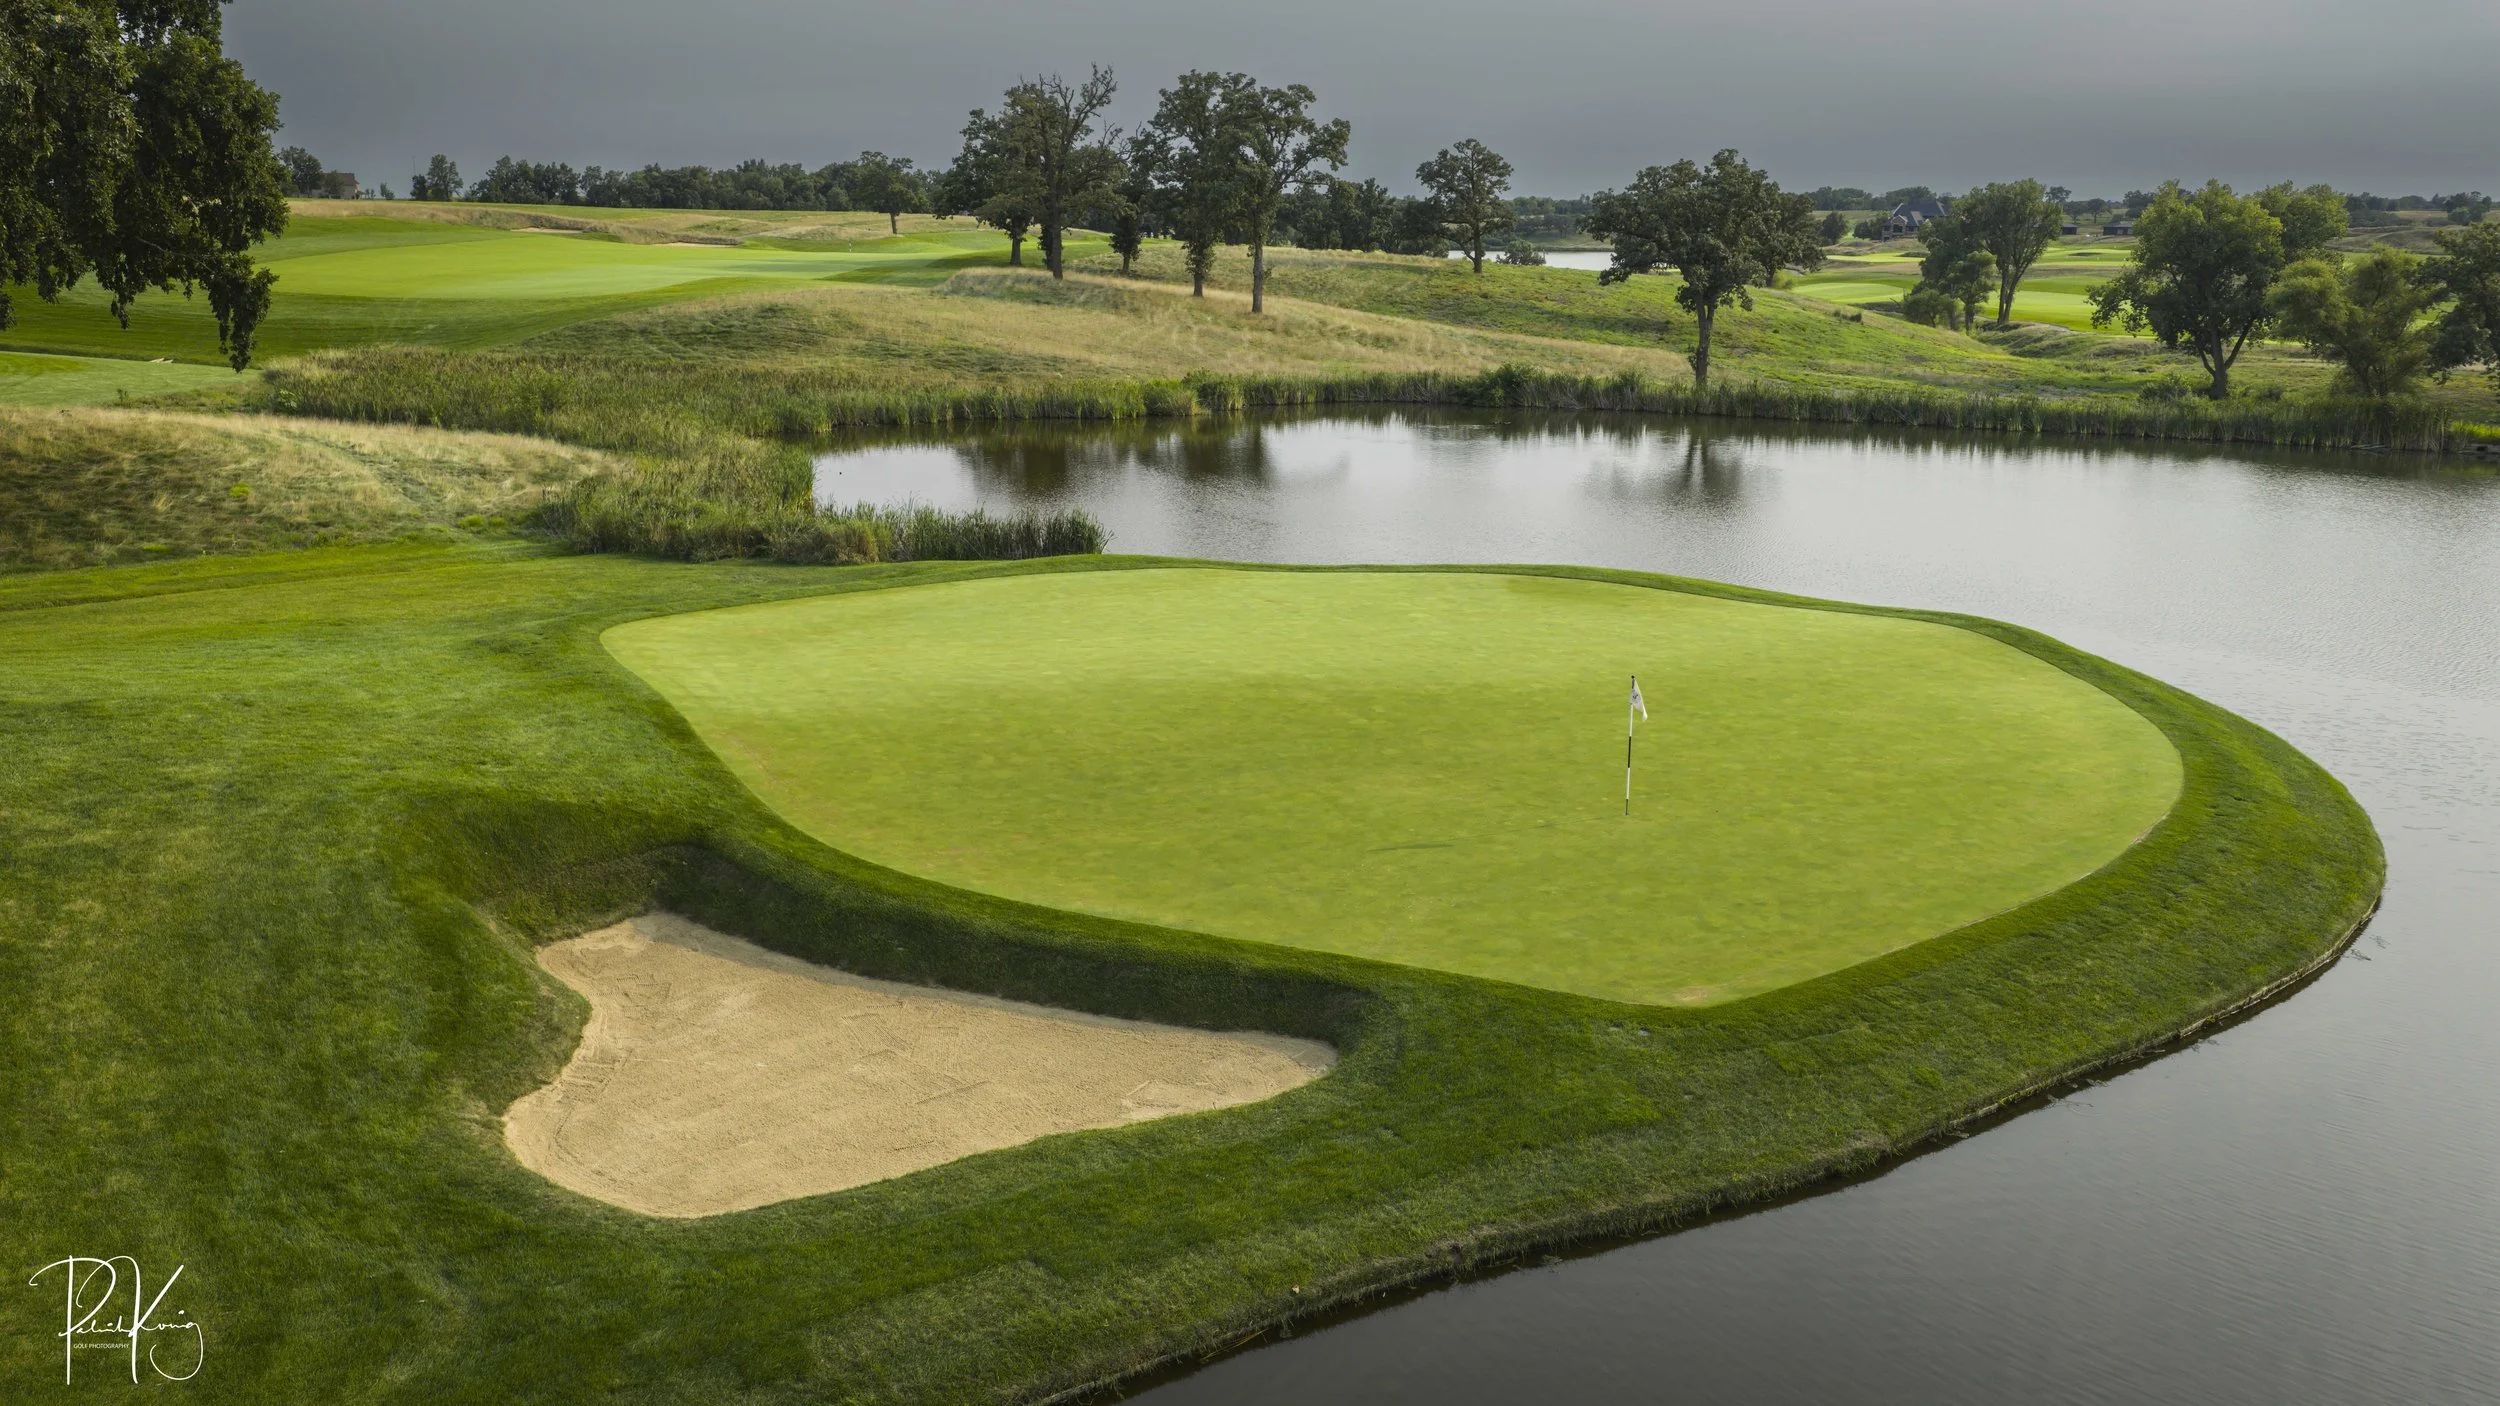
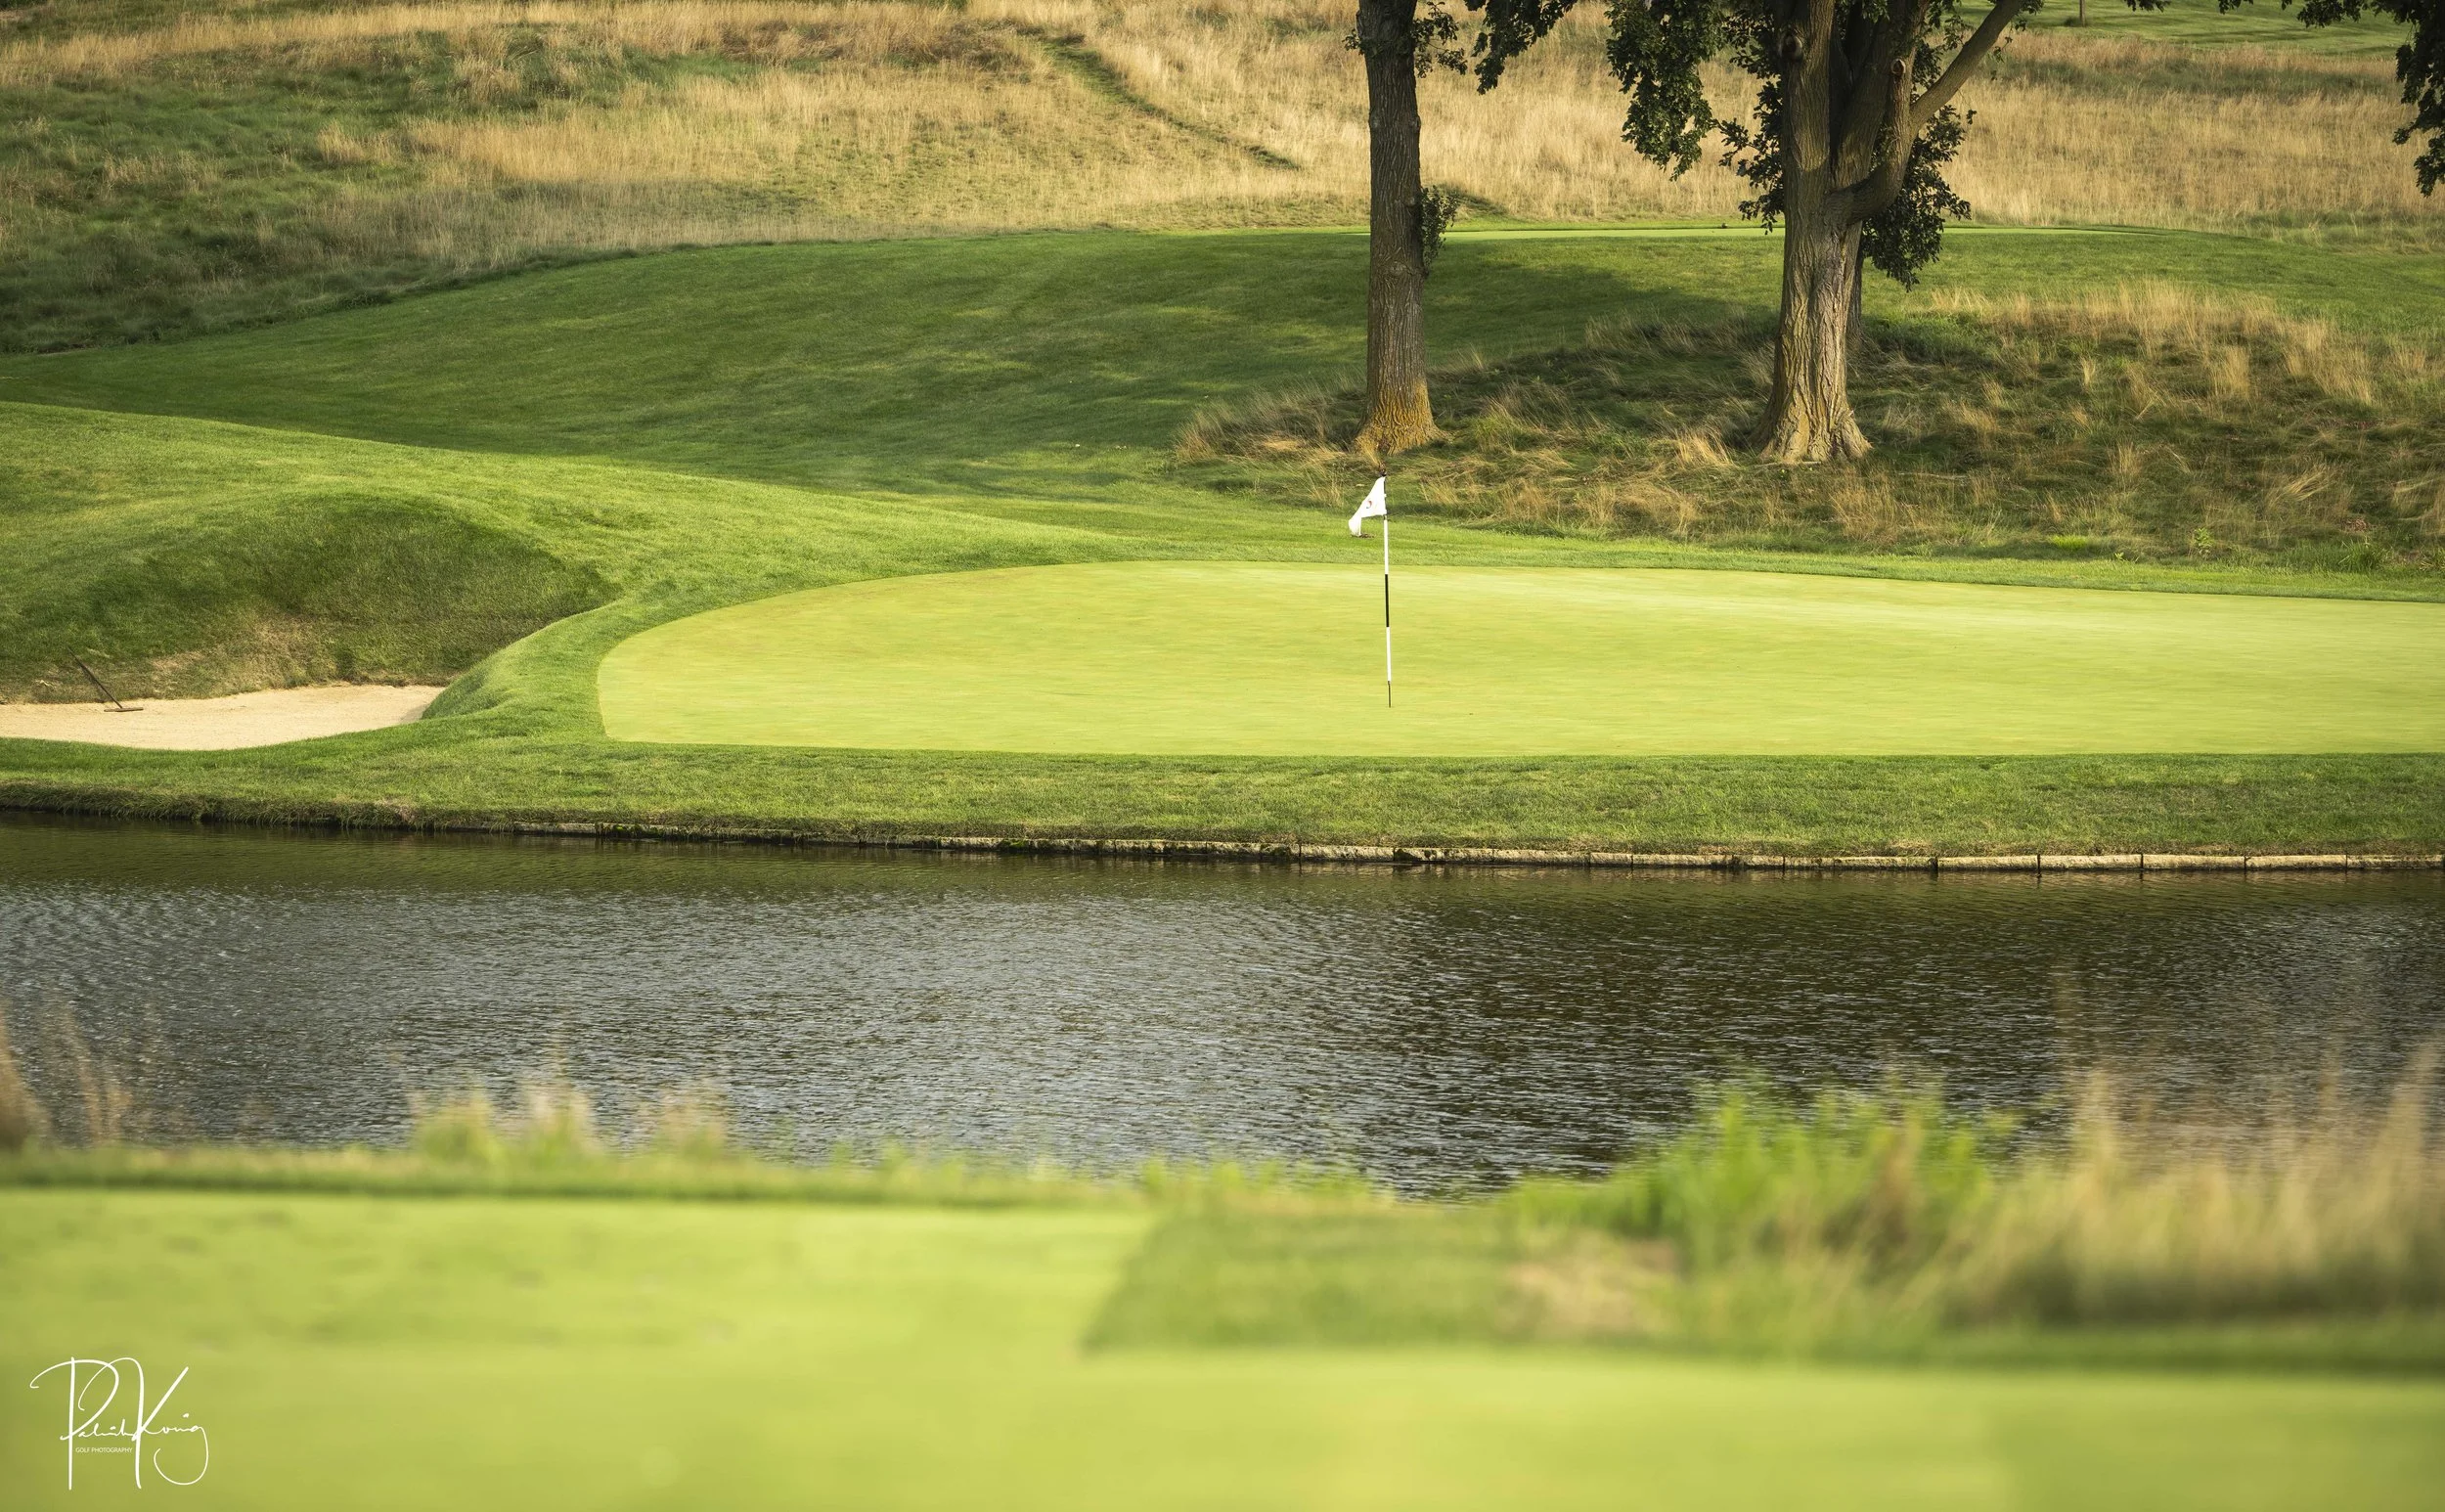
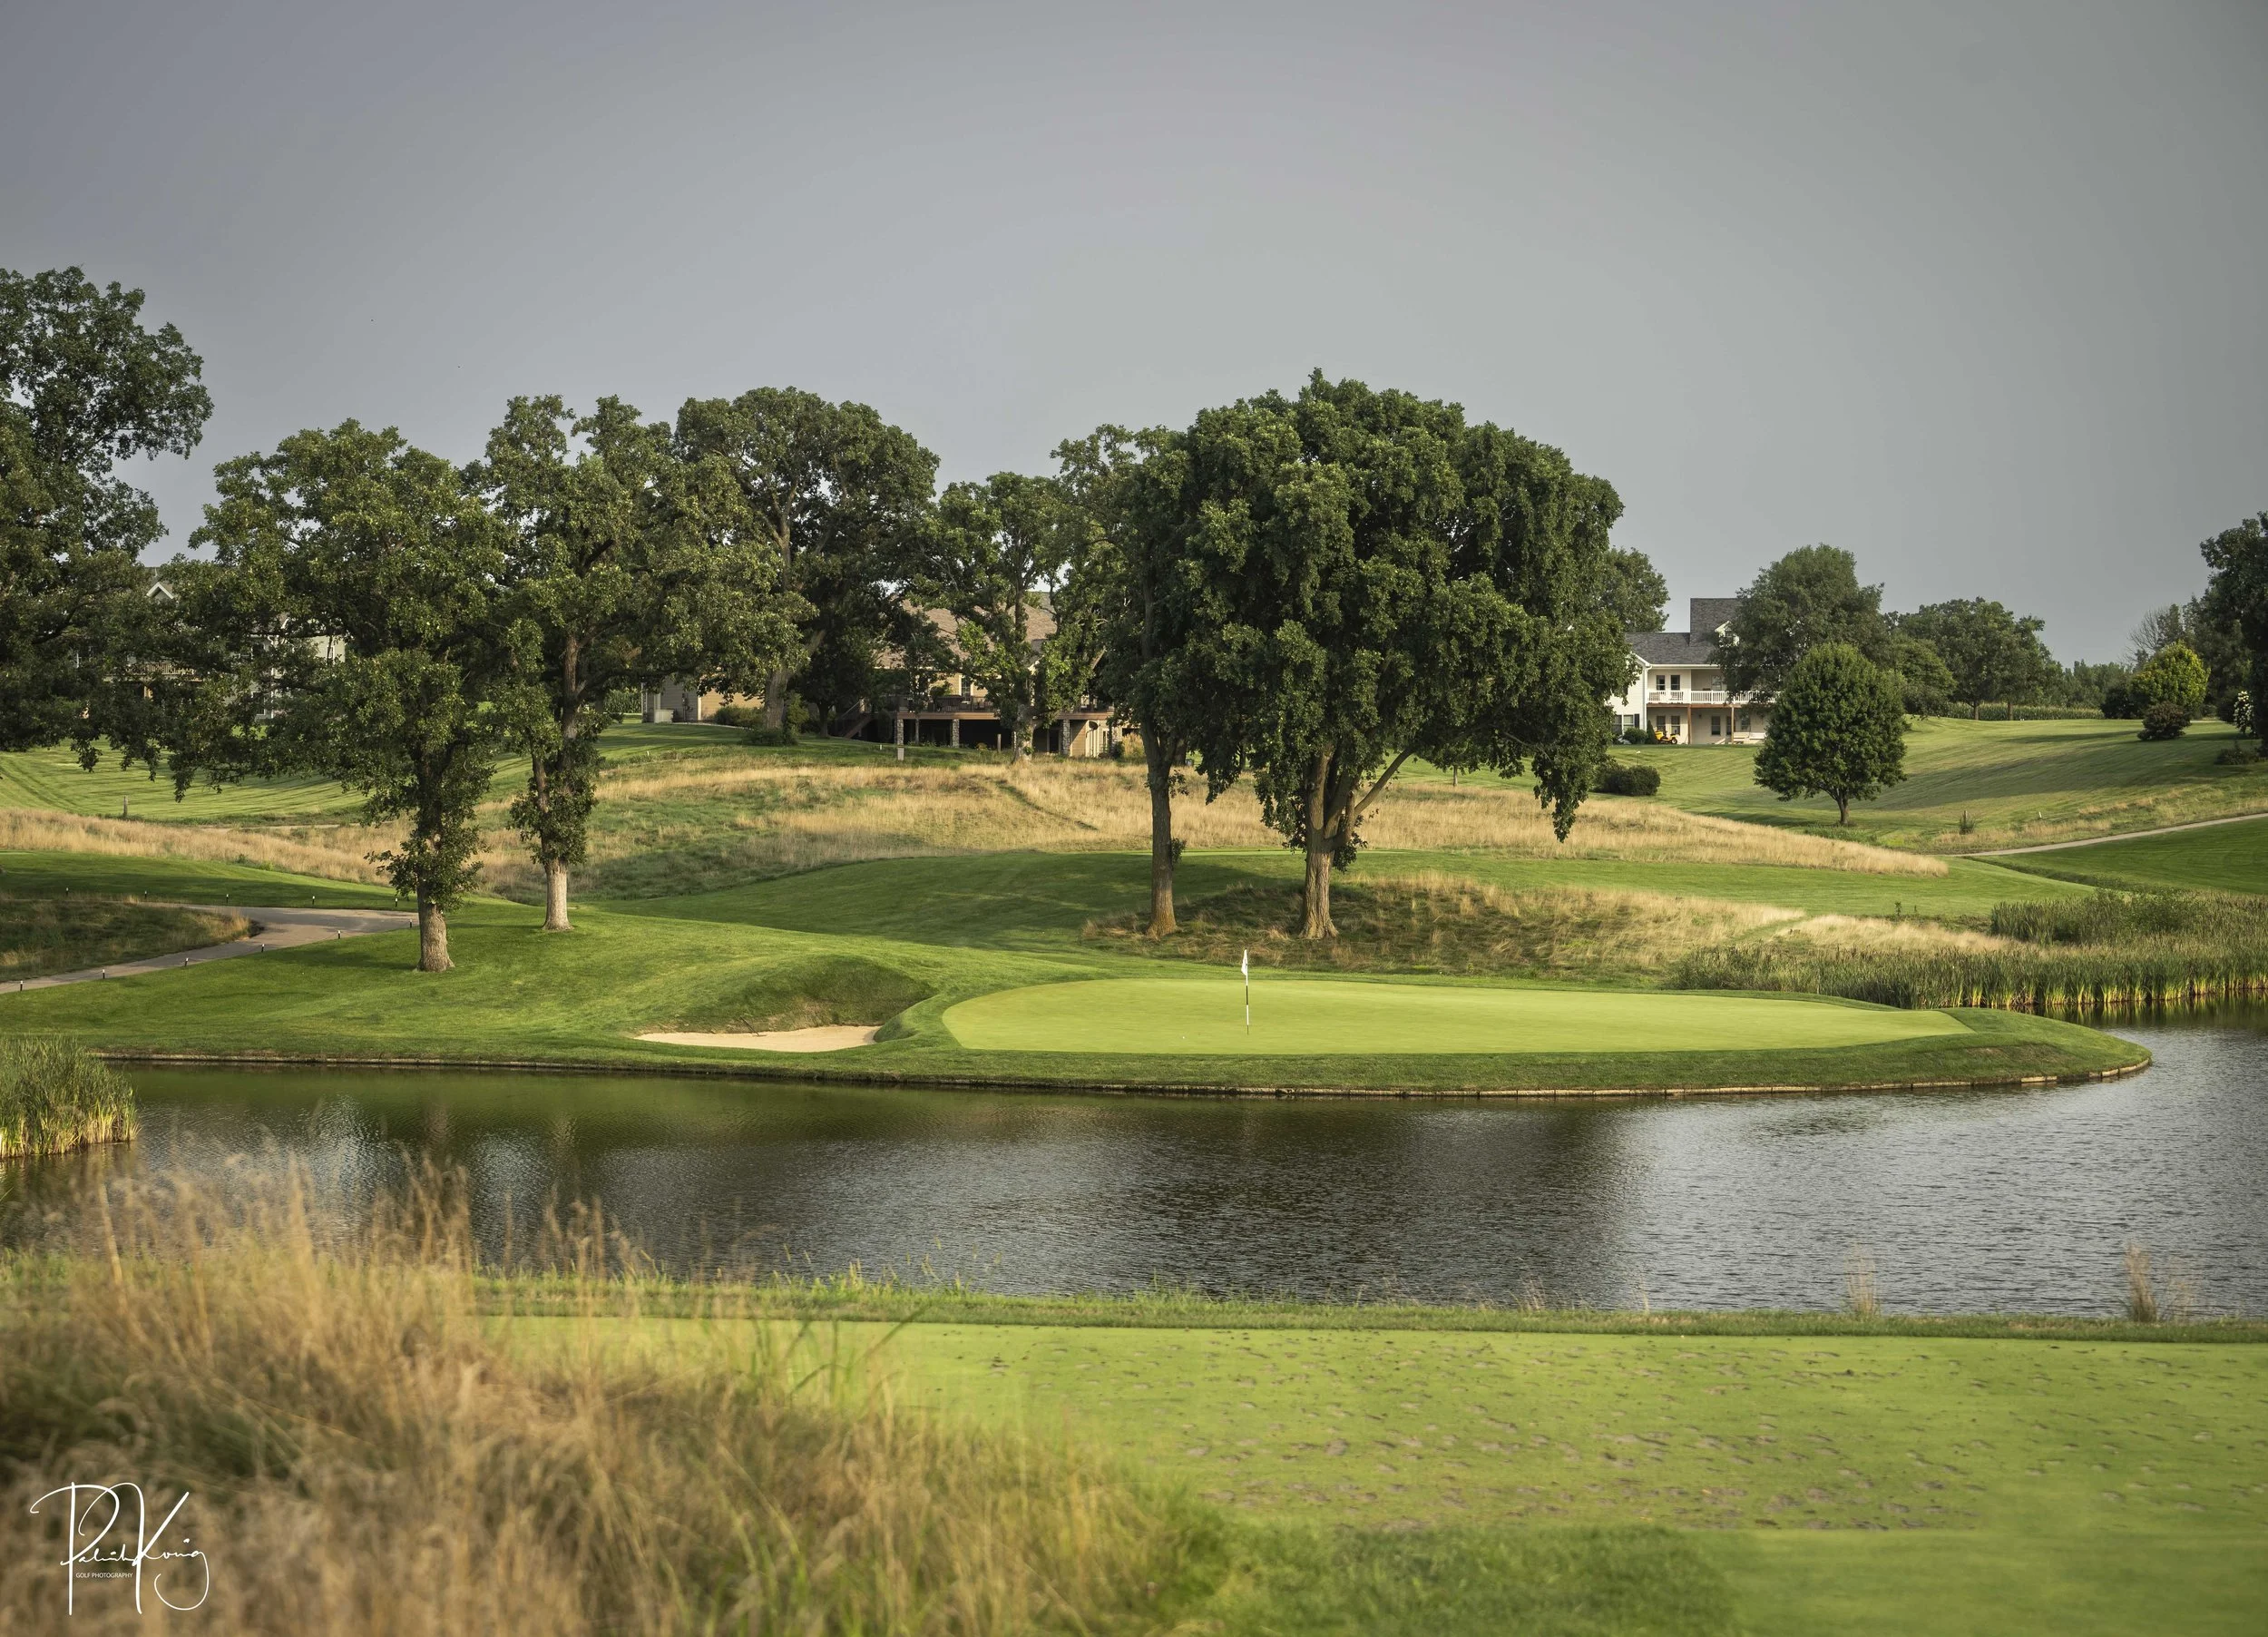
Hole #4 - Cattle Run - Par 5 - 595 yards
The first par 5 at Harvester is a good one and finding the green in two shots isn’t for most golfers. A hilly fairway dominates the majority of the golf hole and a grove of trees provides a visual obstacle as you approach this diamond shaped green. There is a lot of room to bail out to the right of the green and the smart golfer will avoid the 60 yard bunker shot.
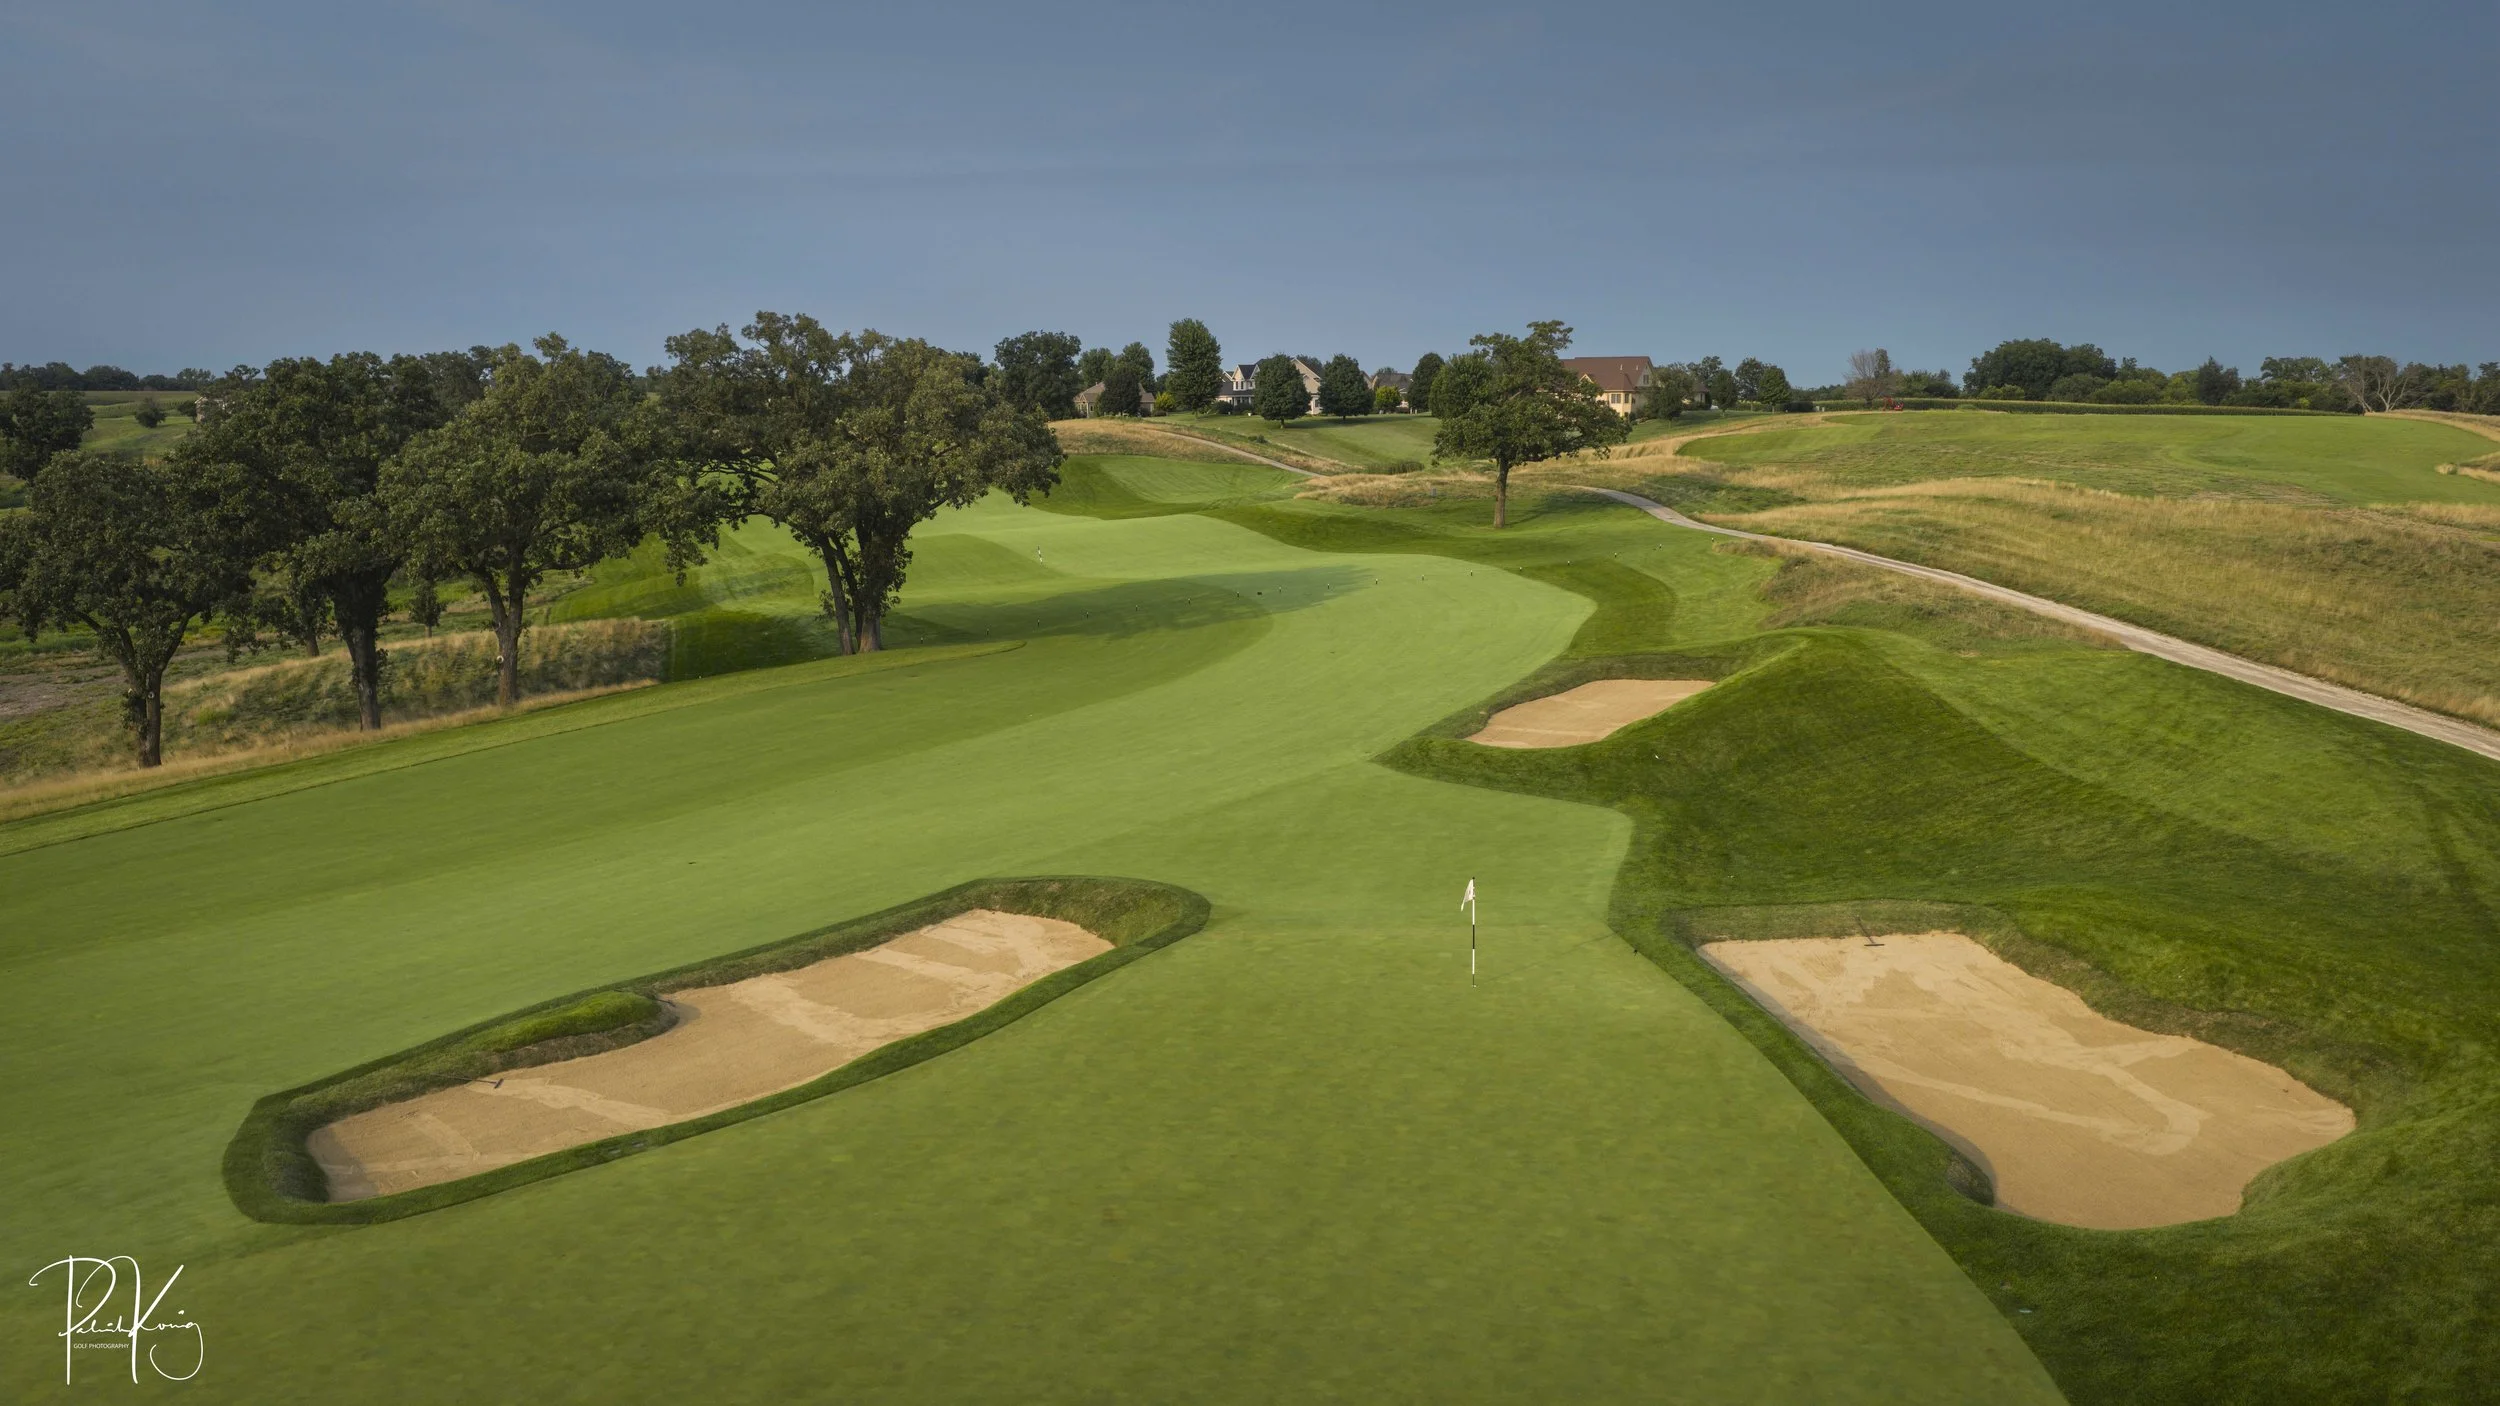
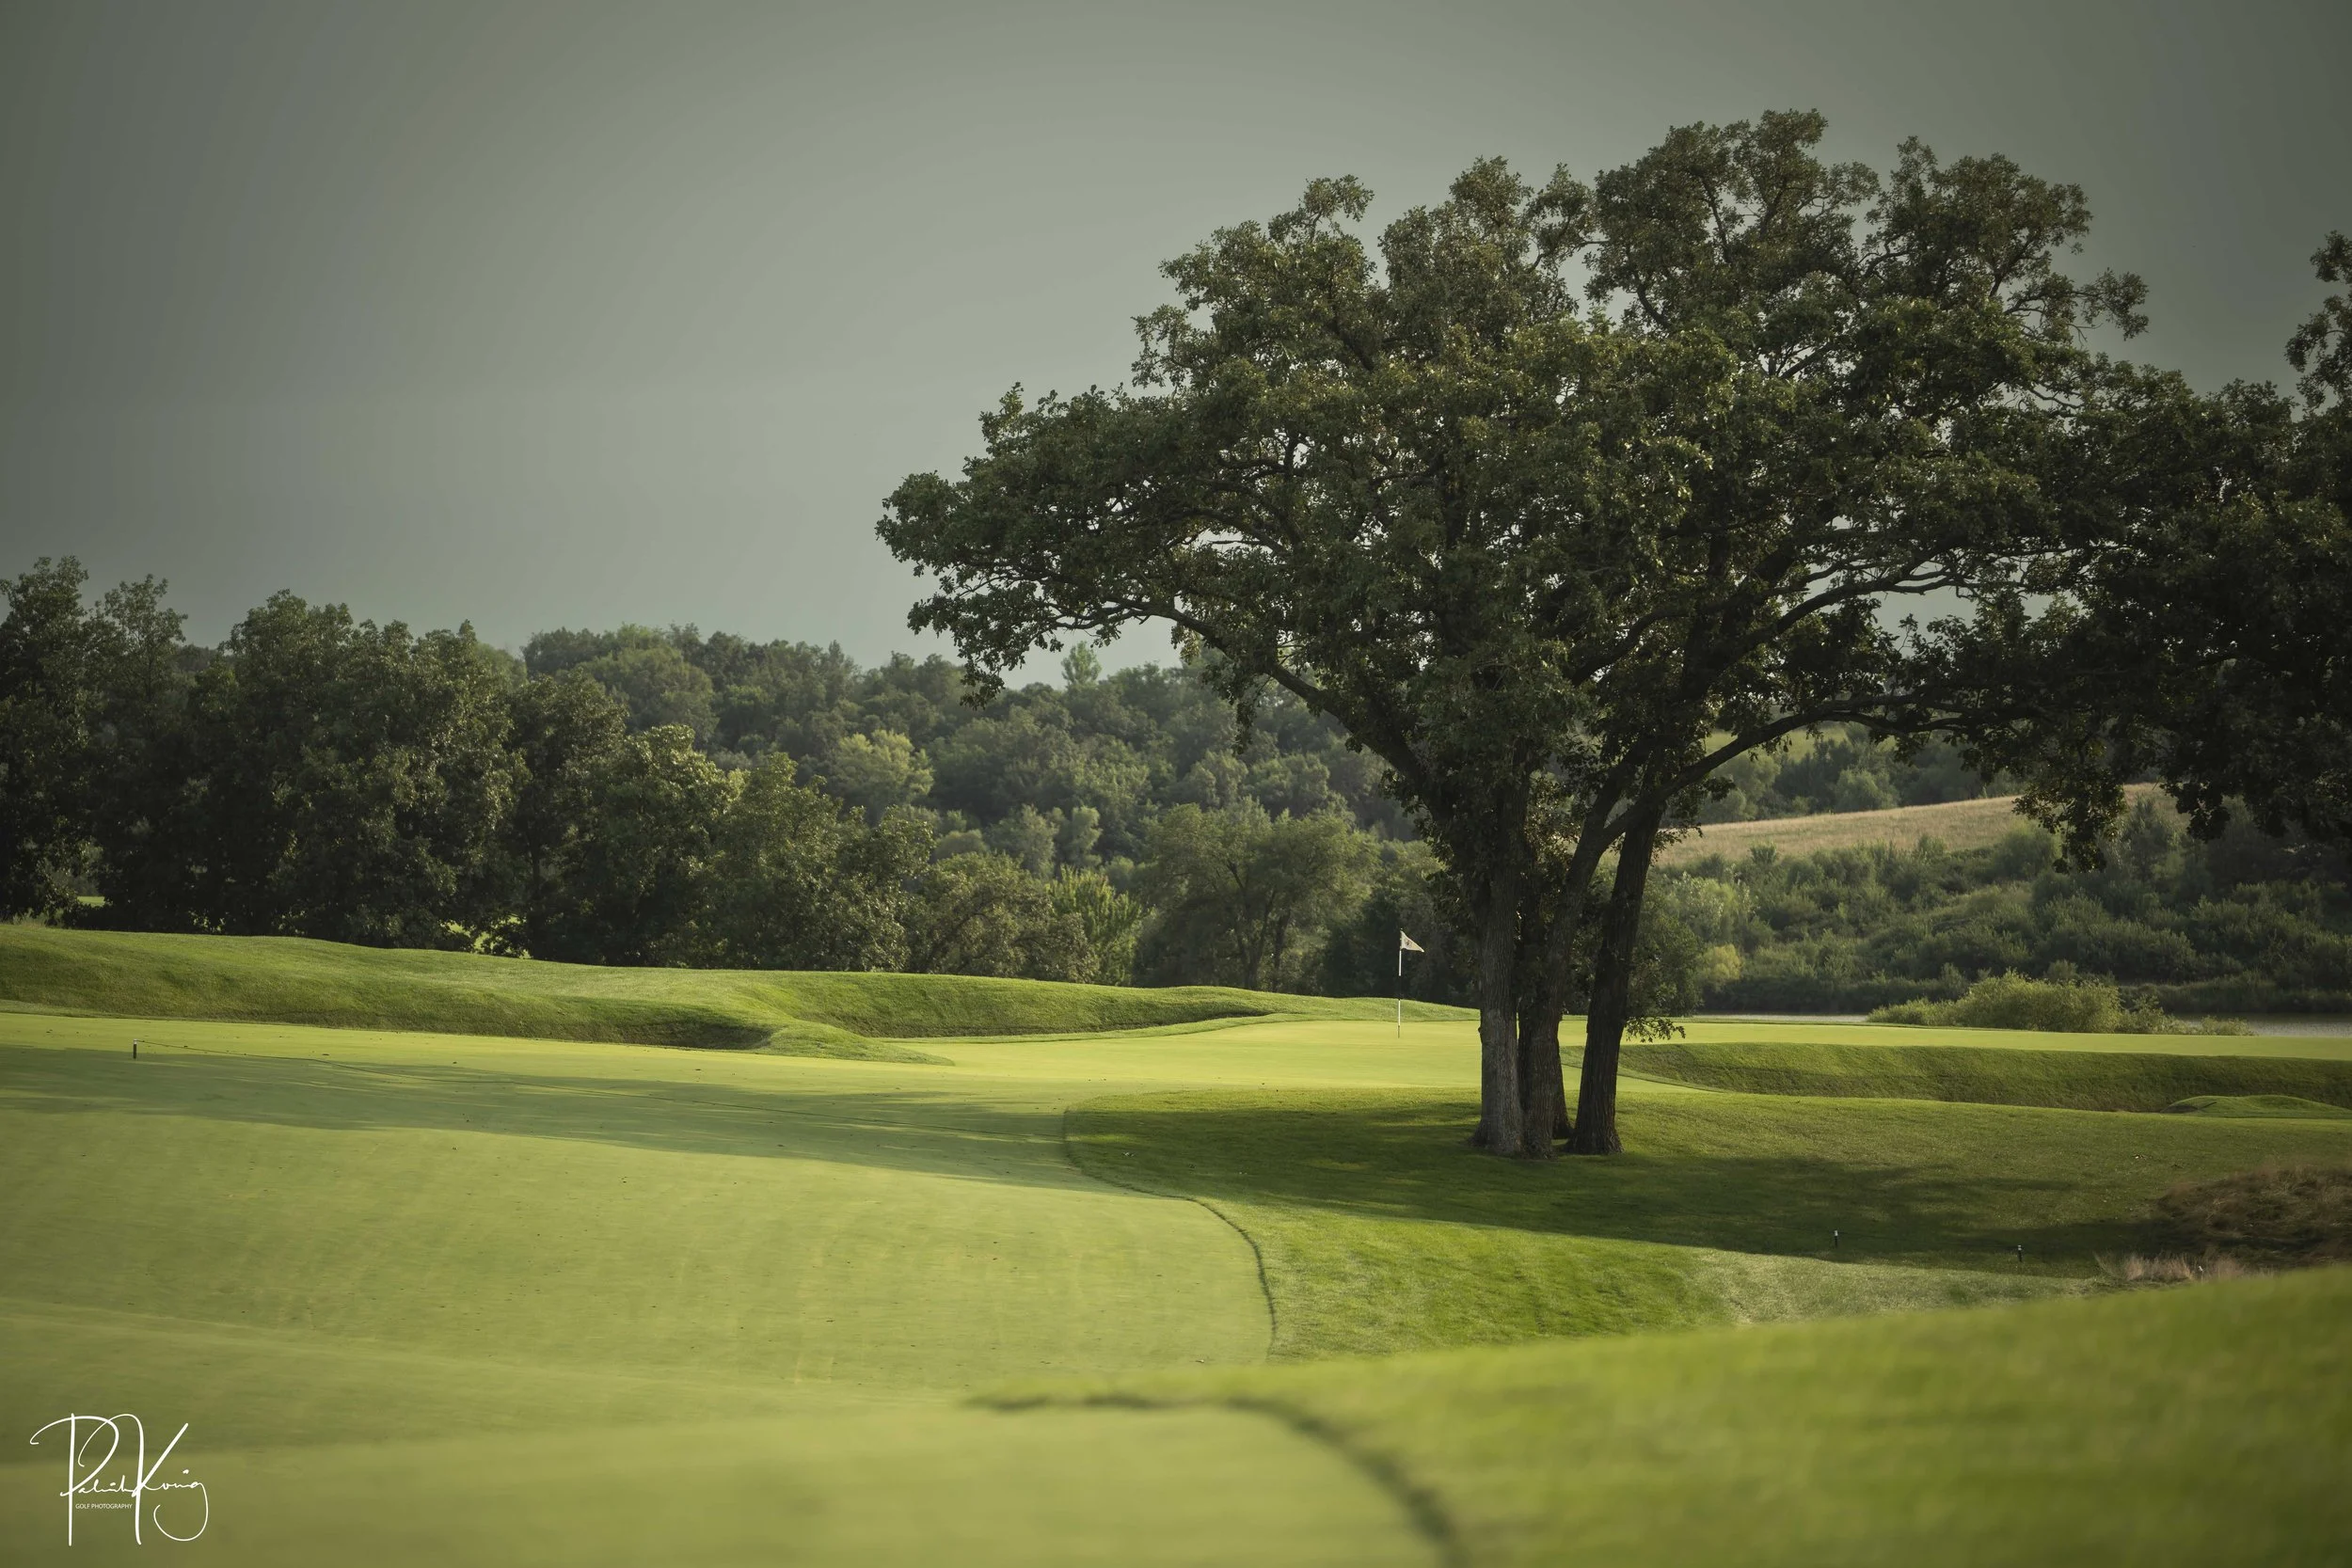
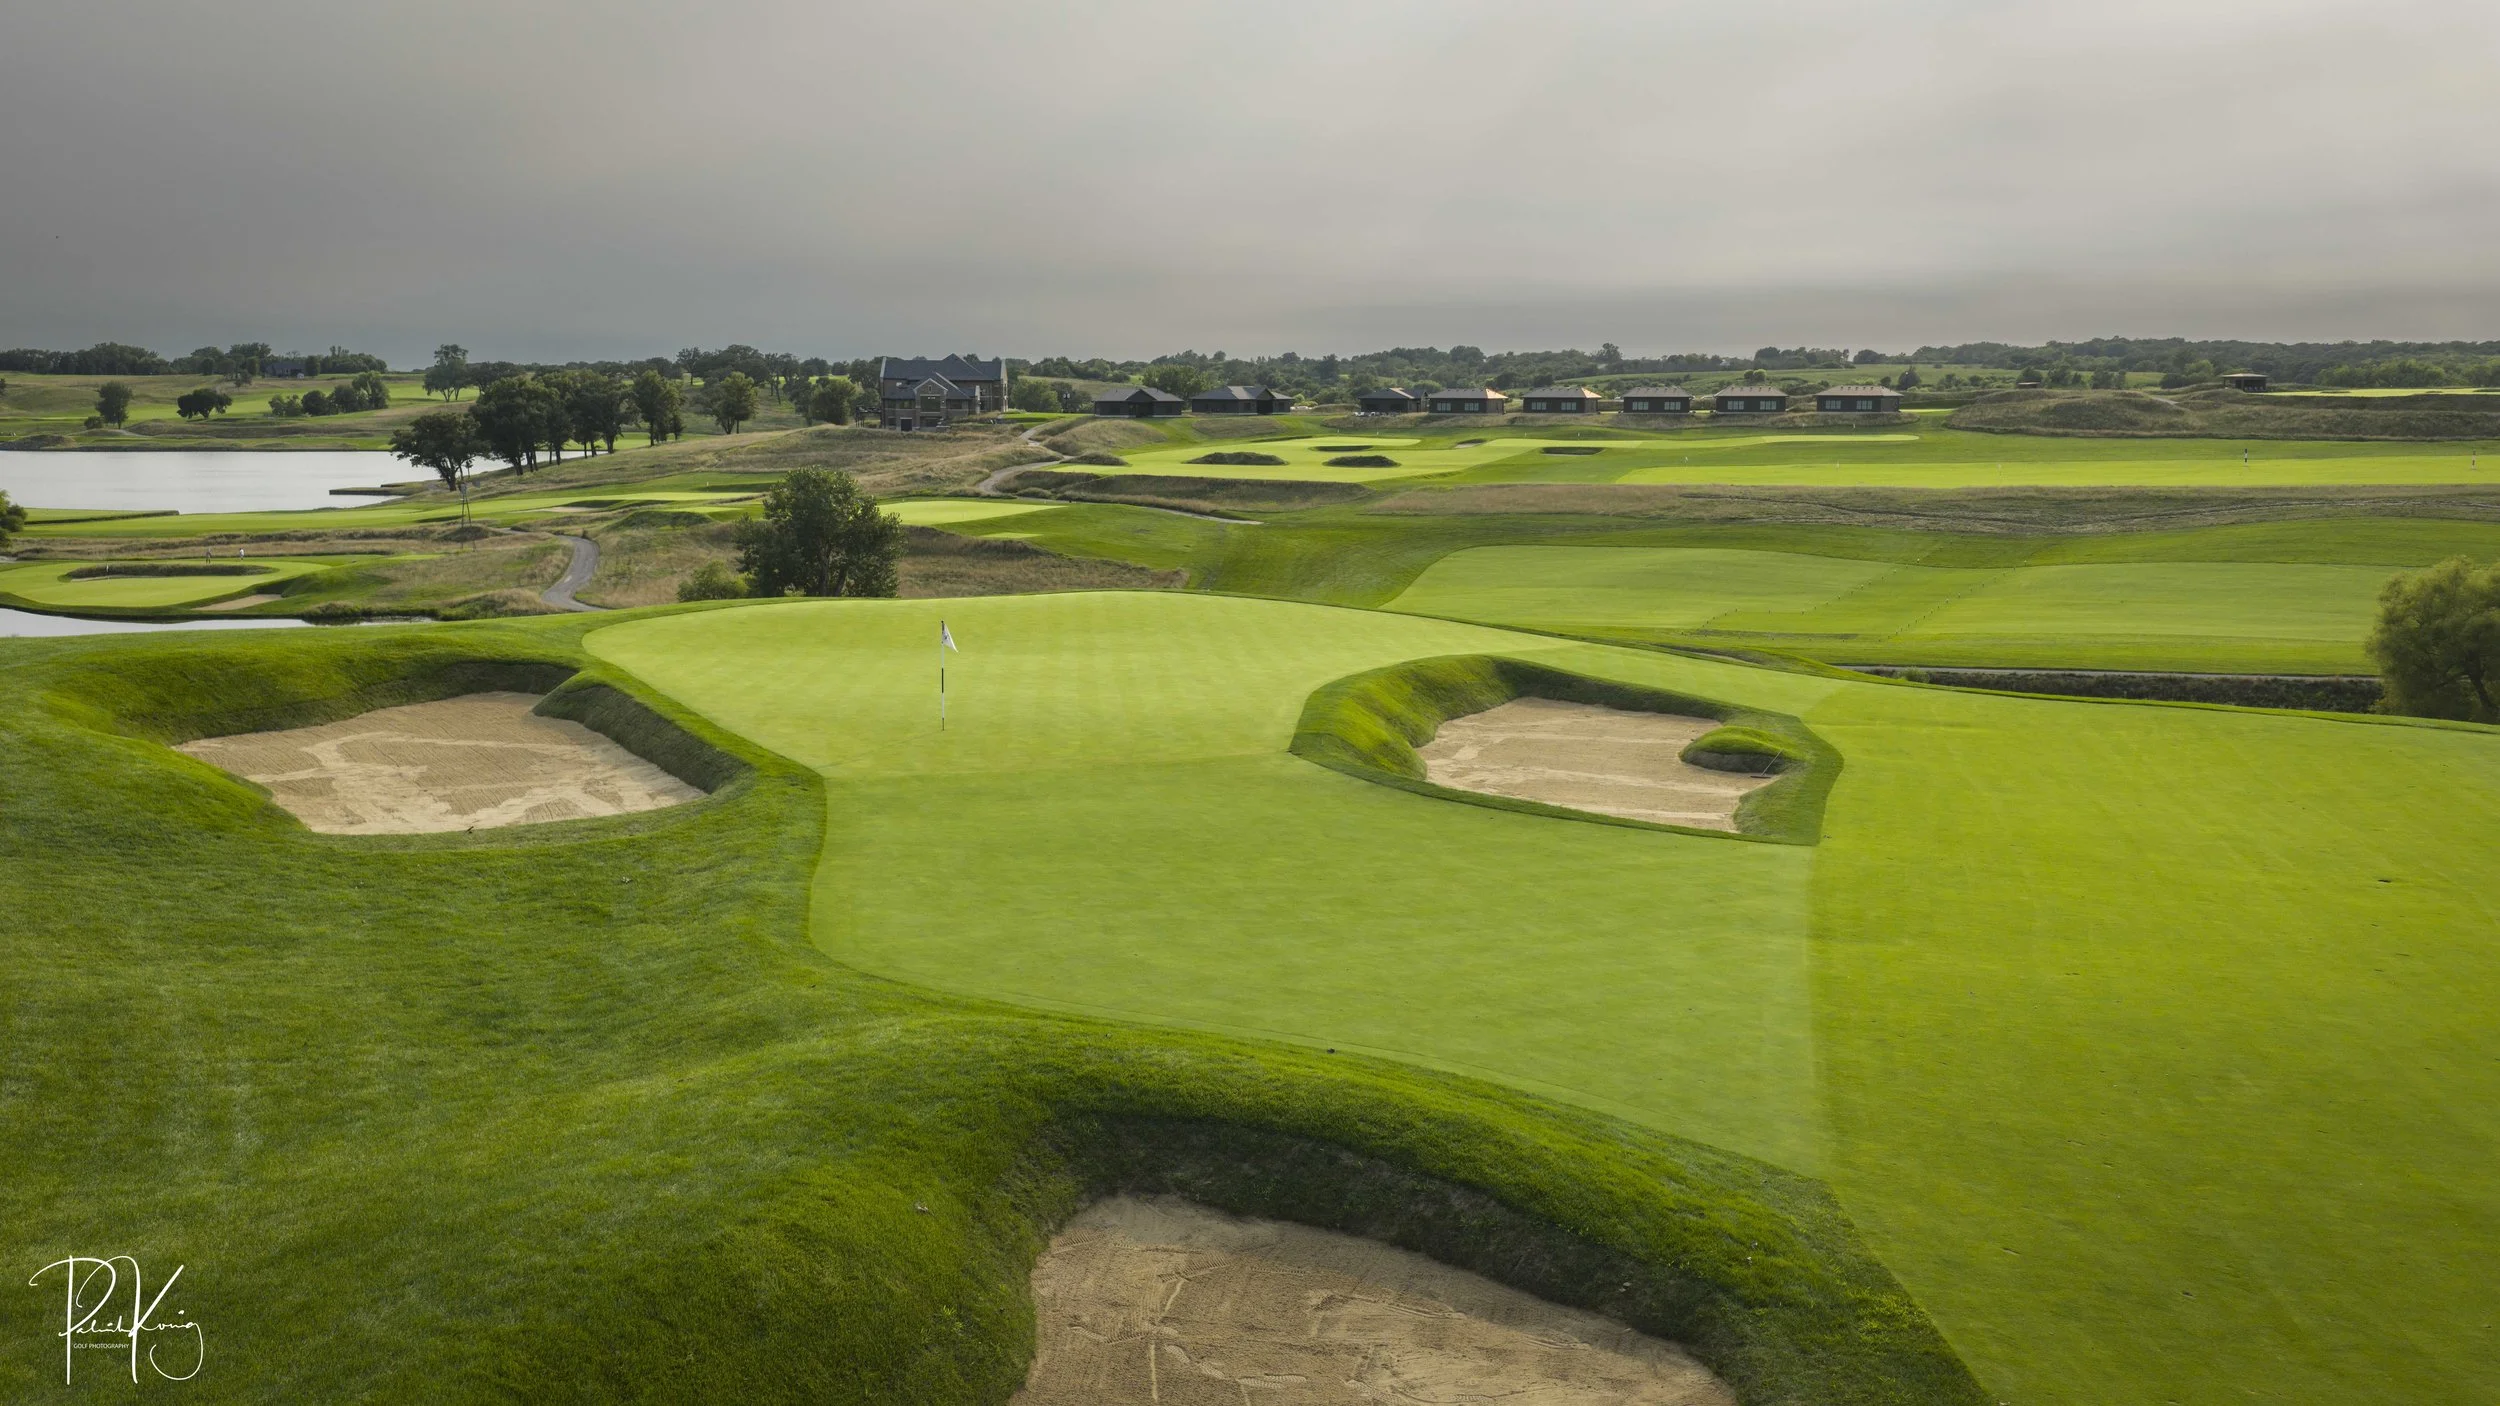
Hole #5 - The Prairie - Par 4 - 366 yards
Apparently, the 5th hole was my least favorite photography hole as I barely managed a picture of this short uphill par 4. While the 6th hole is predominantly featured in the photograph below, you can see the 5th hole in the top right. You will want to avoid the bunker in the middle of the fairway which should leave a short approach to the green.
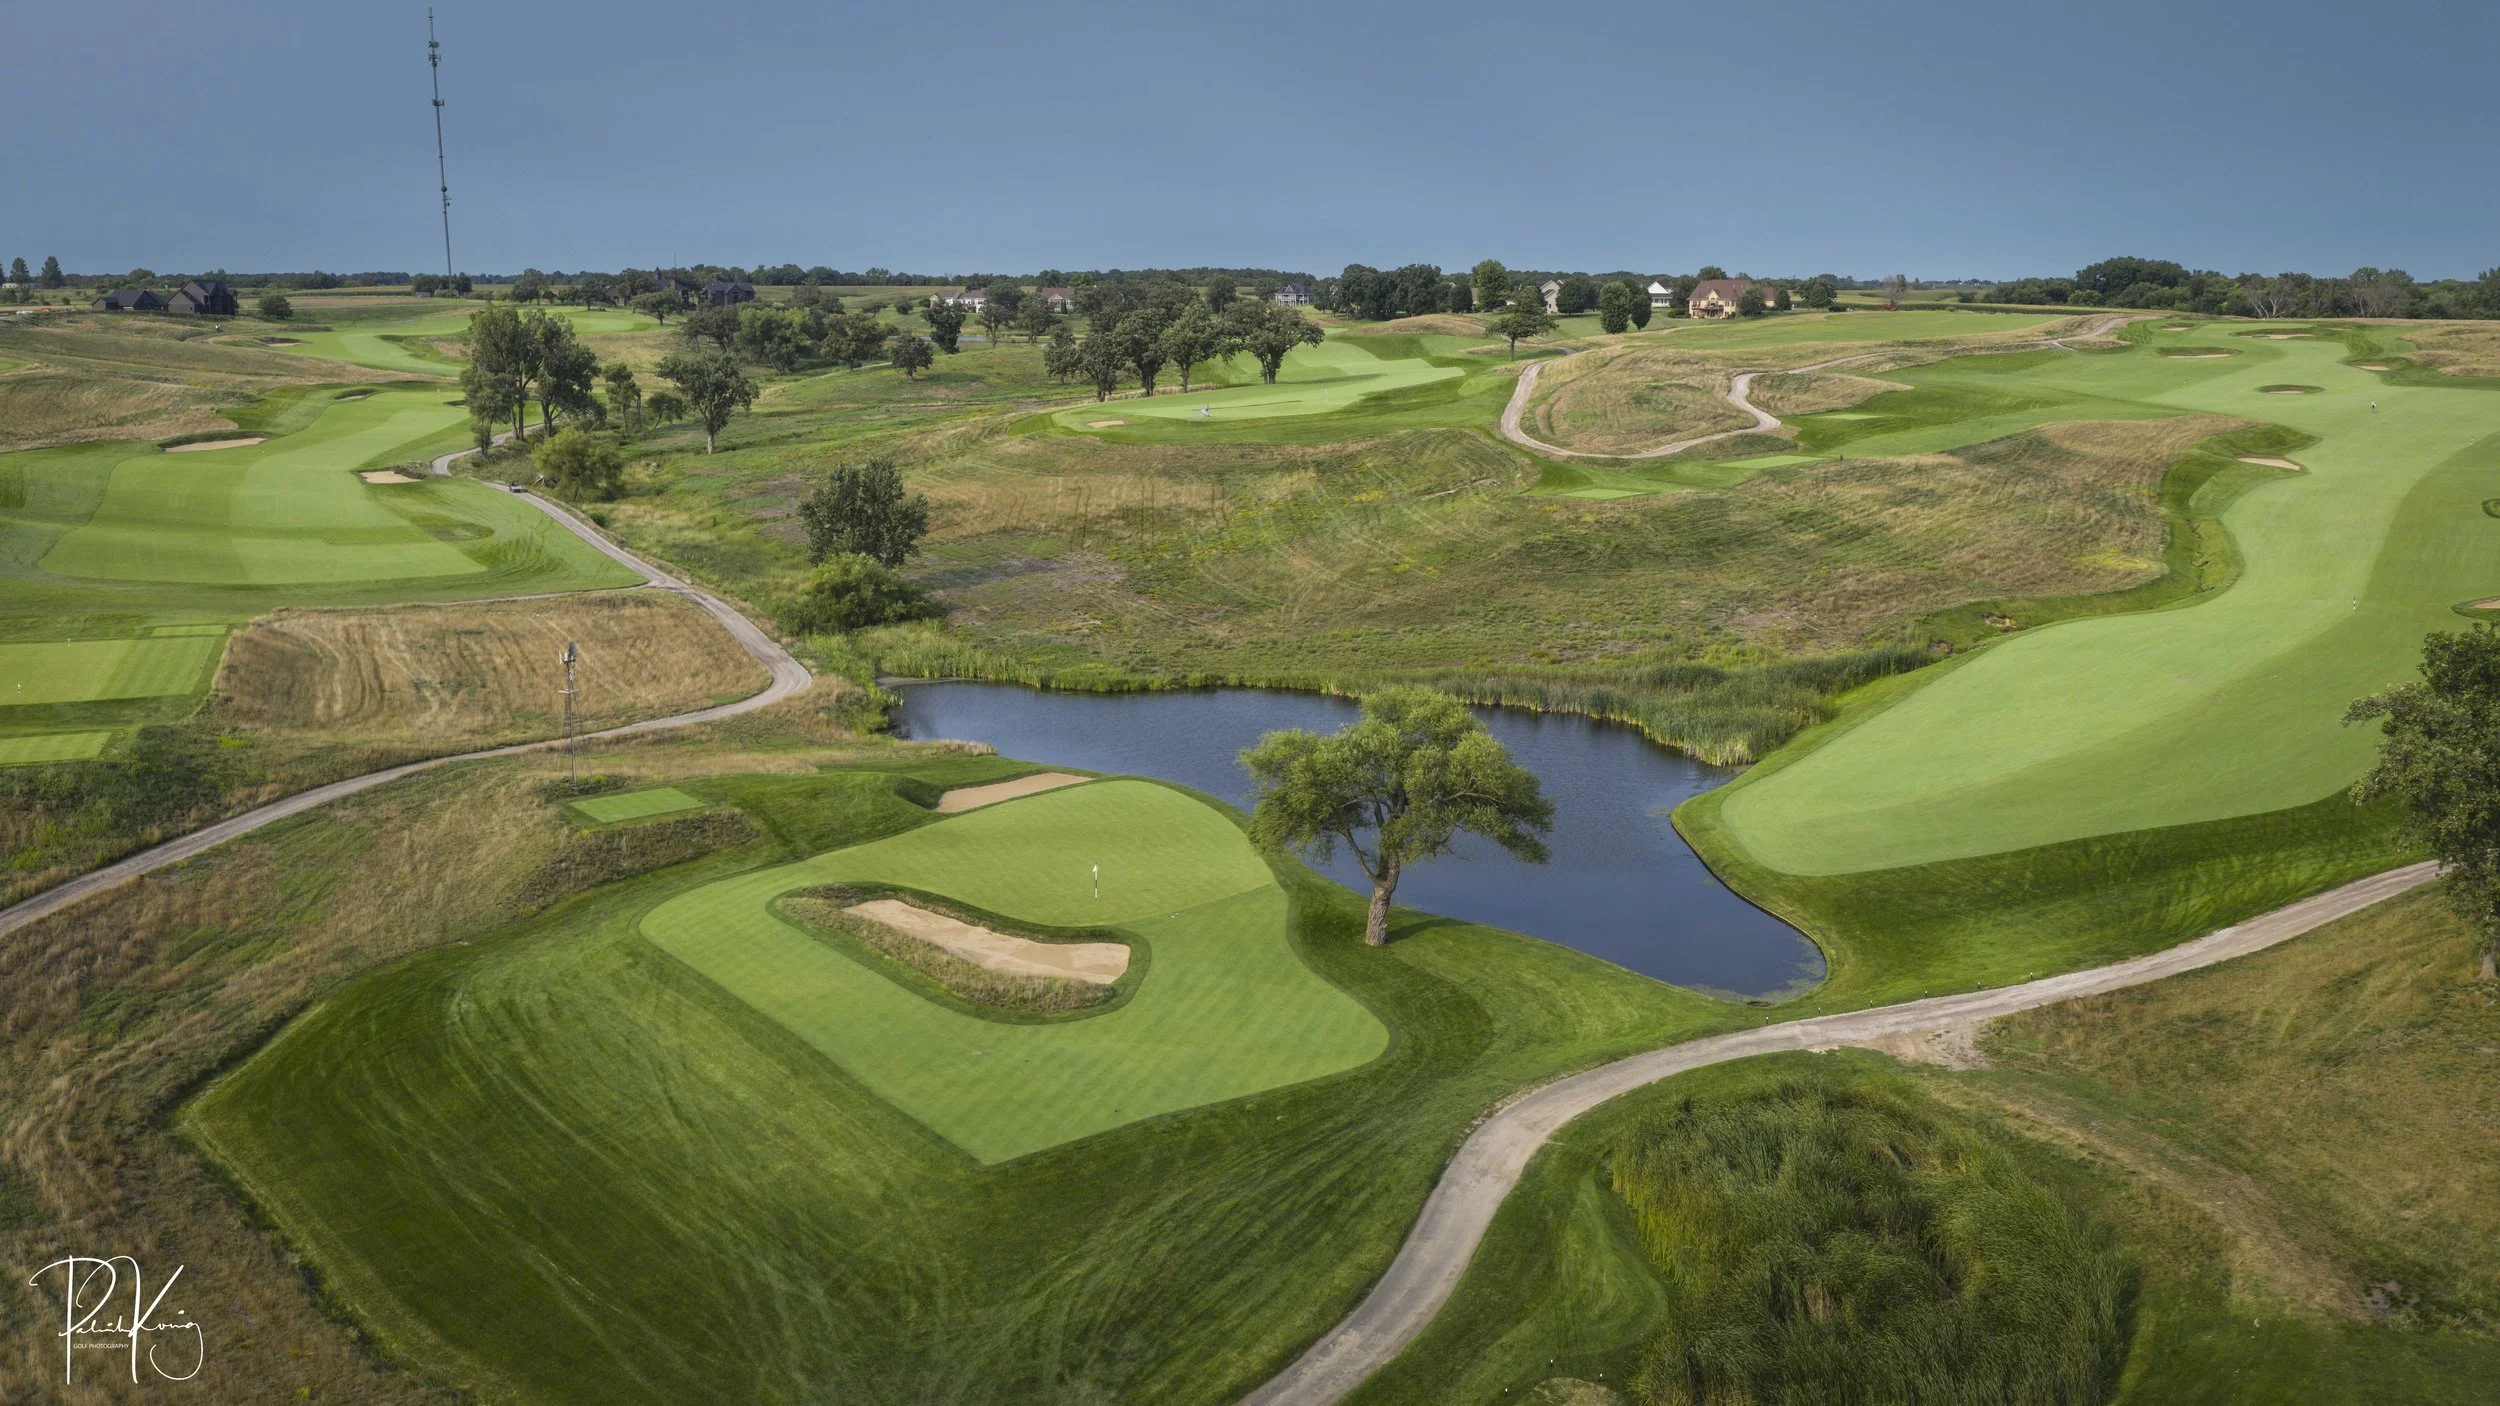
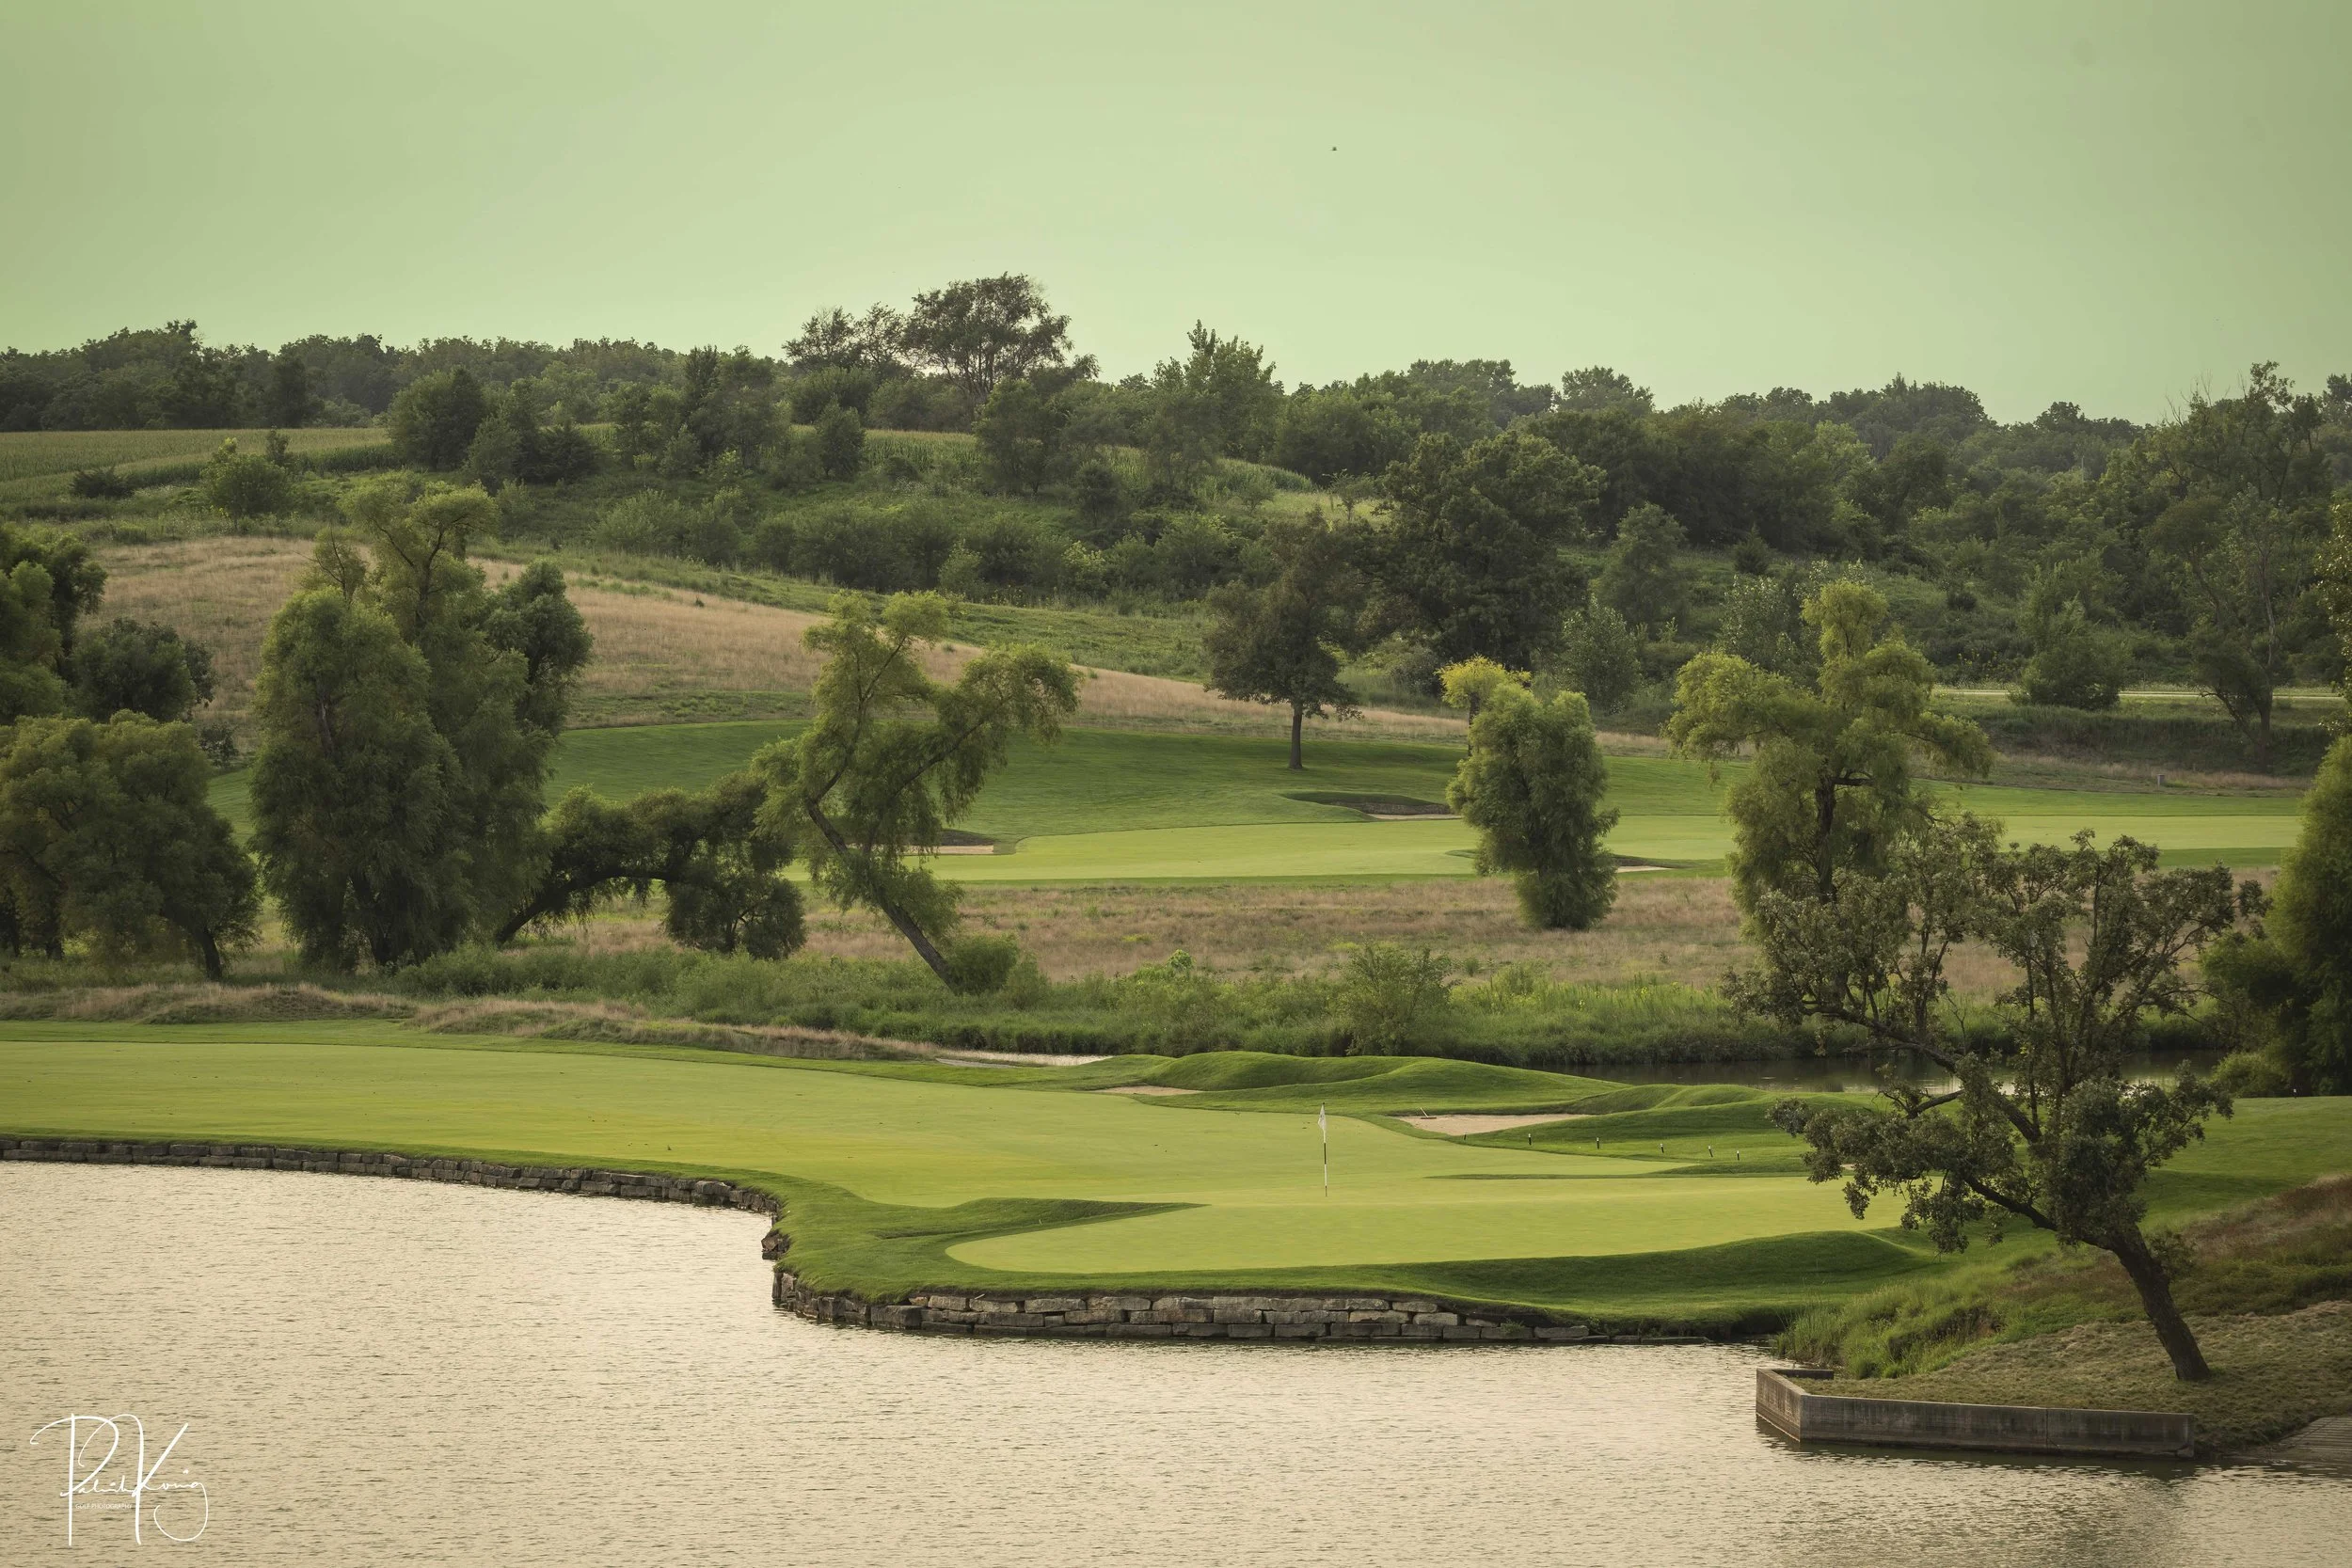
Hole #6 - Holy Cow - Par 5 - 561 yards
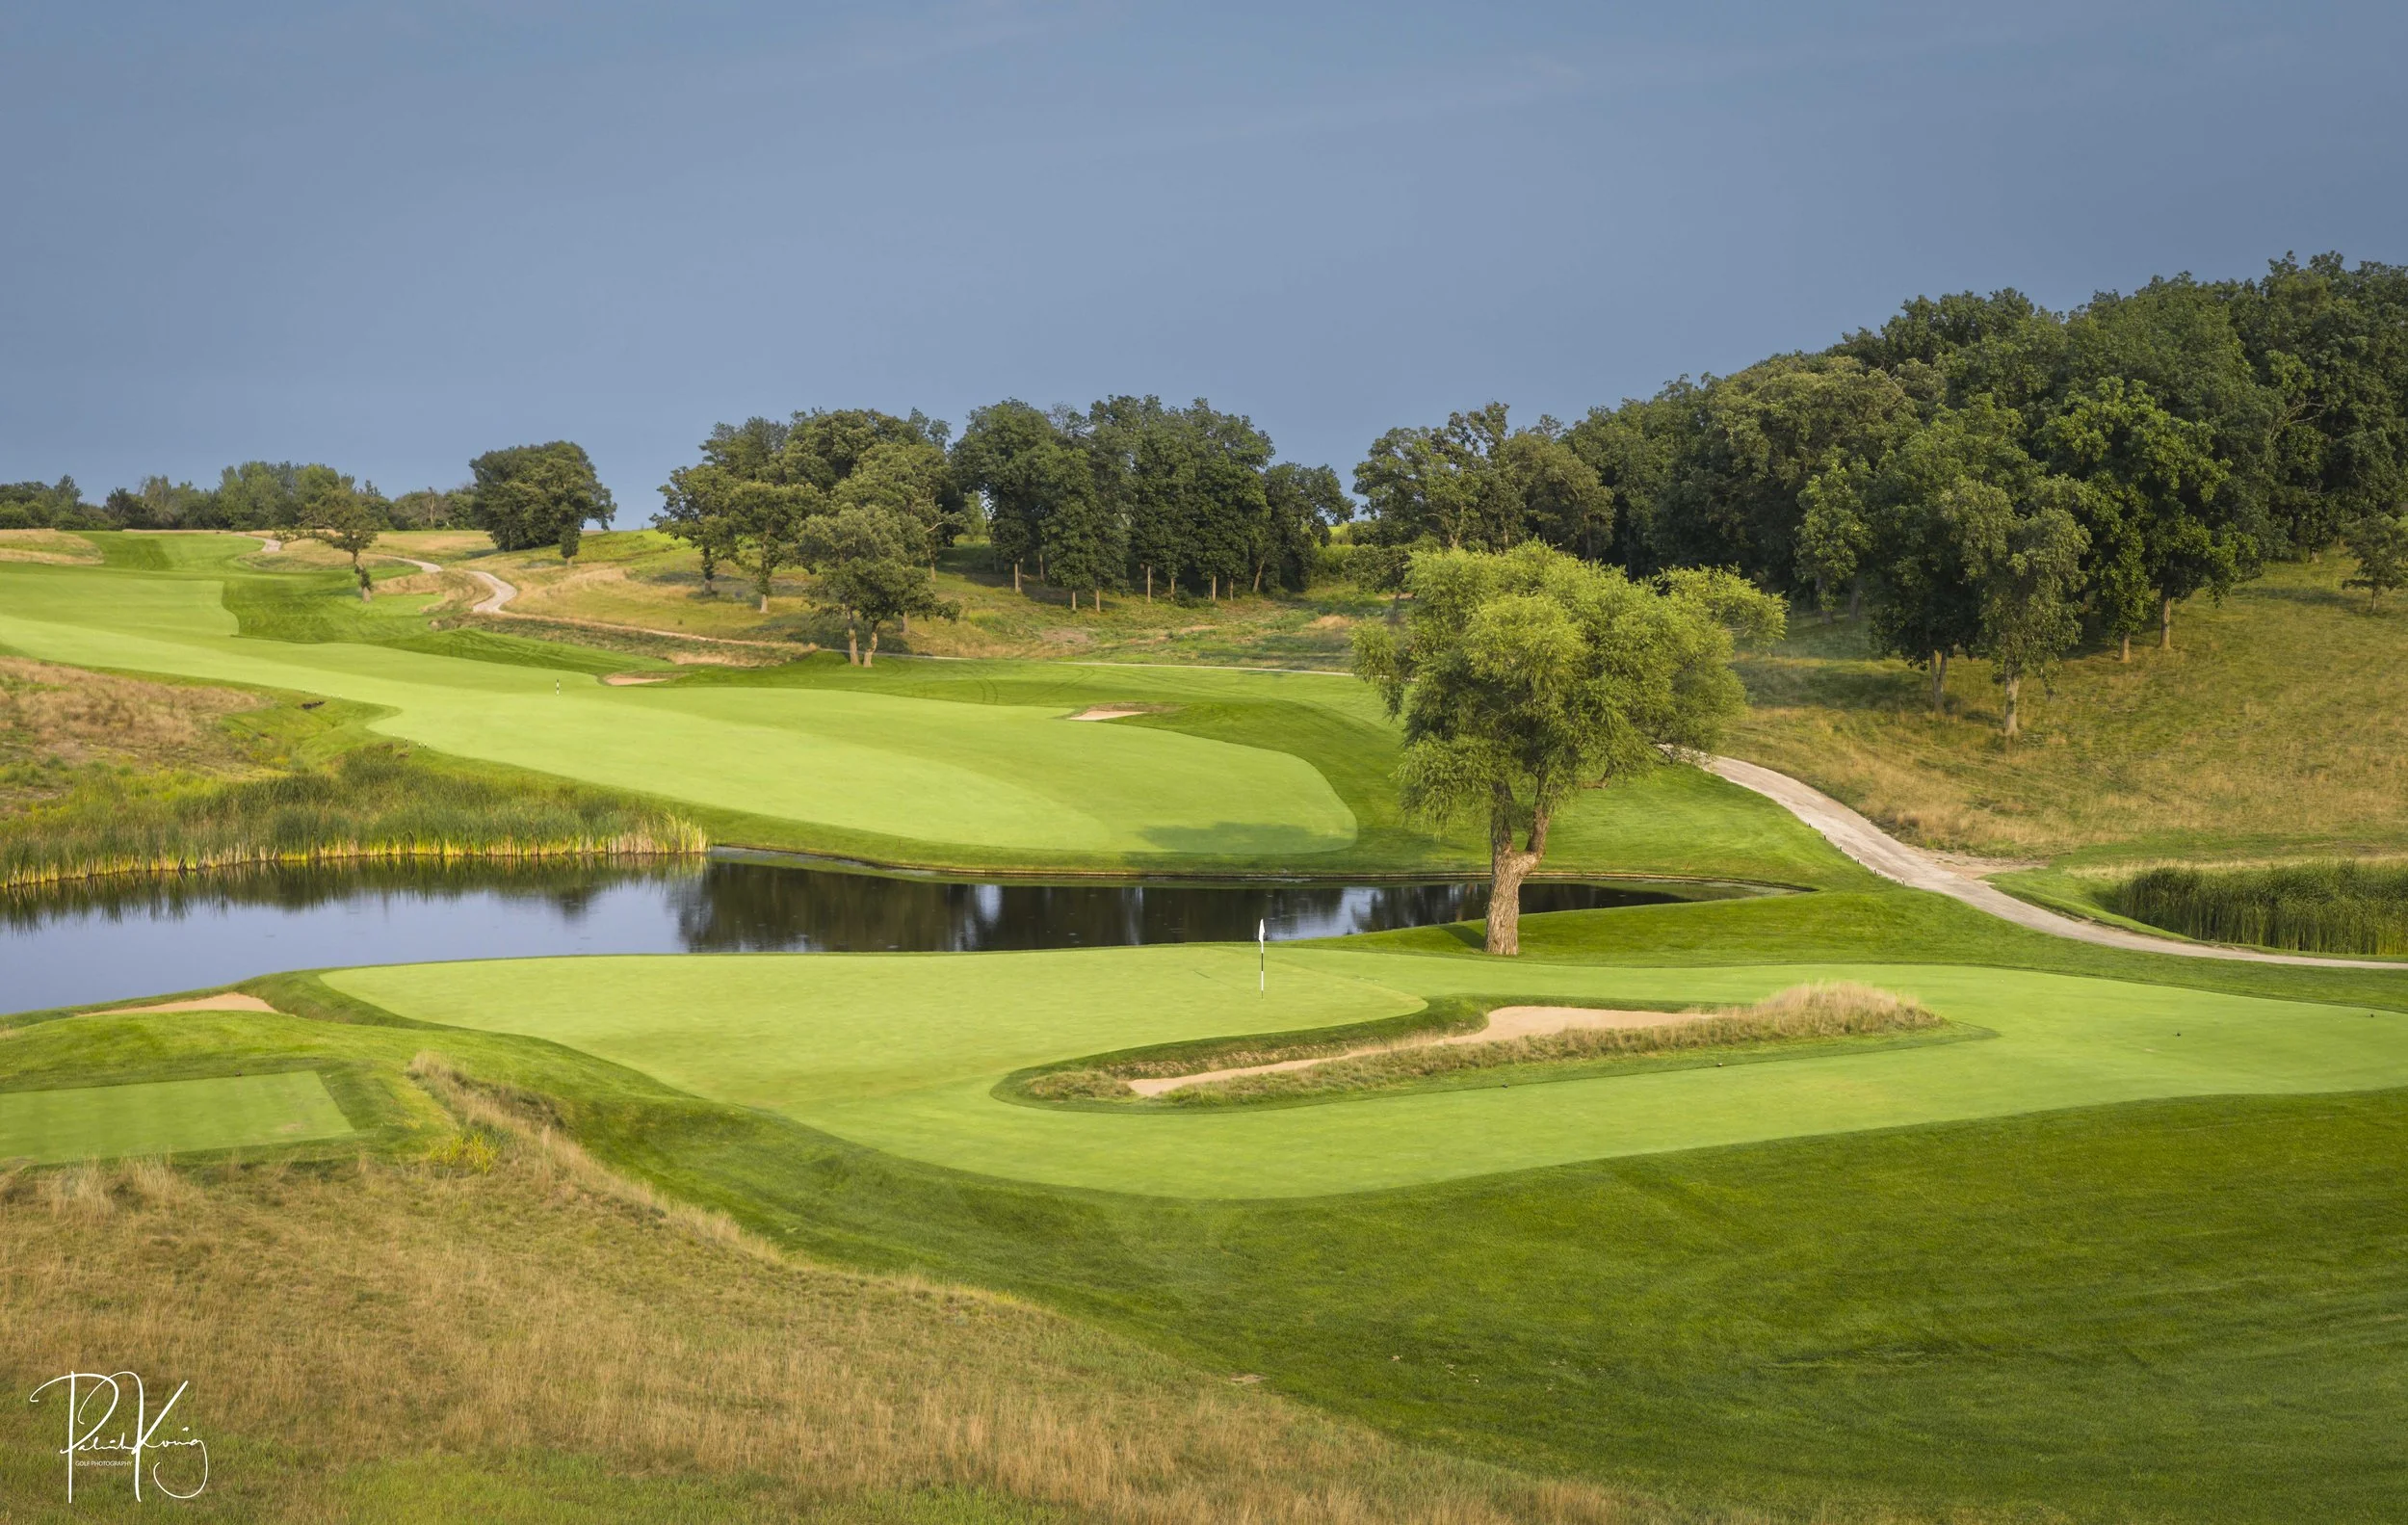
I like to think that they named this hole Holy Cow, because that is what most golfers say when the see it. This beautiful downhill par 5 will tempt the big drivers to reach the green in two, but a watery grave awaits those that come up short. The green is surrounded by two lengthy bunkers and a glorious lone tree.
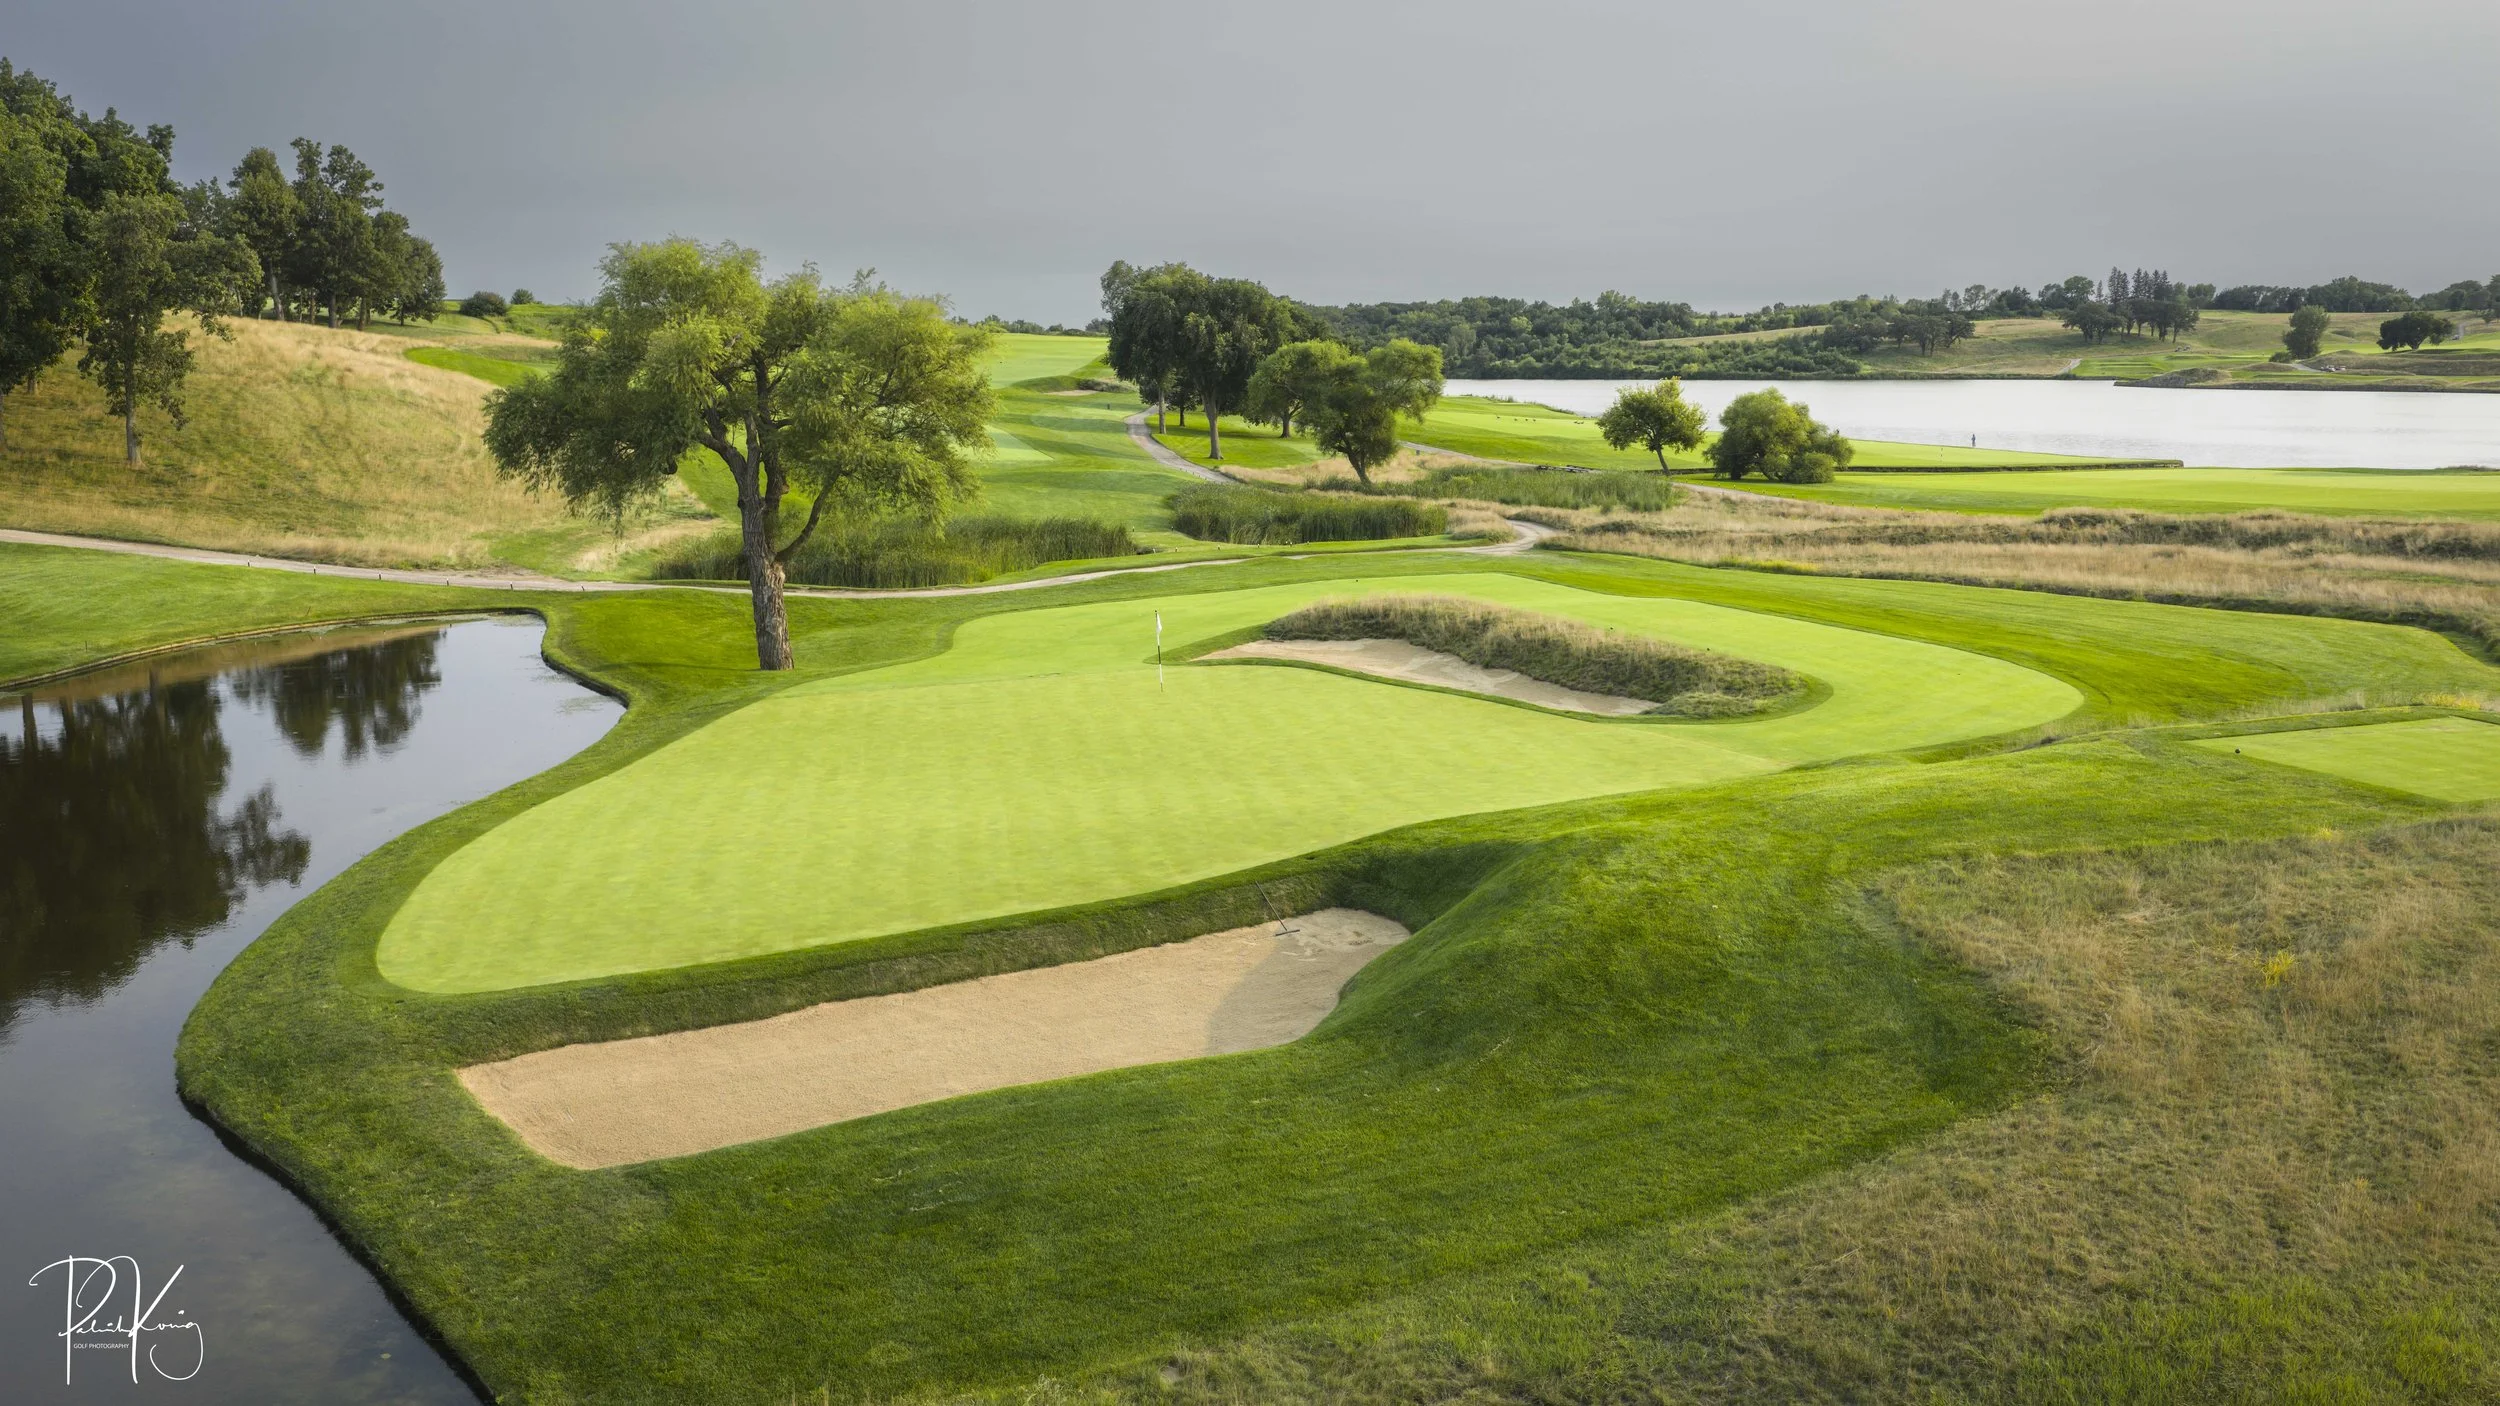
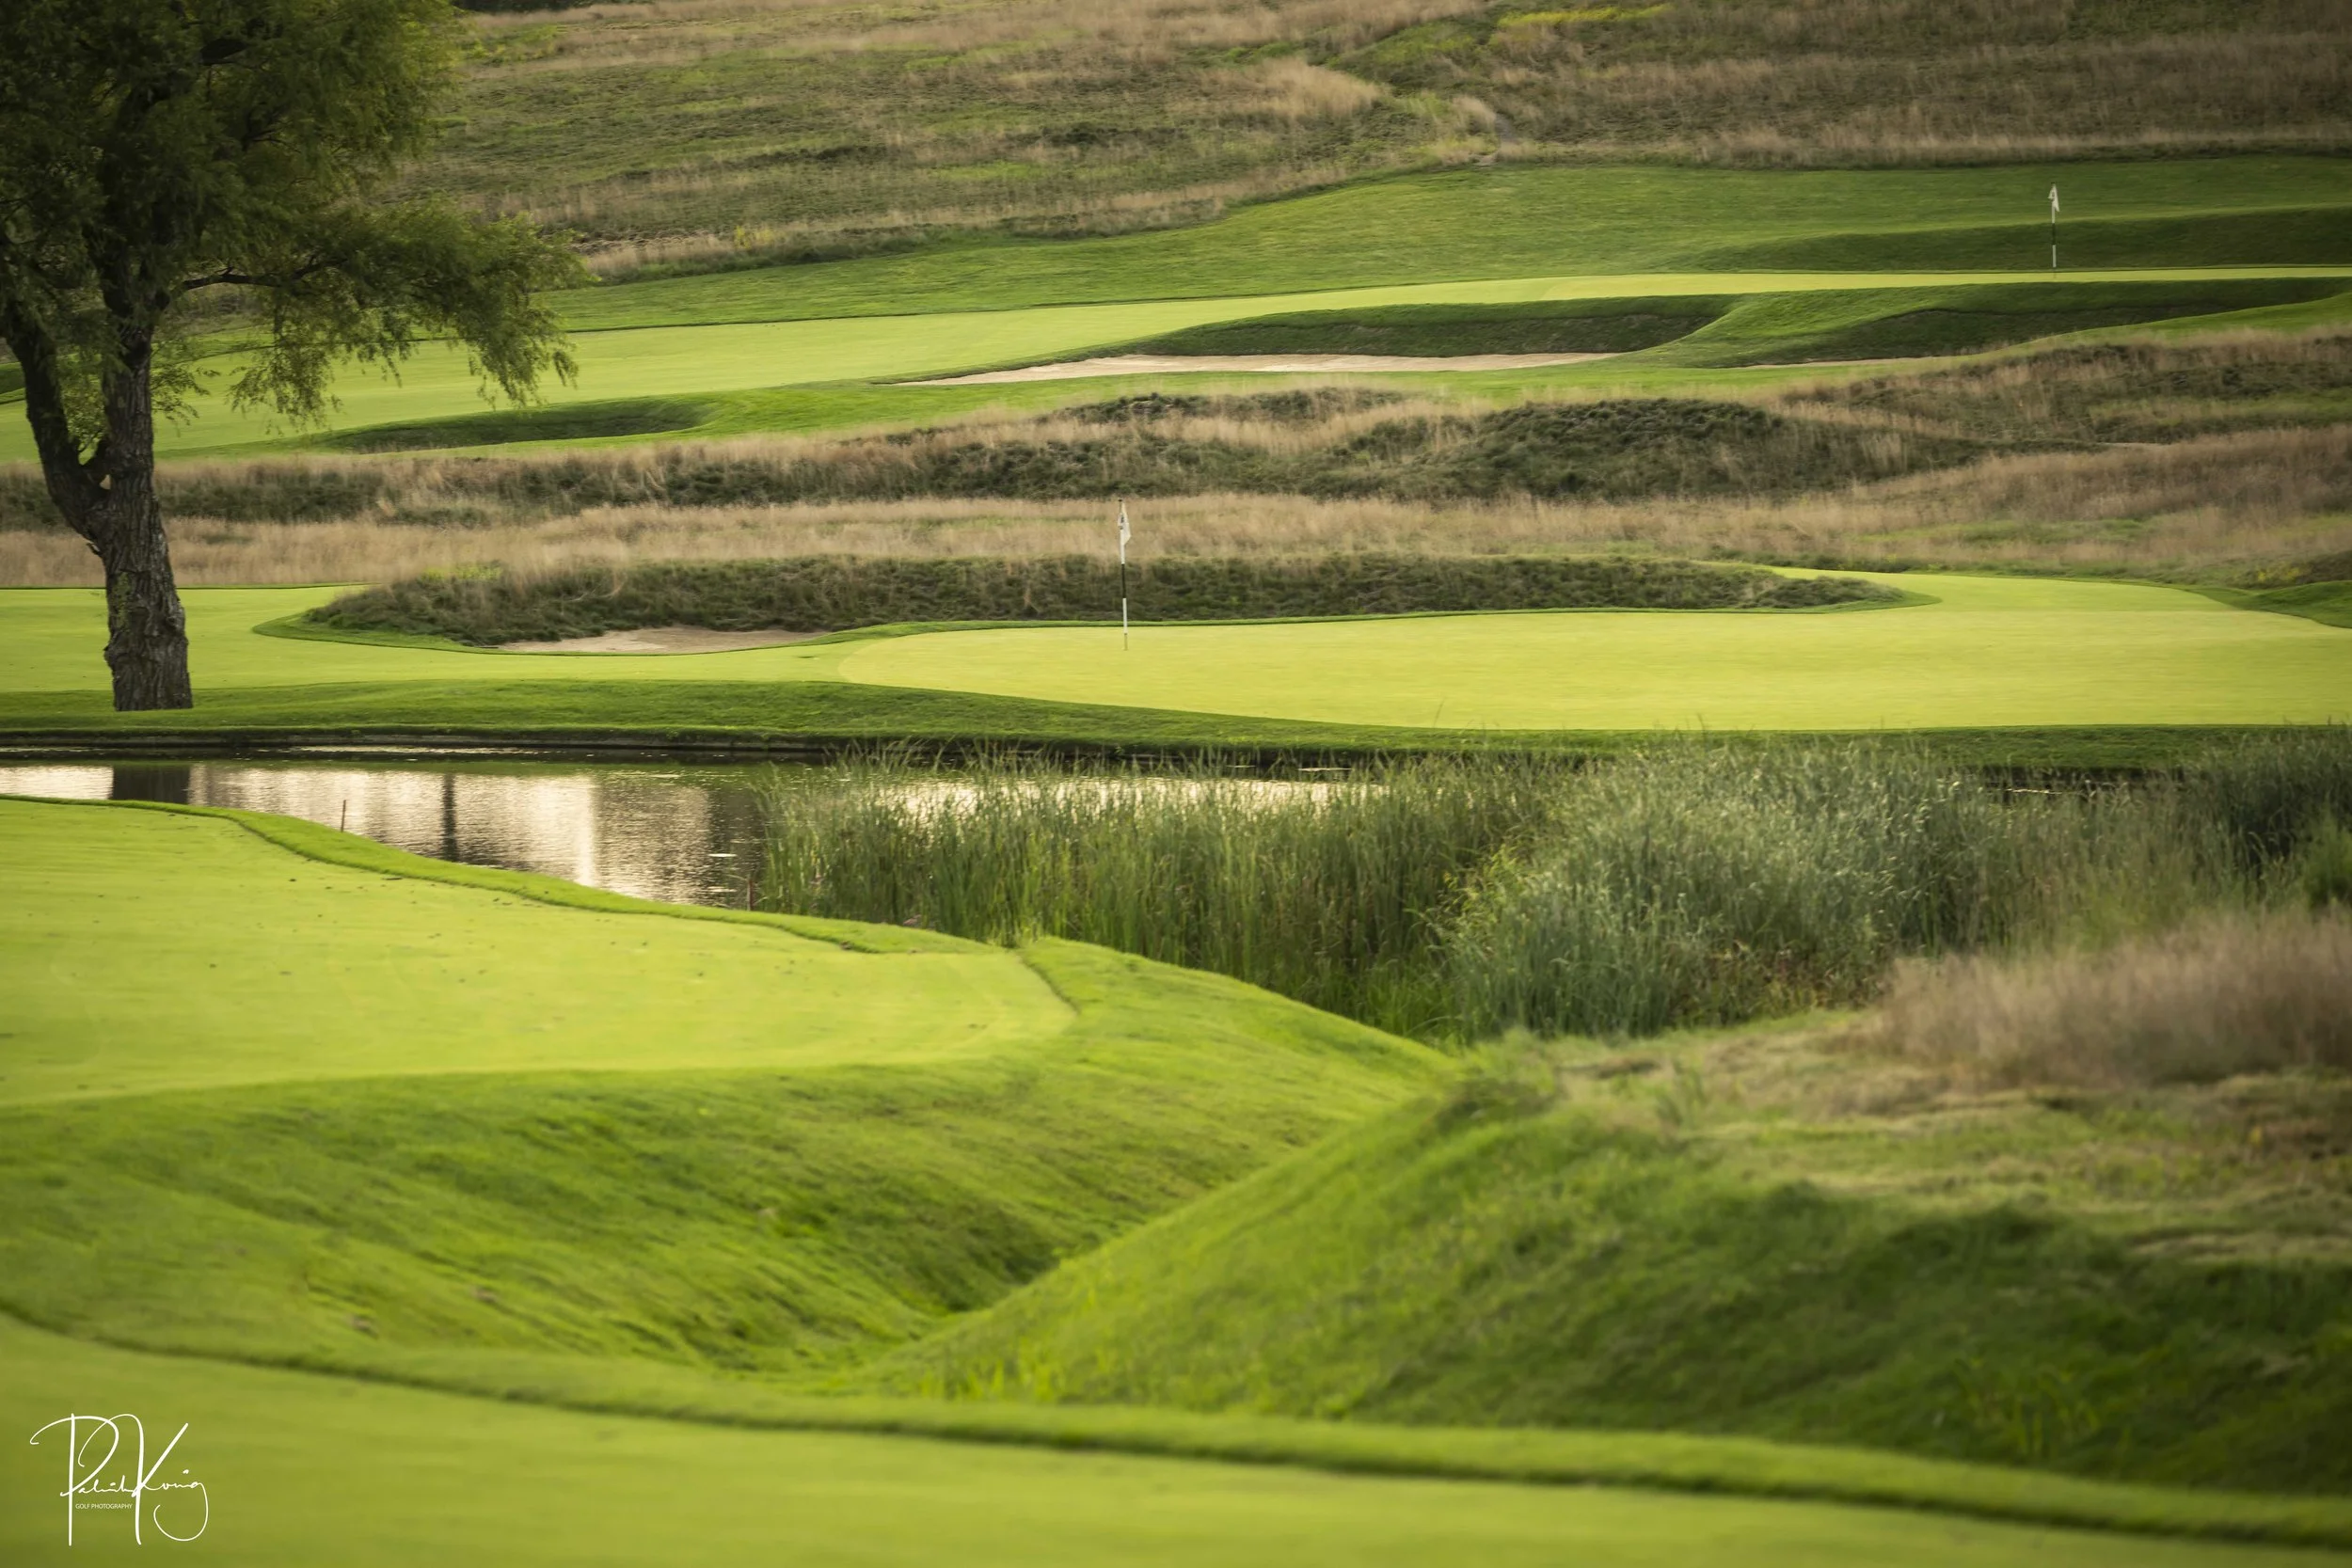
Hole #7 - Heidi Girl - Par 4 - 392 yards
The 7th hole is another short uphill par 4. A big drive can clear the fairway bunkers and cut the corner on this dogleg. You won’t be able to see the putting surface from the fairway, but you will want to take dead aim at this pin and give yourself a good look at birdie.
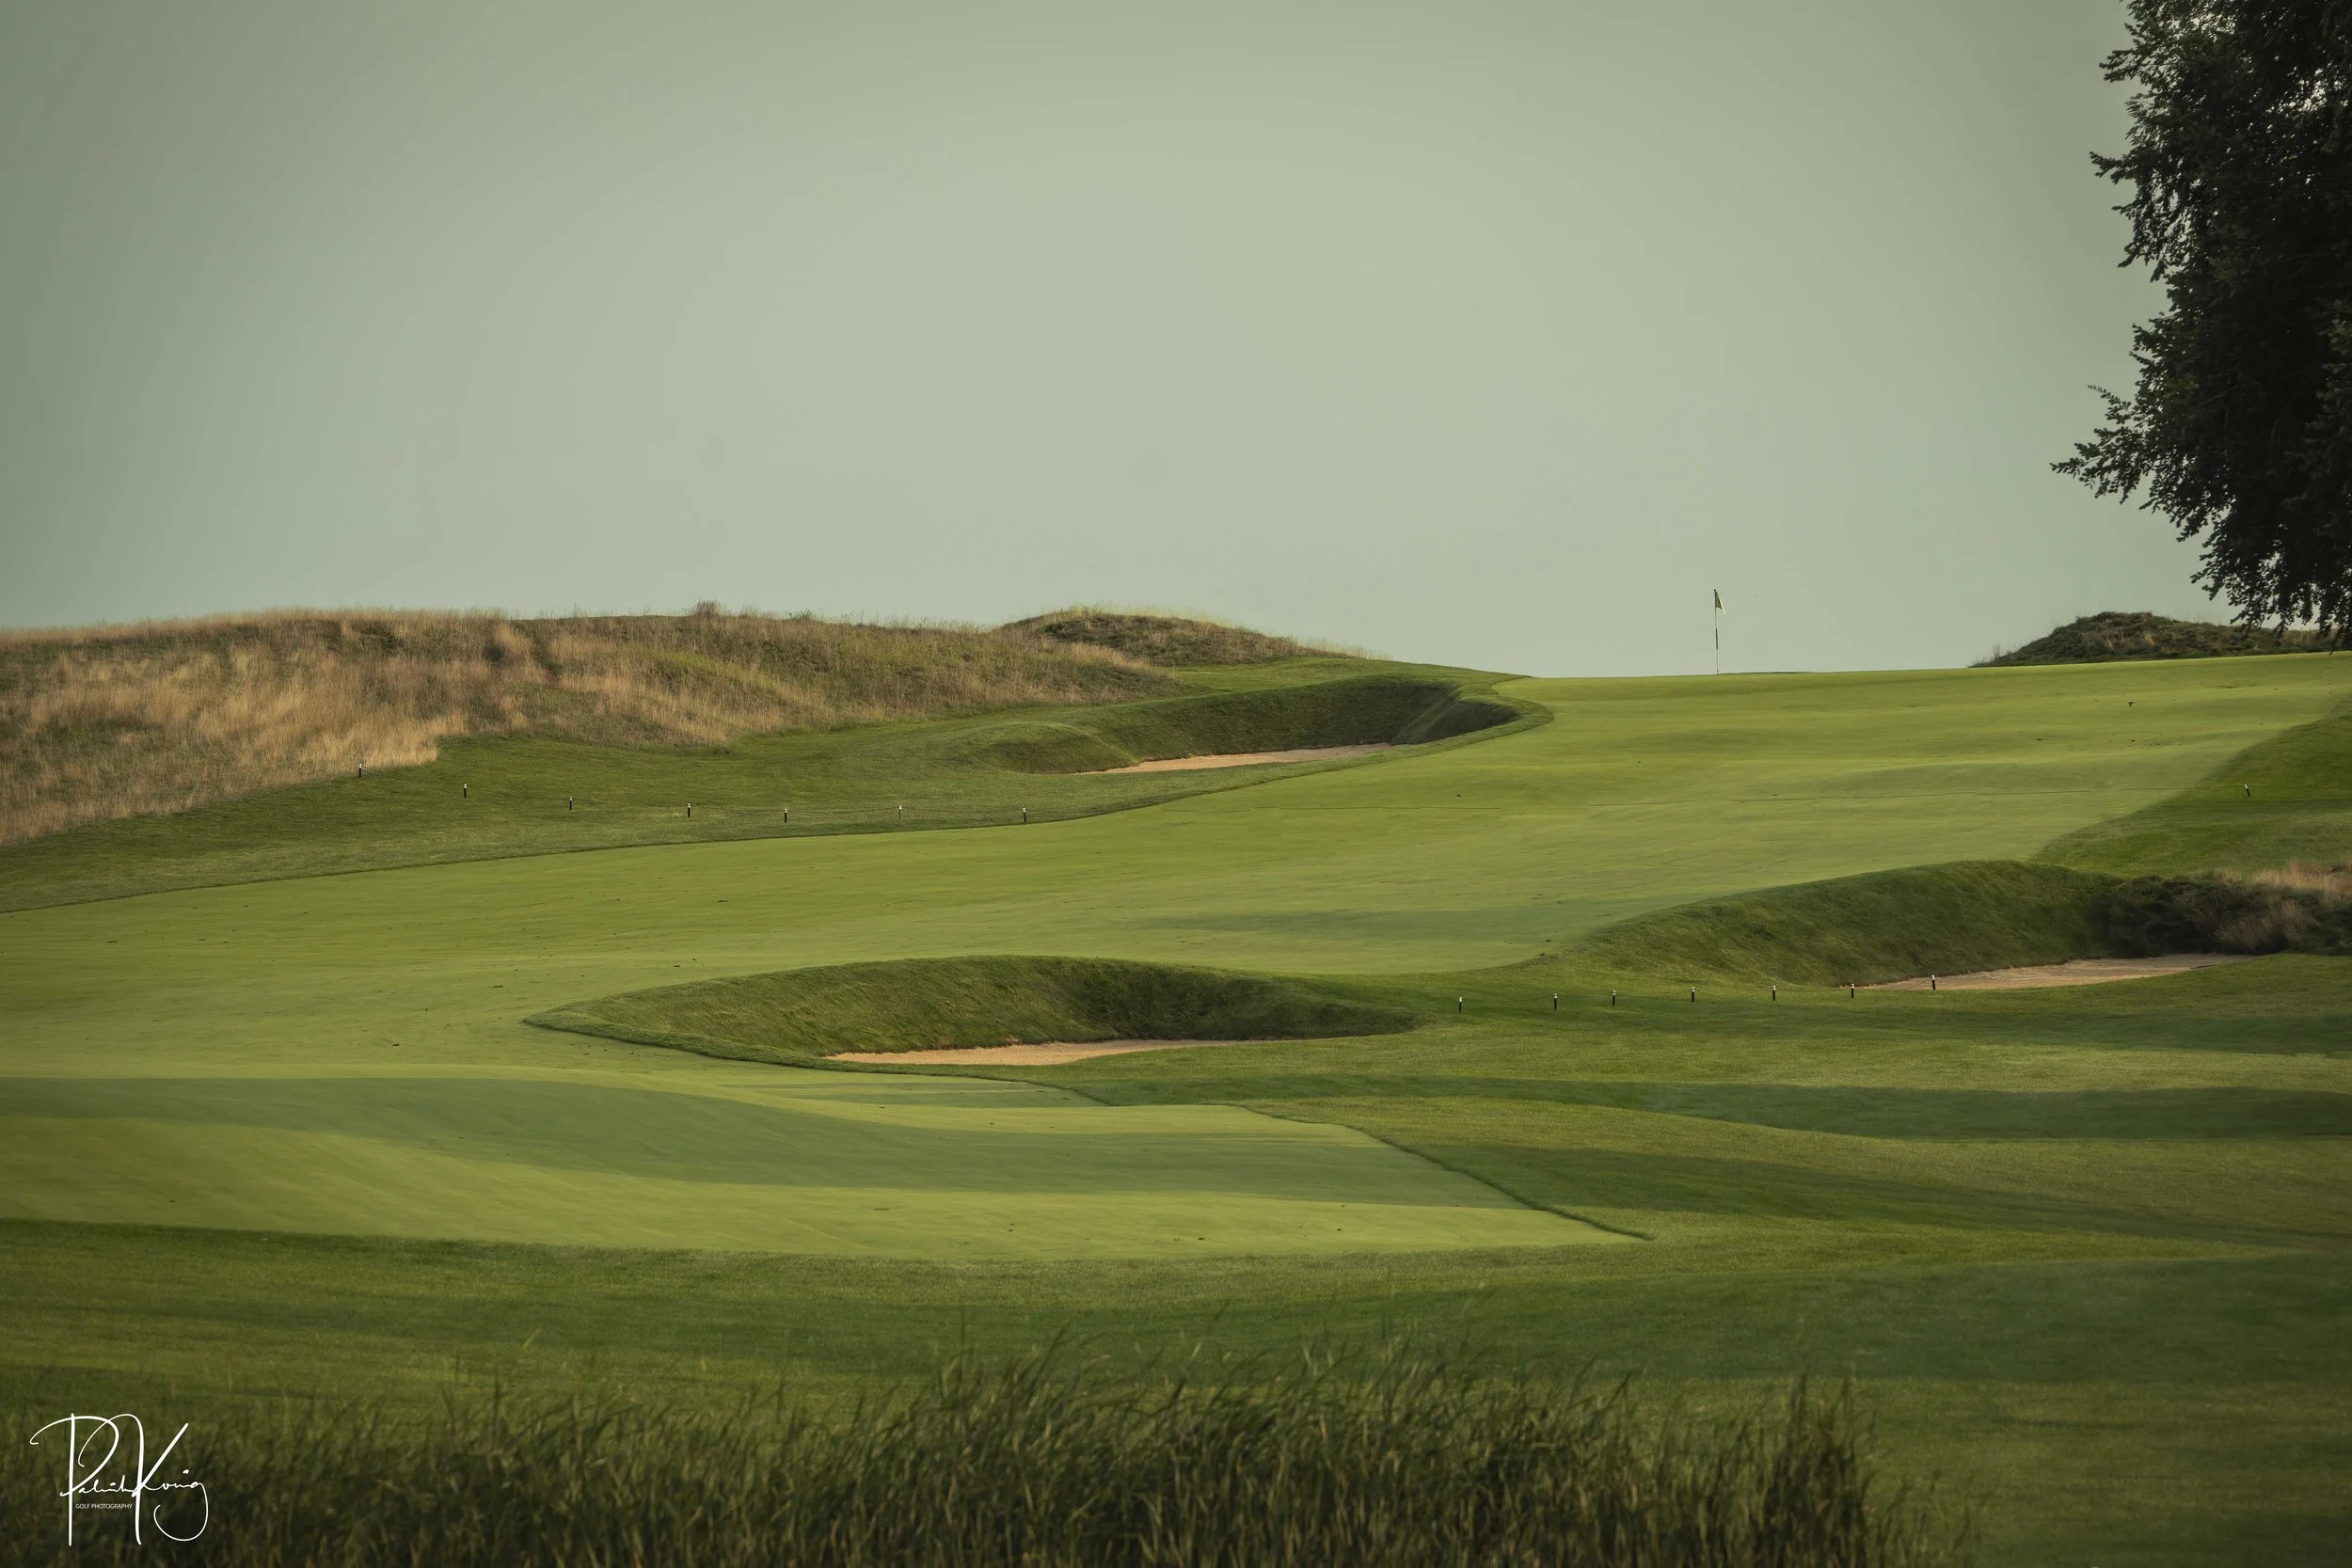
Hole #8 - Serendipity - Par 3 - 236 yards
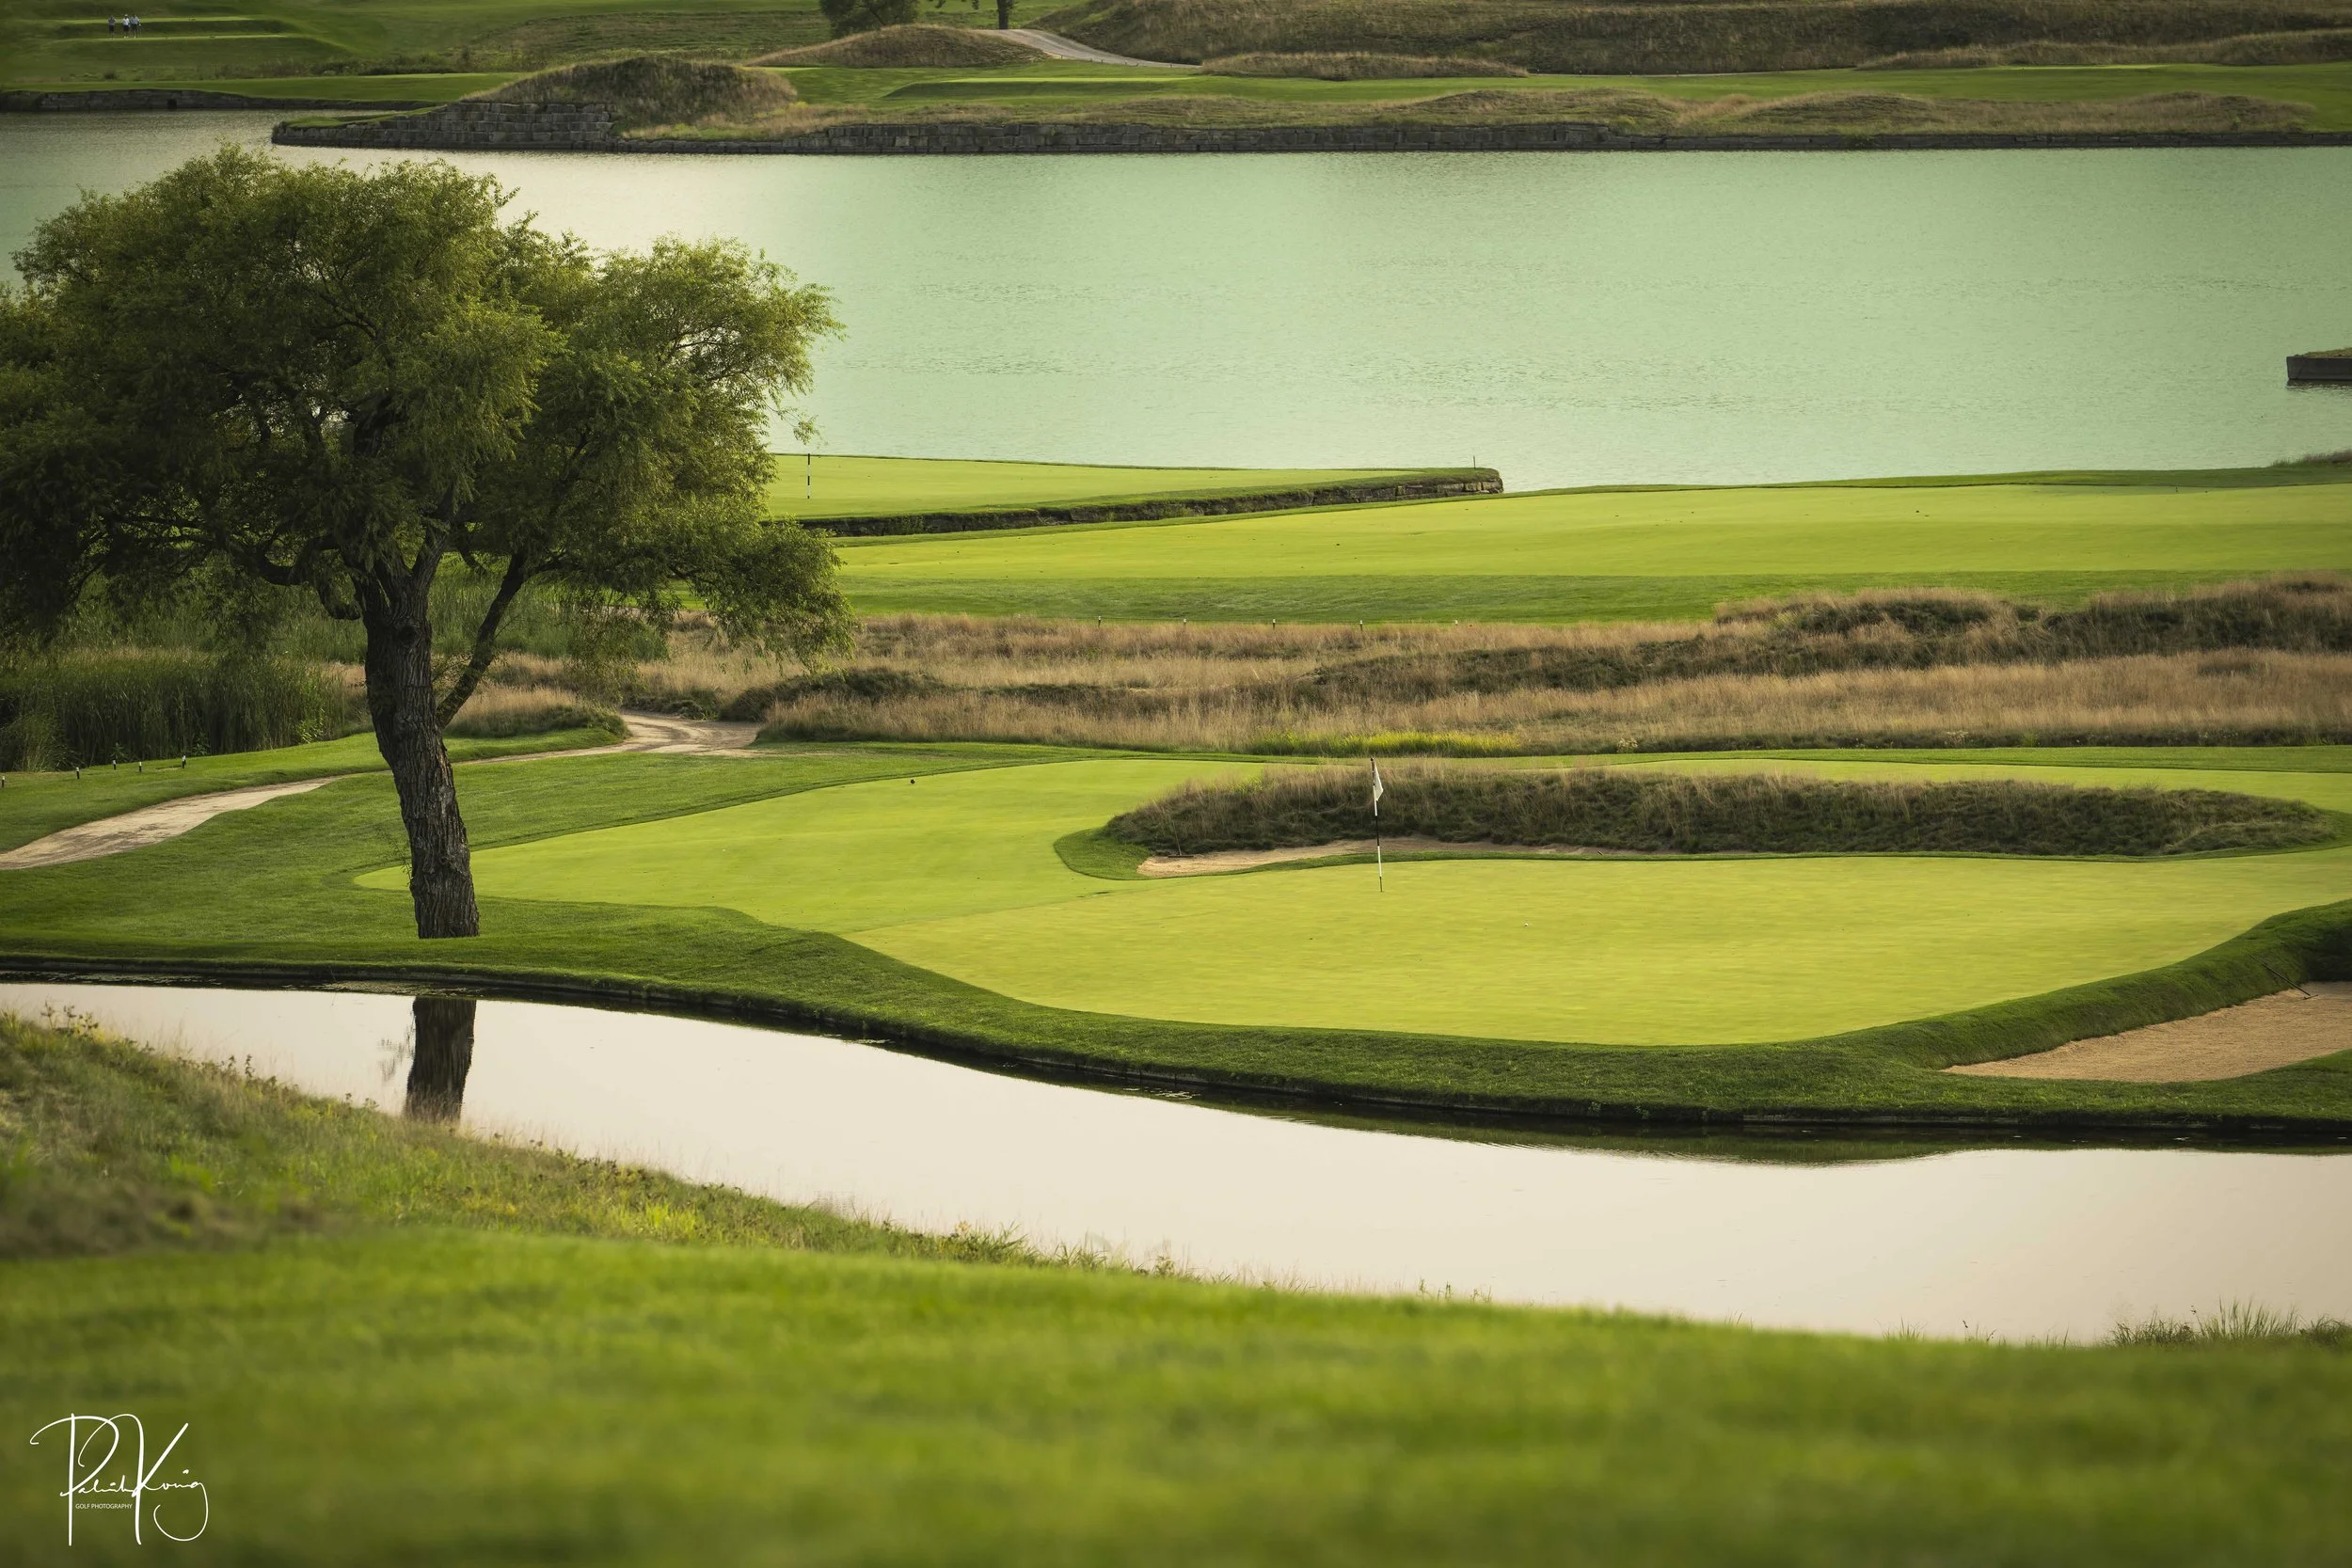
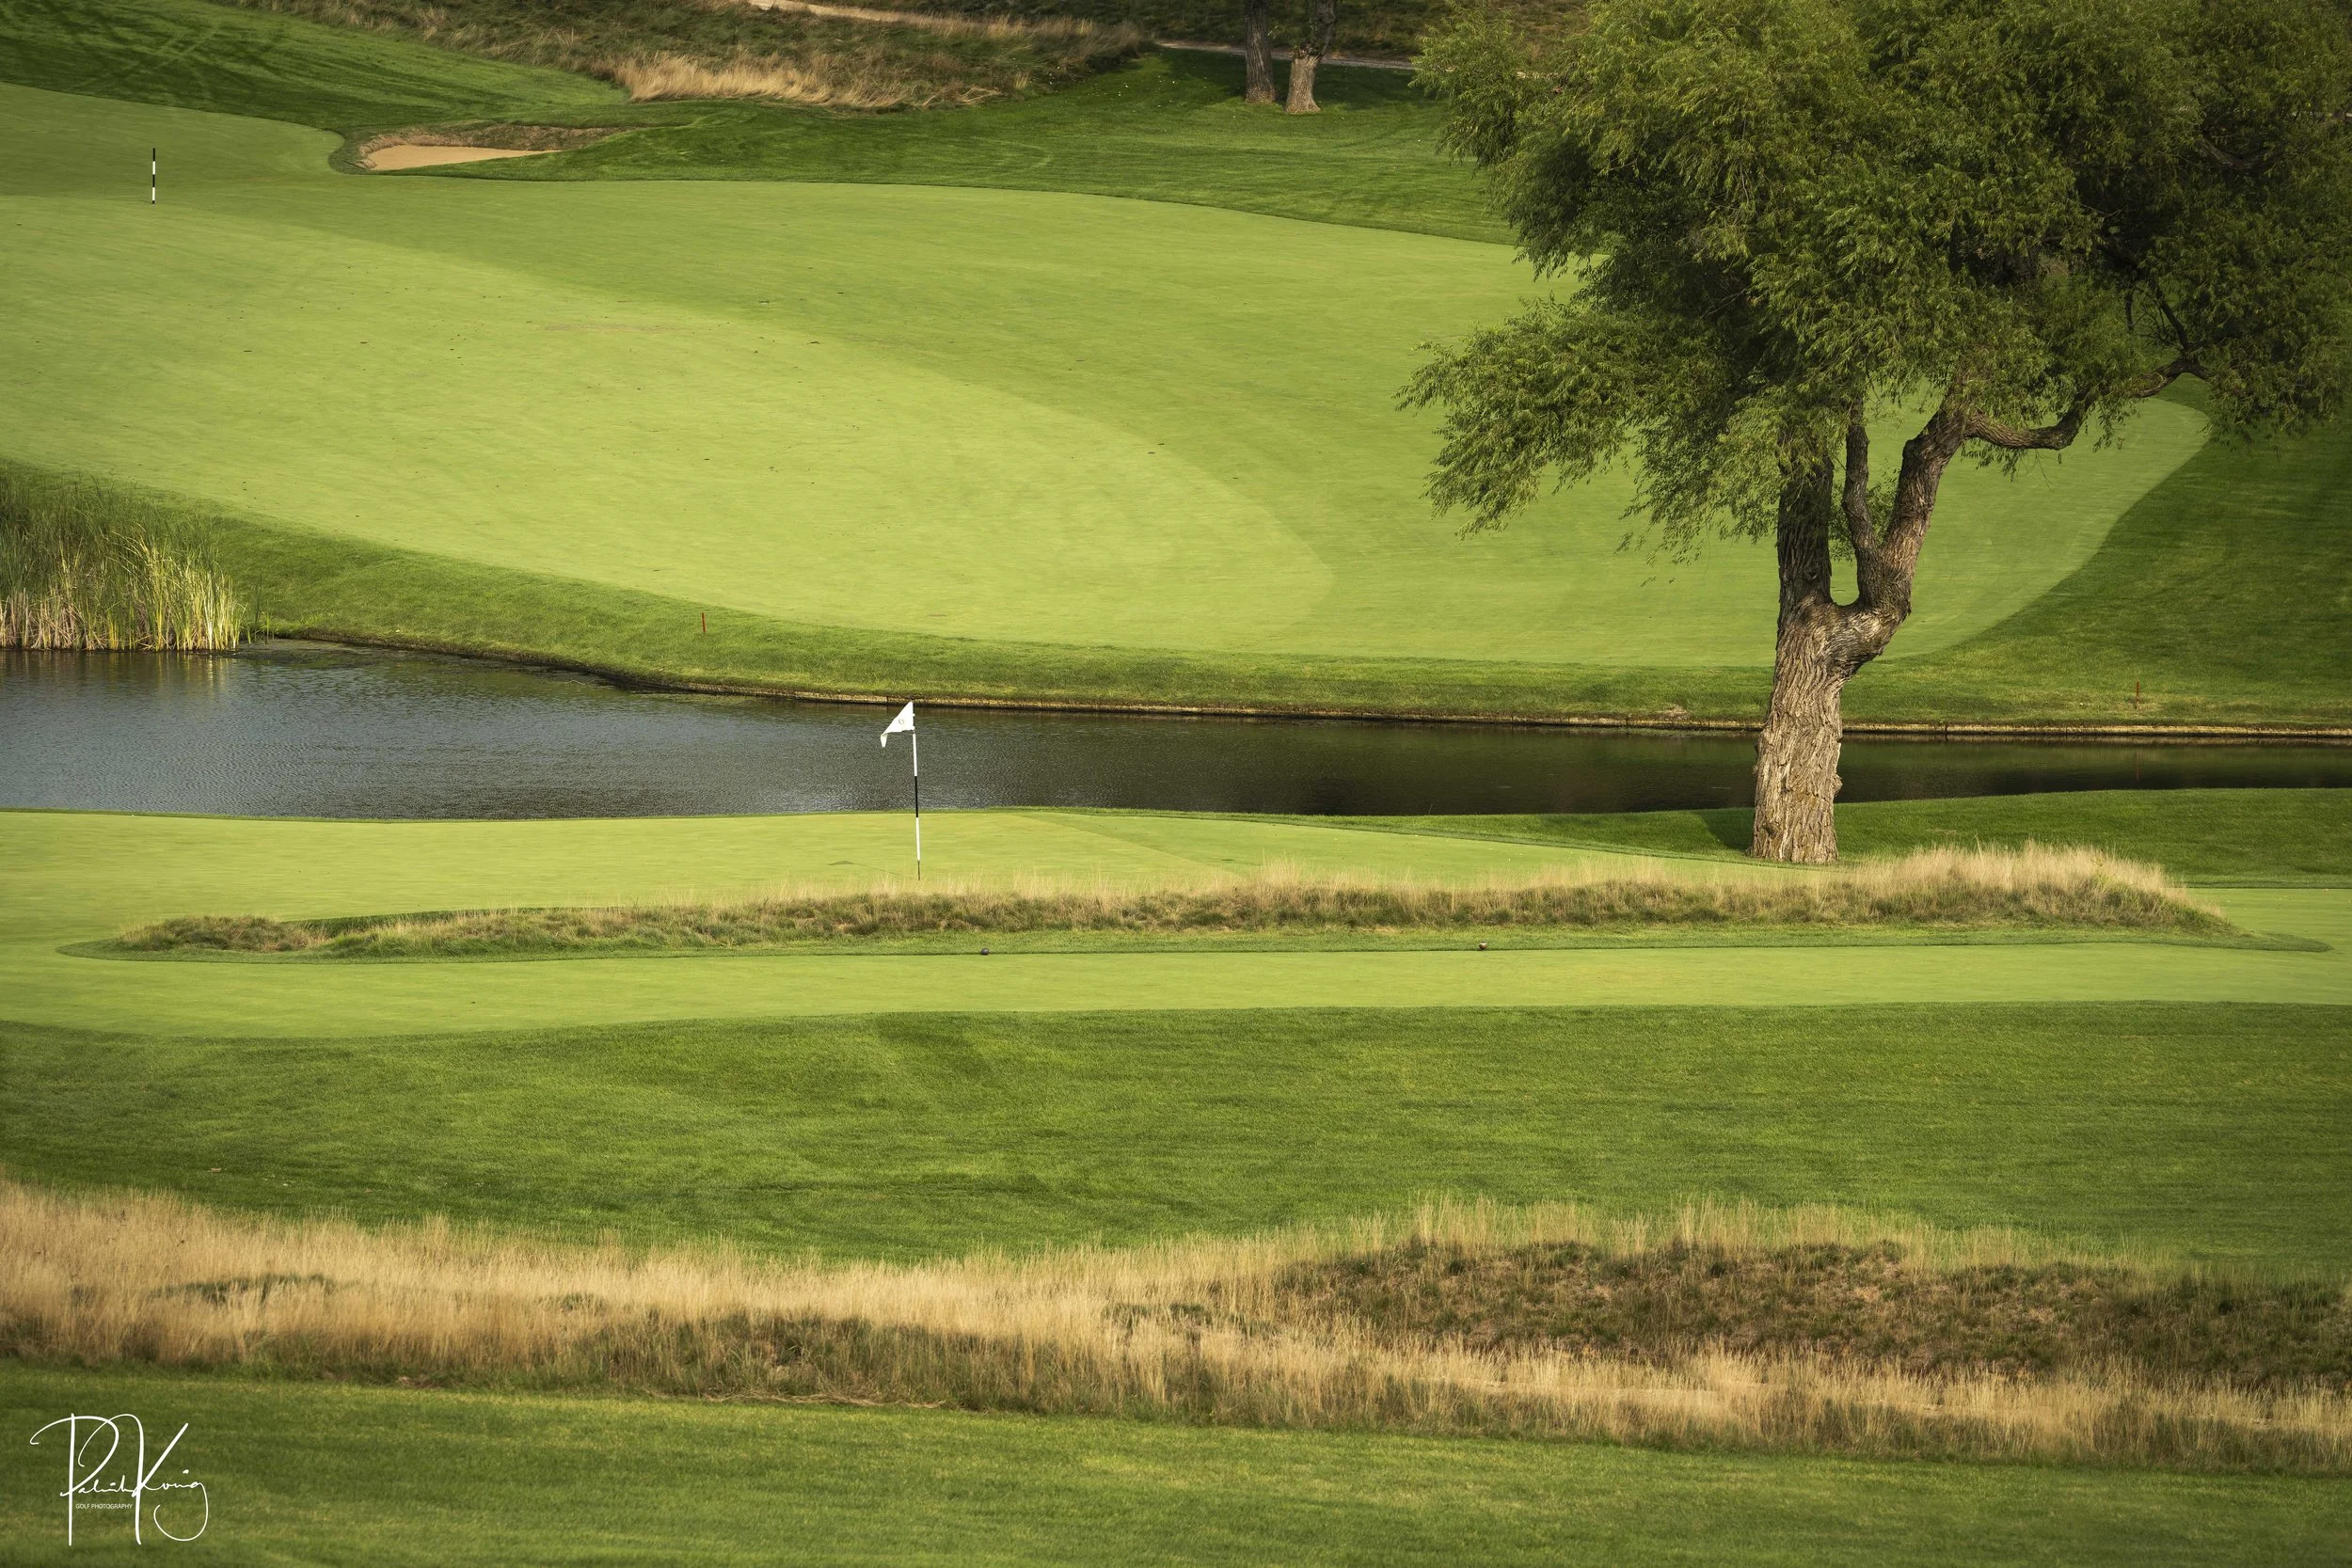
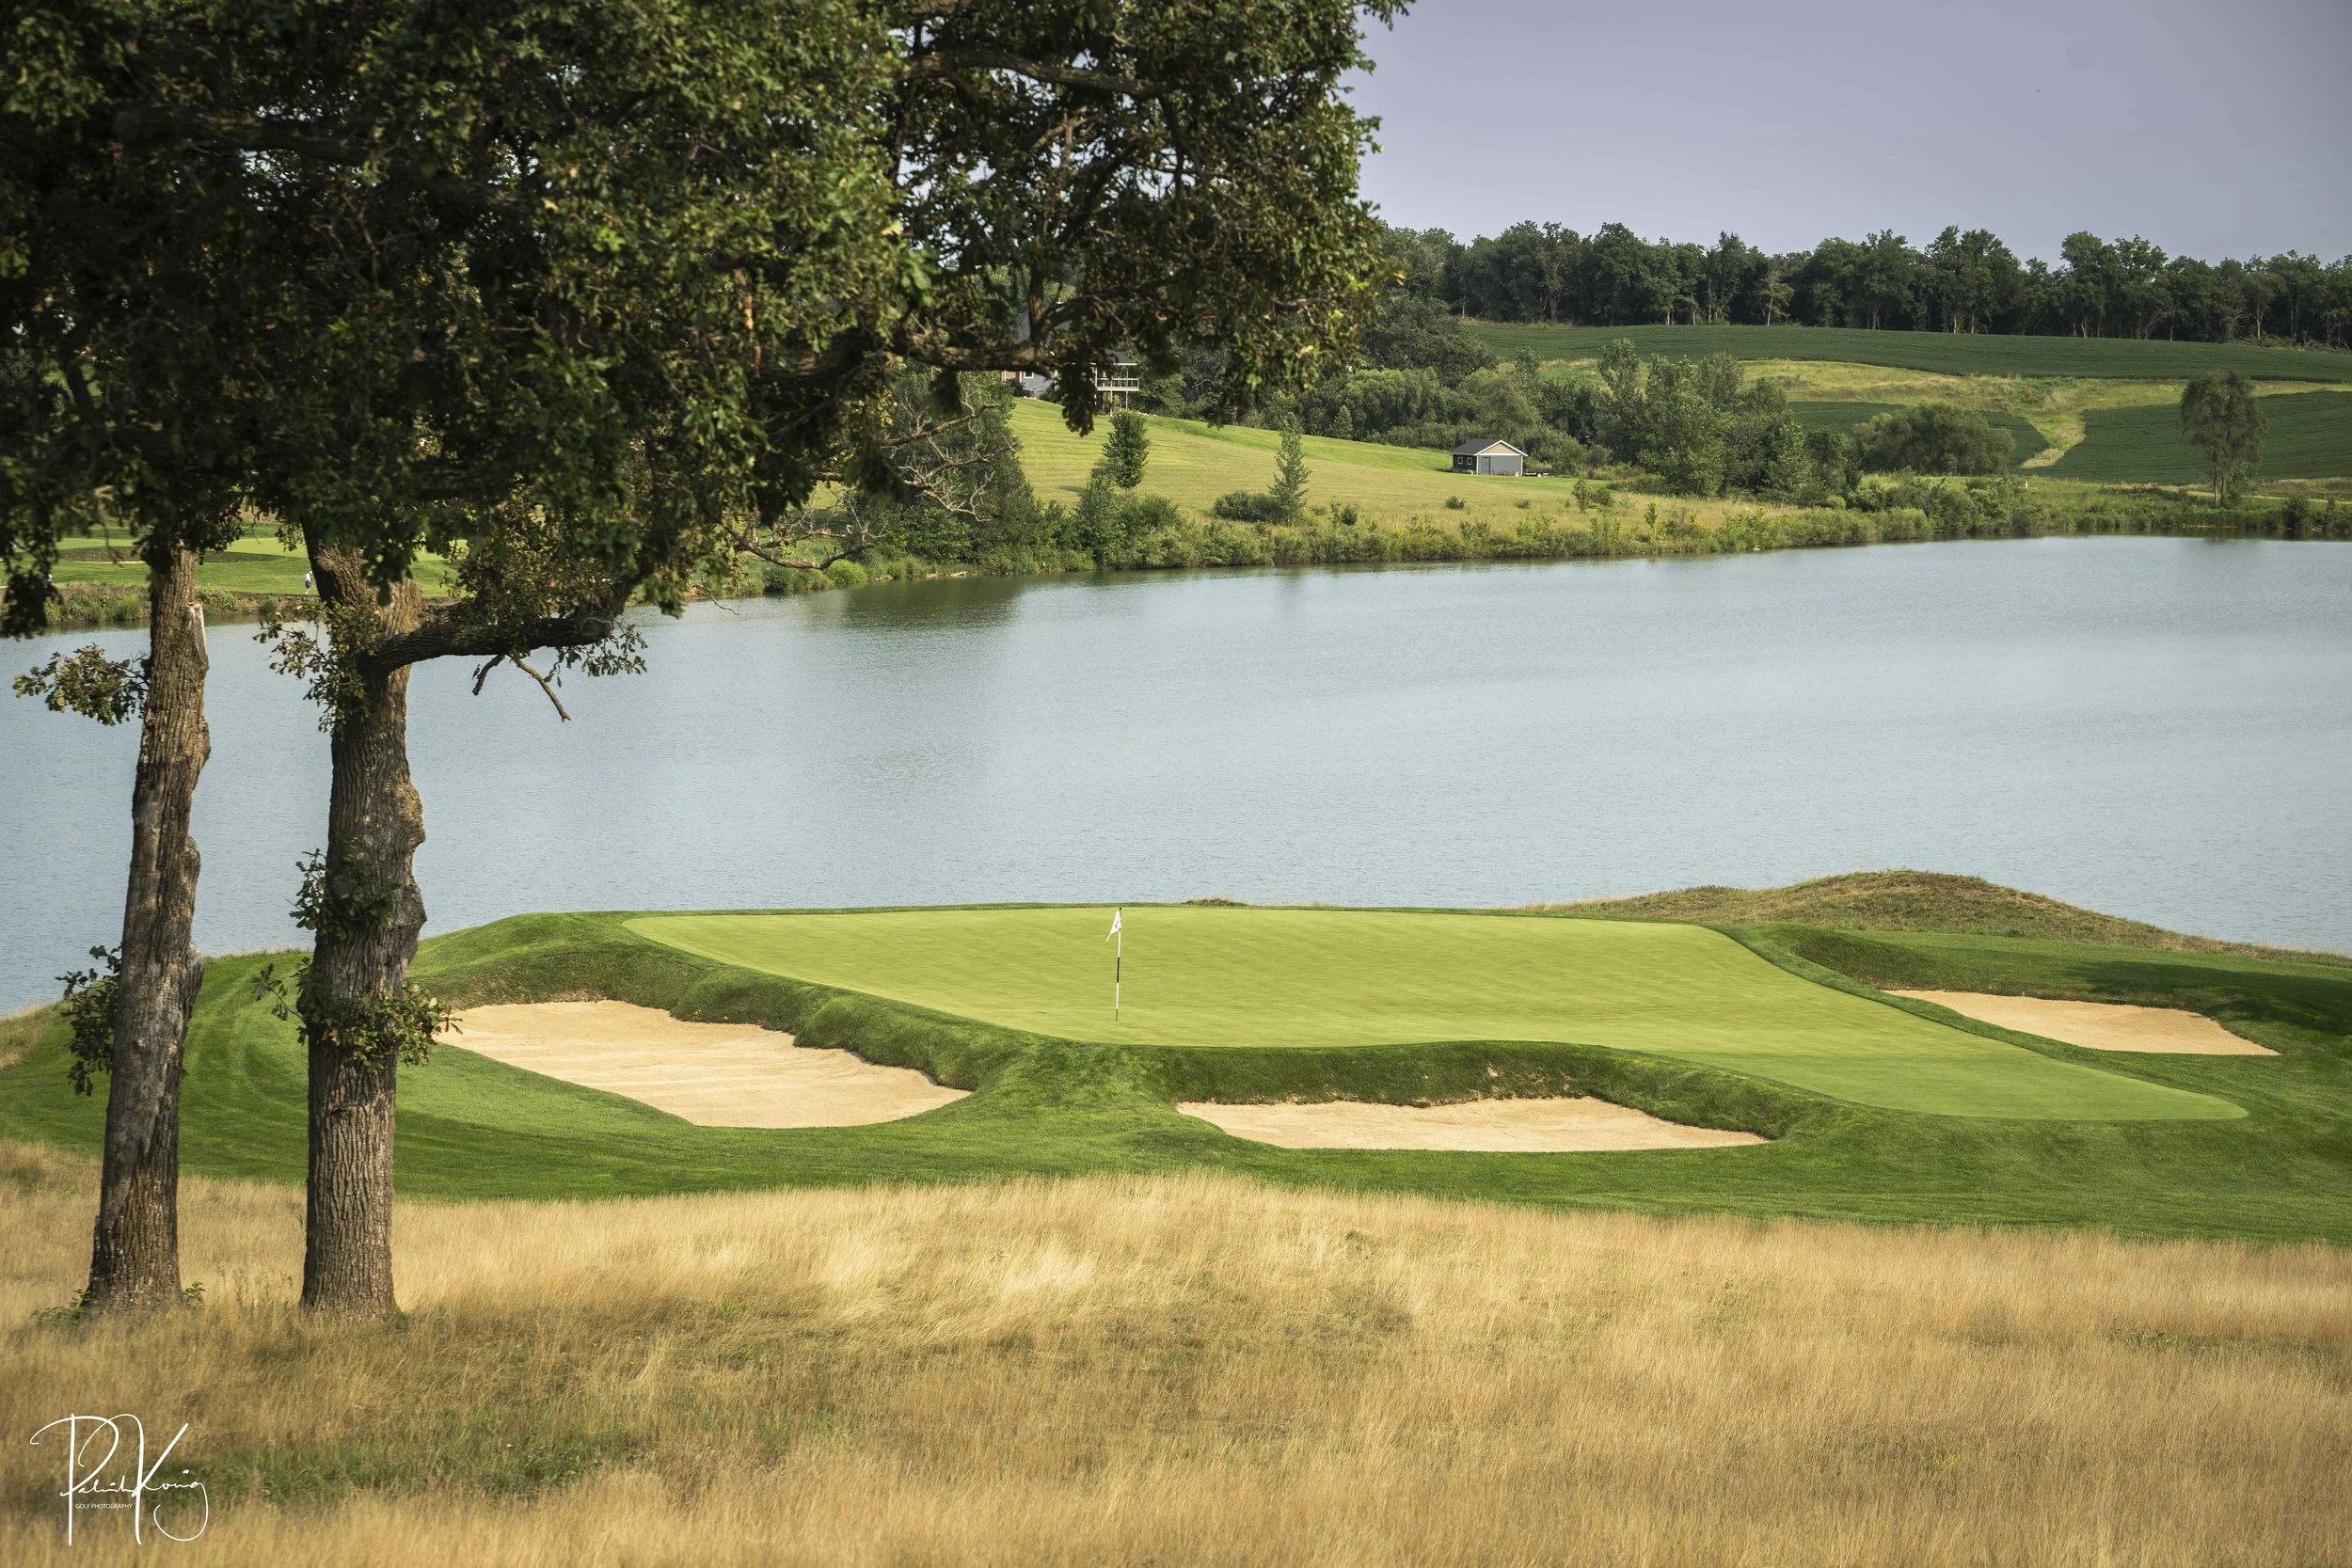
This long par 3 plays right up against Lake Harvester. Don’t fret, a bunker over the back of the green will stop most golf balls from getting wet. The most compelling part of the 8th hole are the lines created by the tee grounds, approach areas and bunkering. The photo below does a great job at showcasing the angular design.
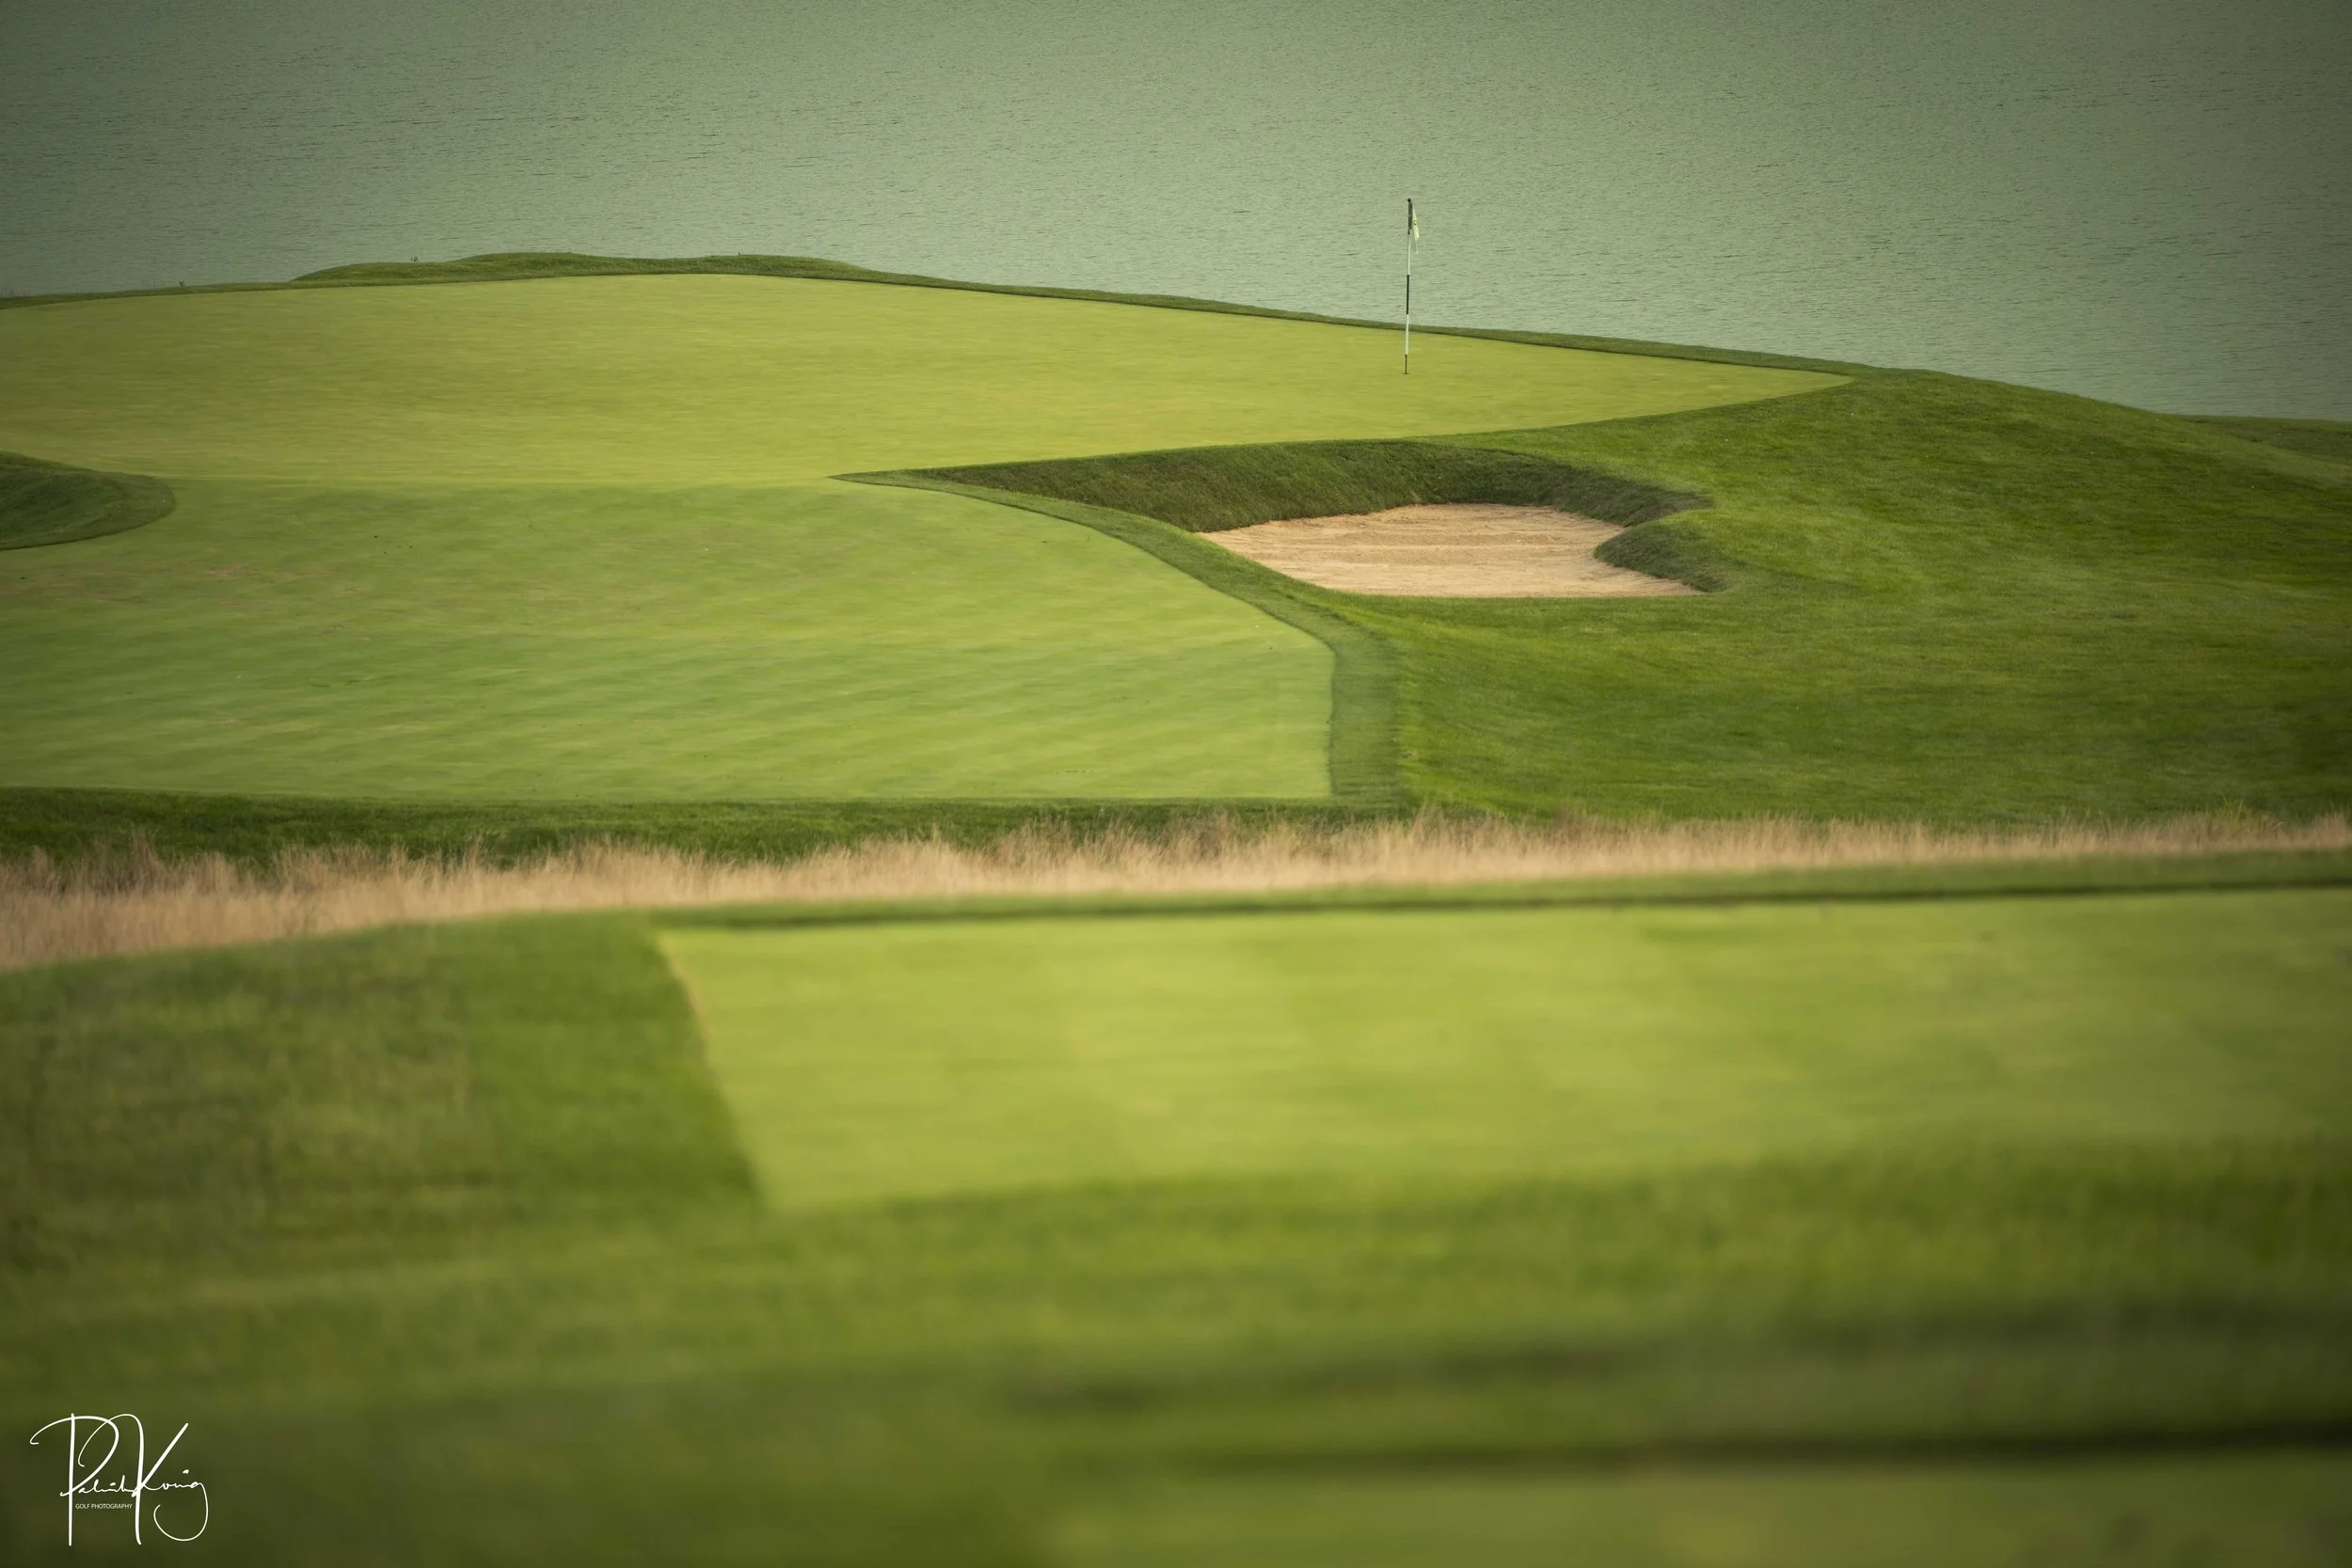
Hole #9 - Wish and a Prayer - Par 4 - 437 yards
The quickest way to piss off a golfer is to take the driver out of his/her hands on a long par 4. The 9th hole does exactly that by positioning a creek directly in the landing zone for most golfers. The result is that most golfers are going to play a longer iron into this well protected green. A buttery baby fade plays nicely on the approach here.
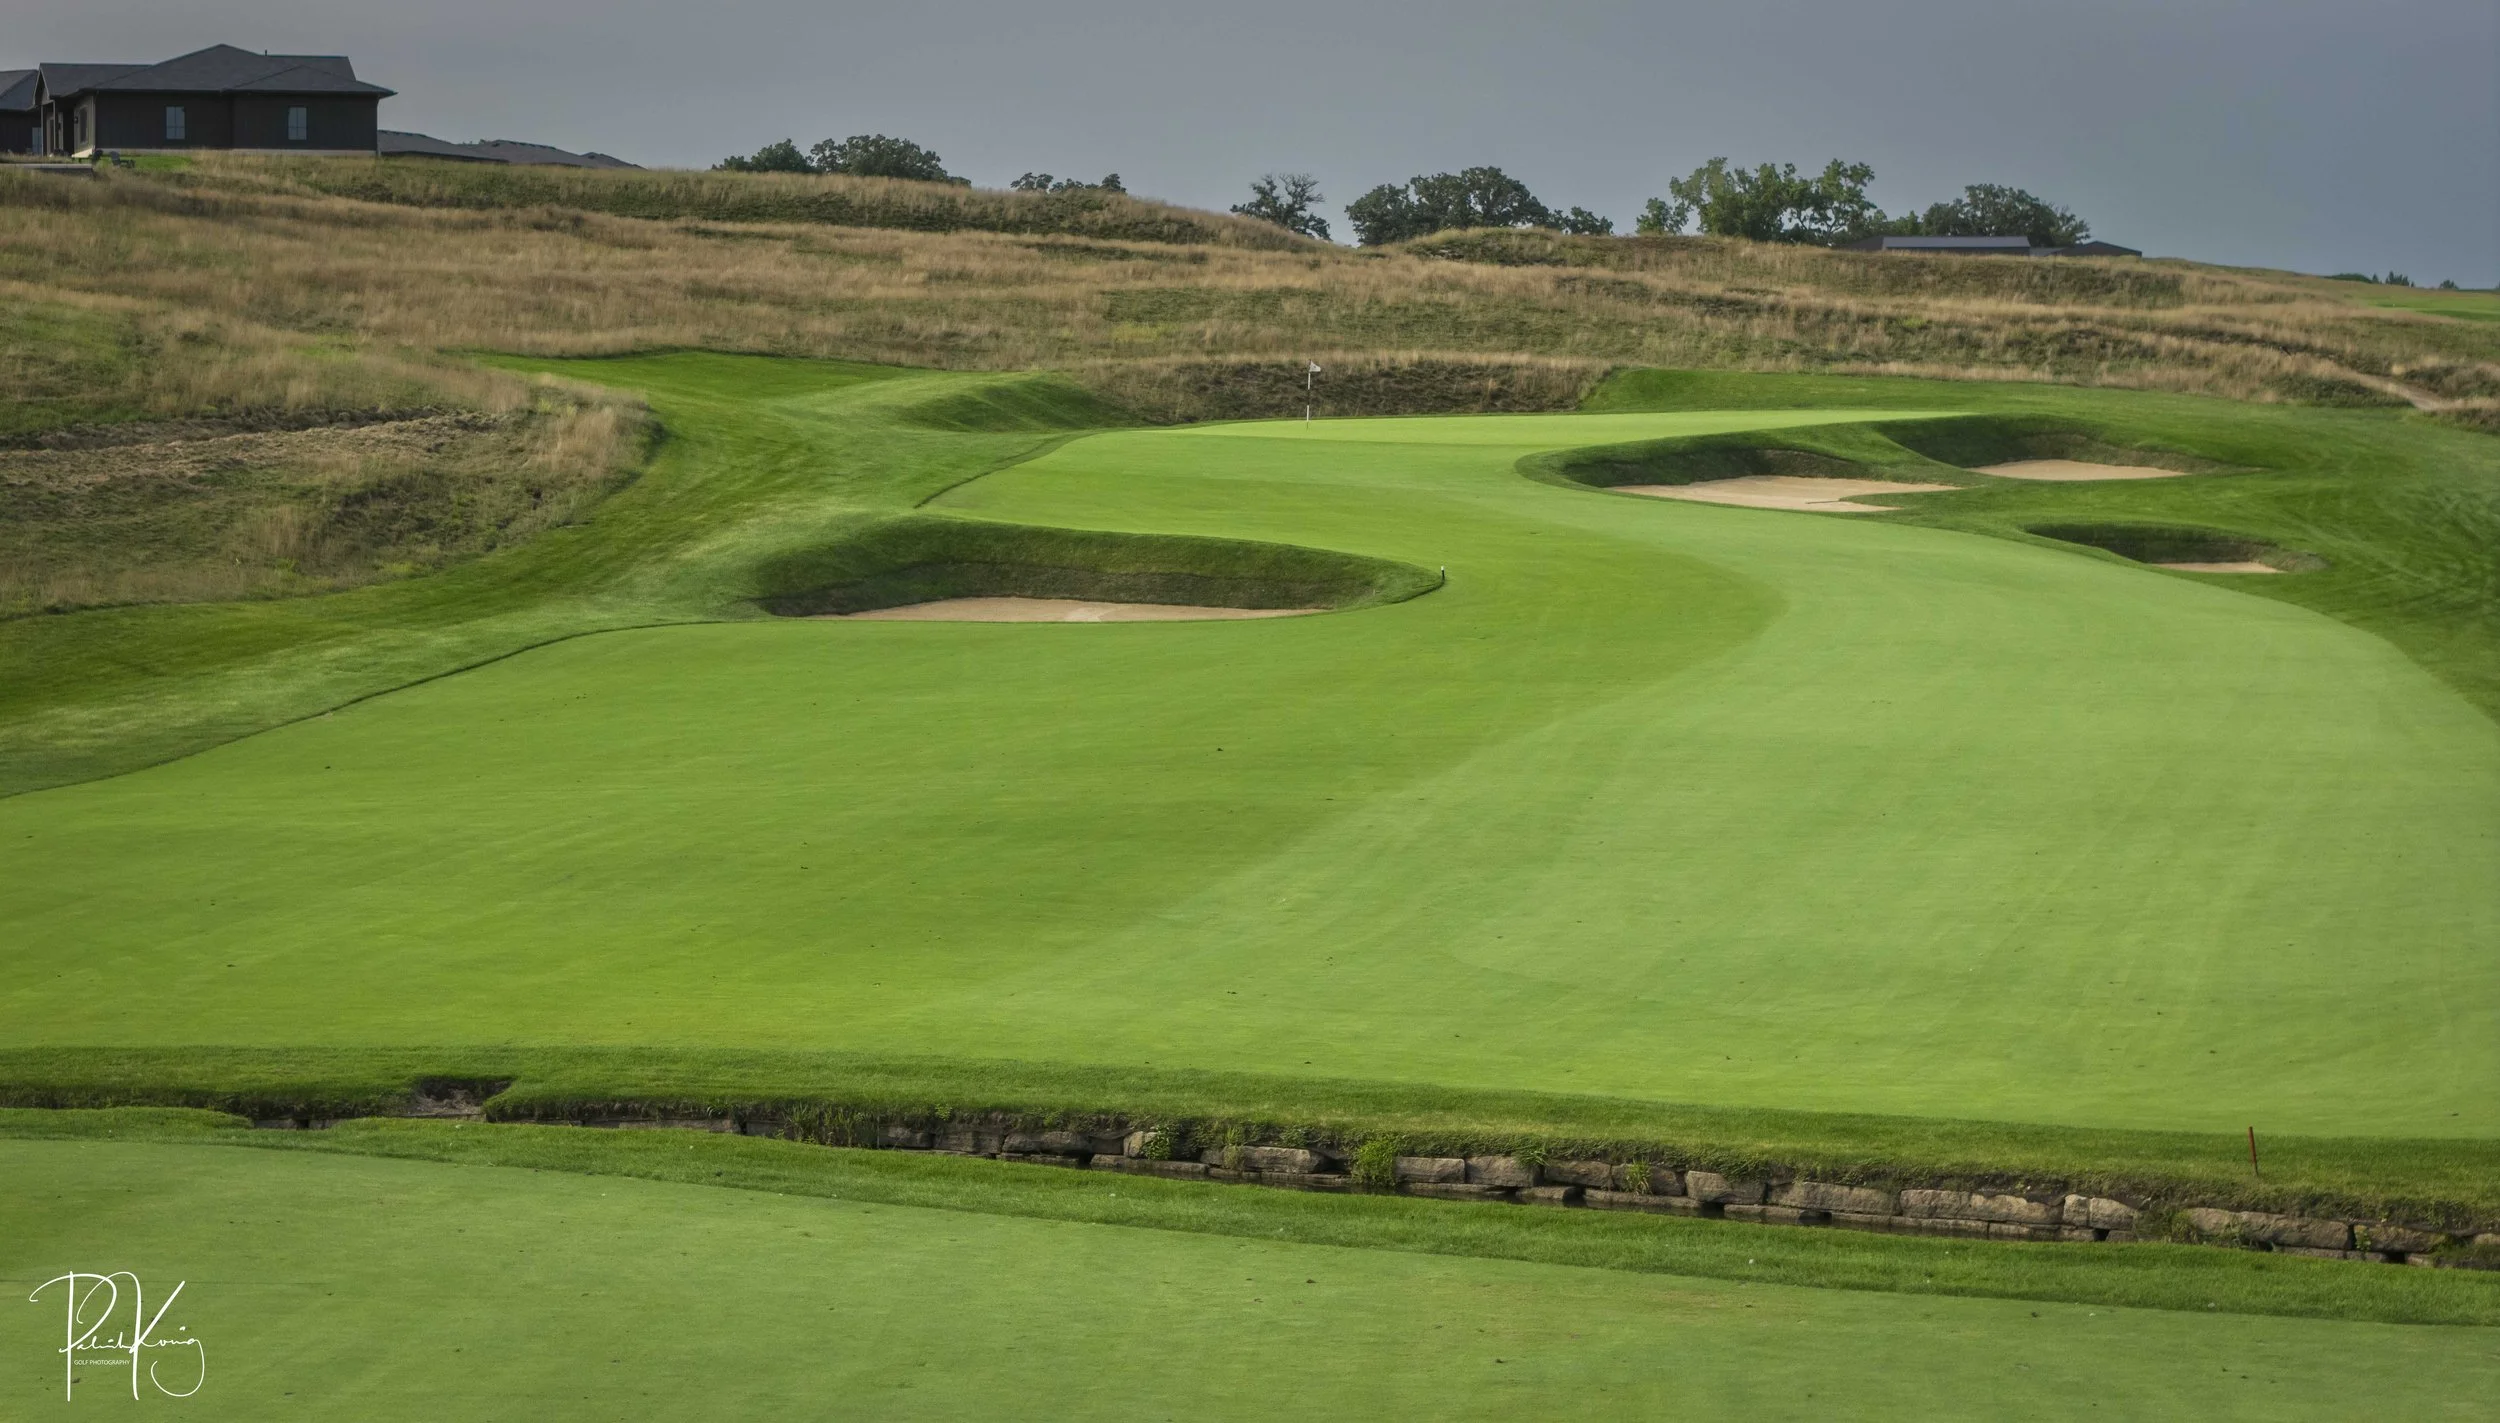
Hole #10 - 88 Rods - Par 4 - 450 yards
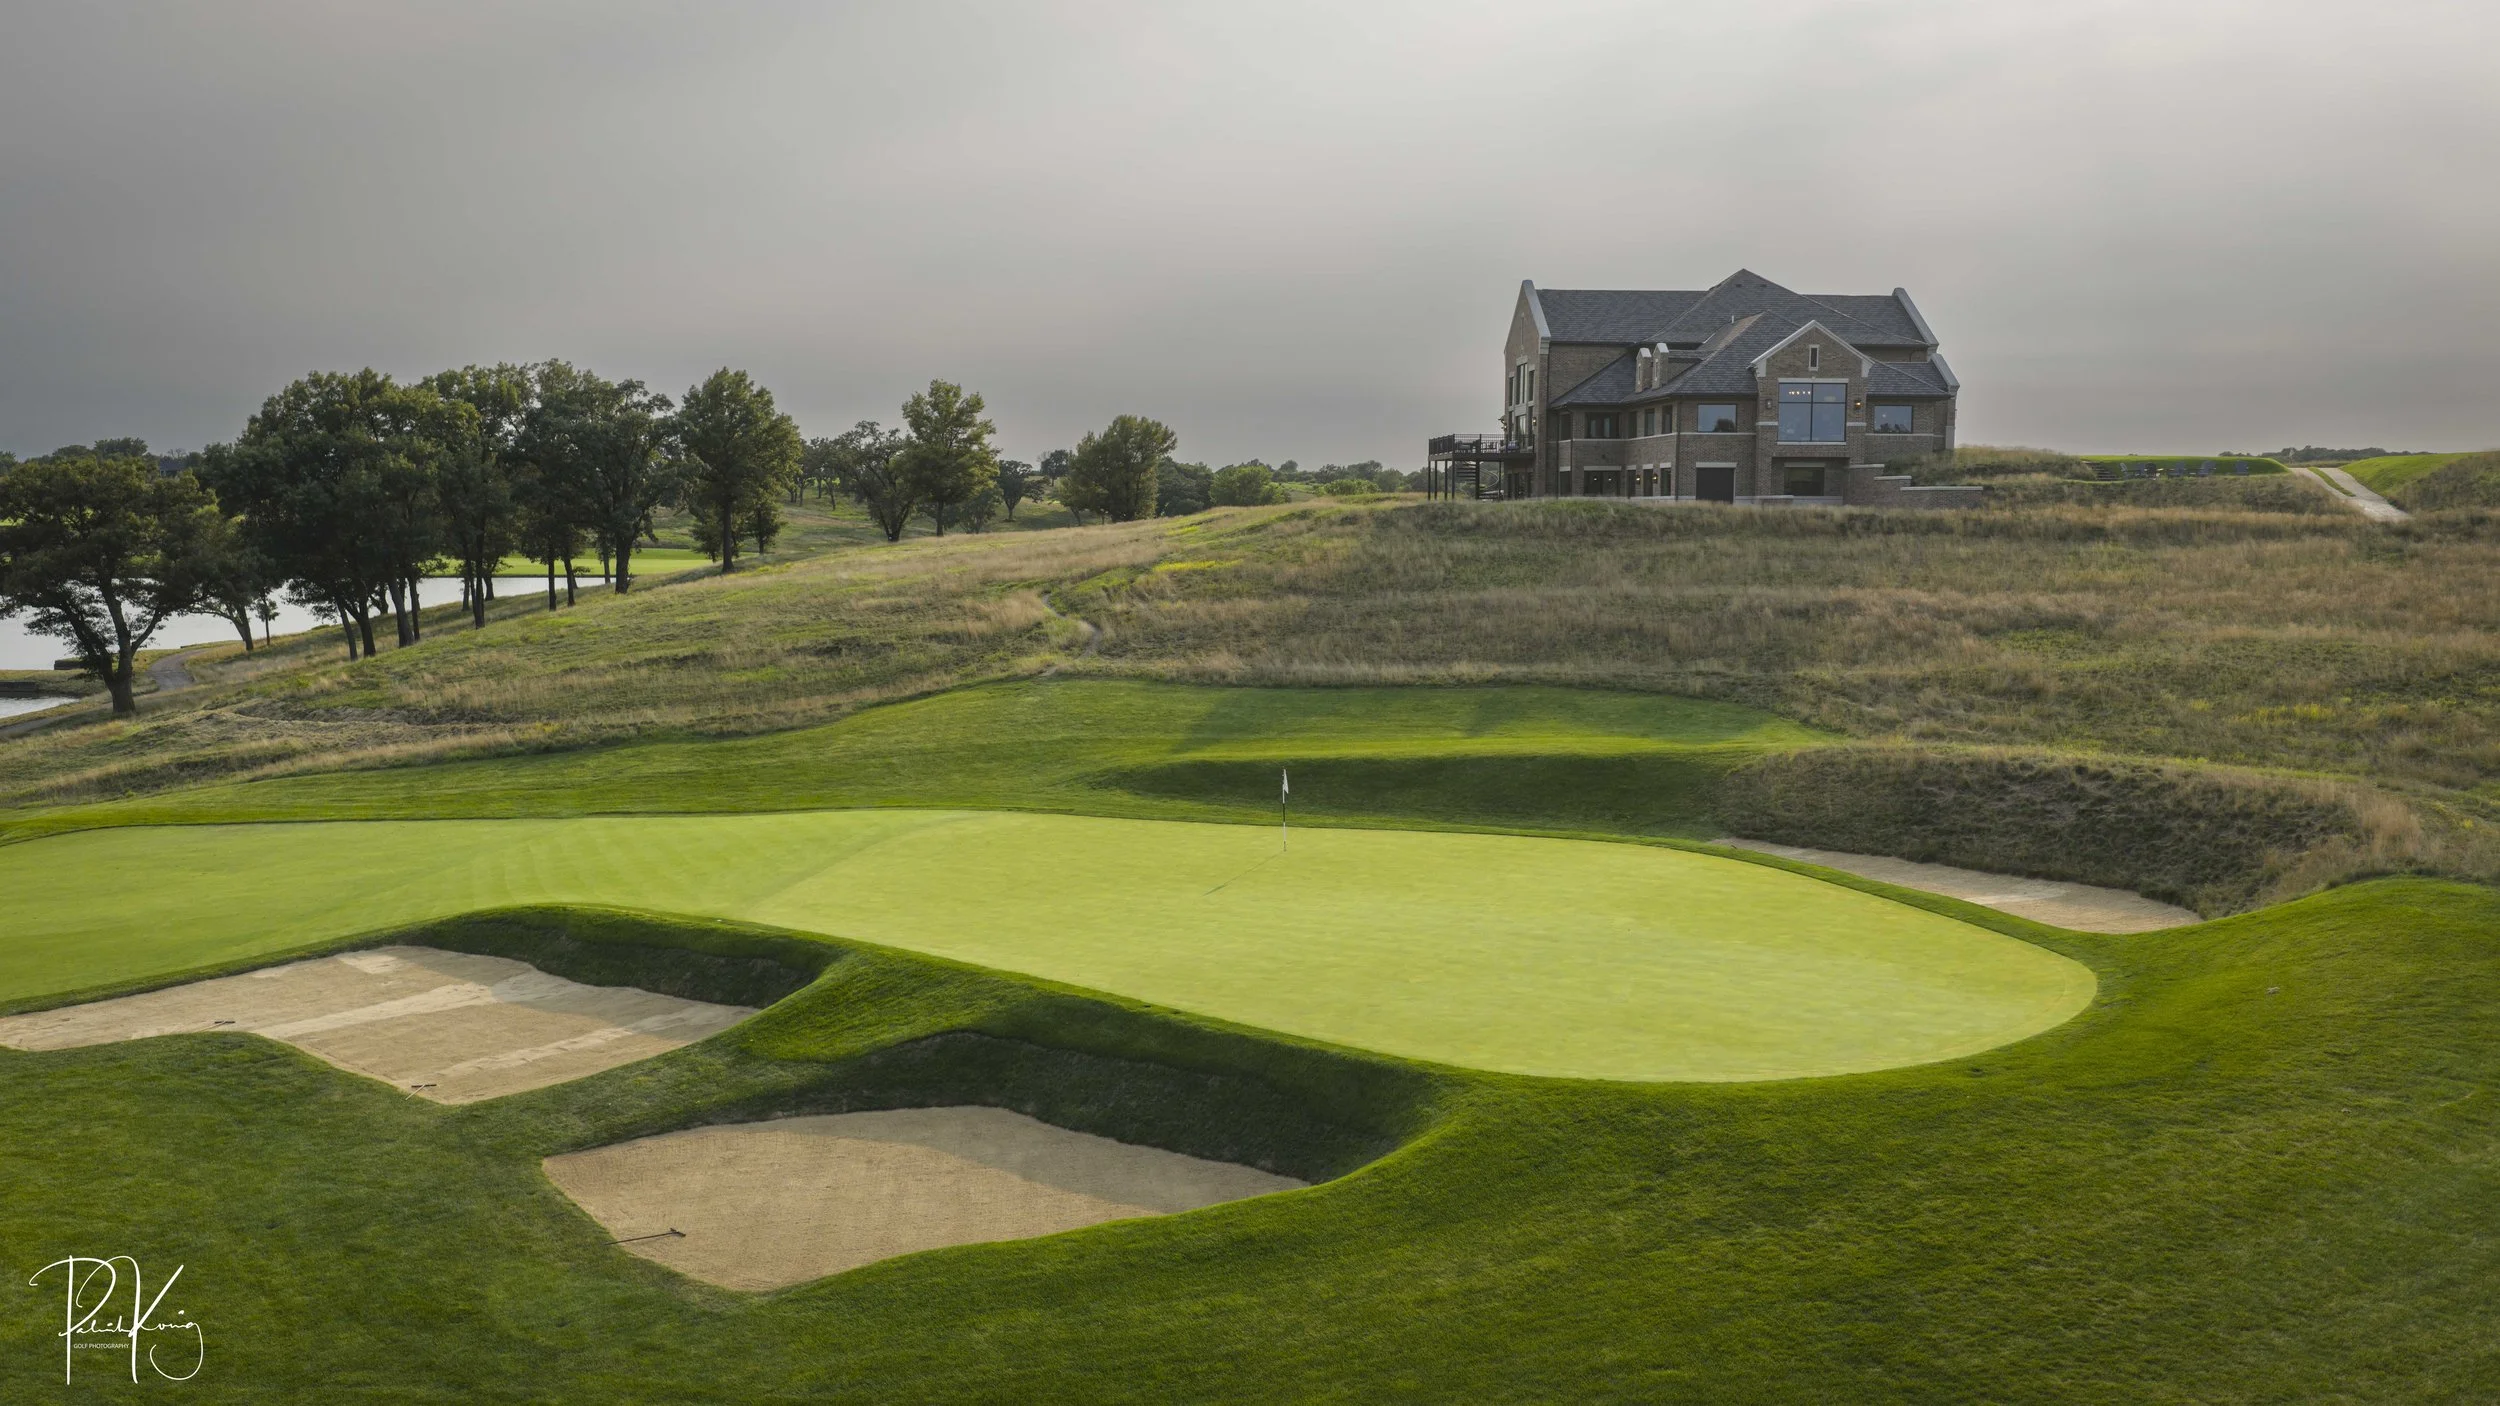
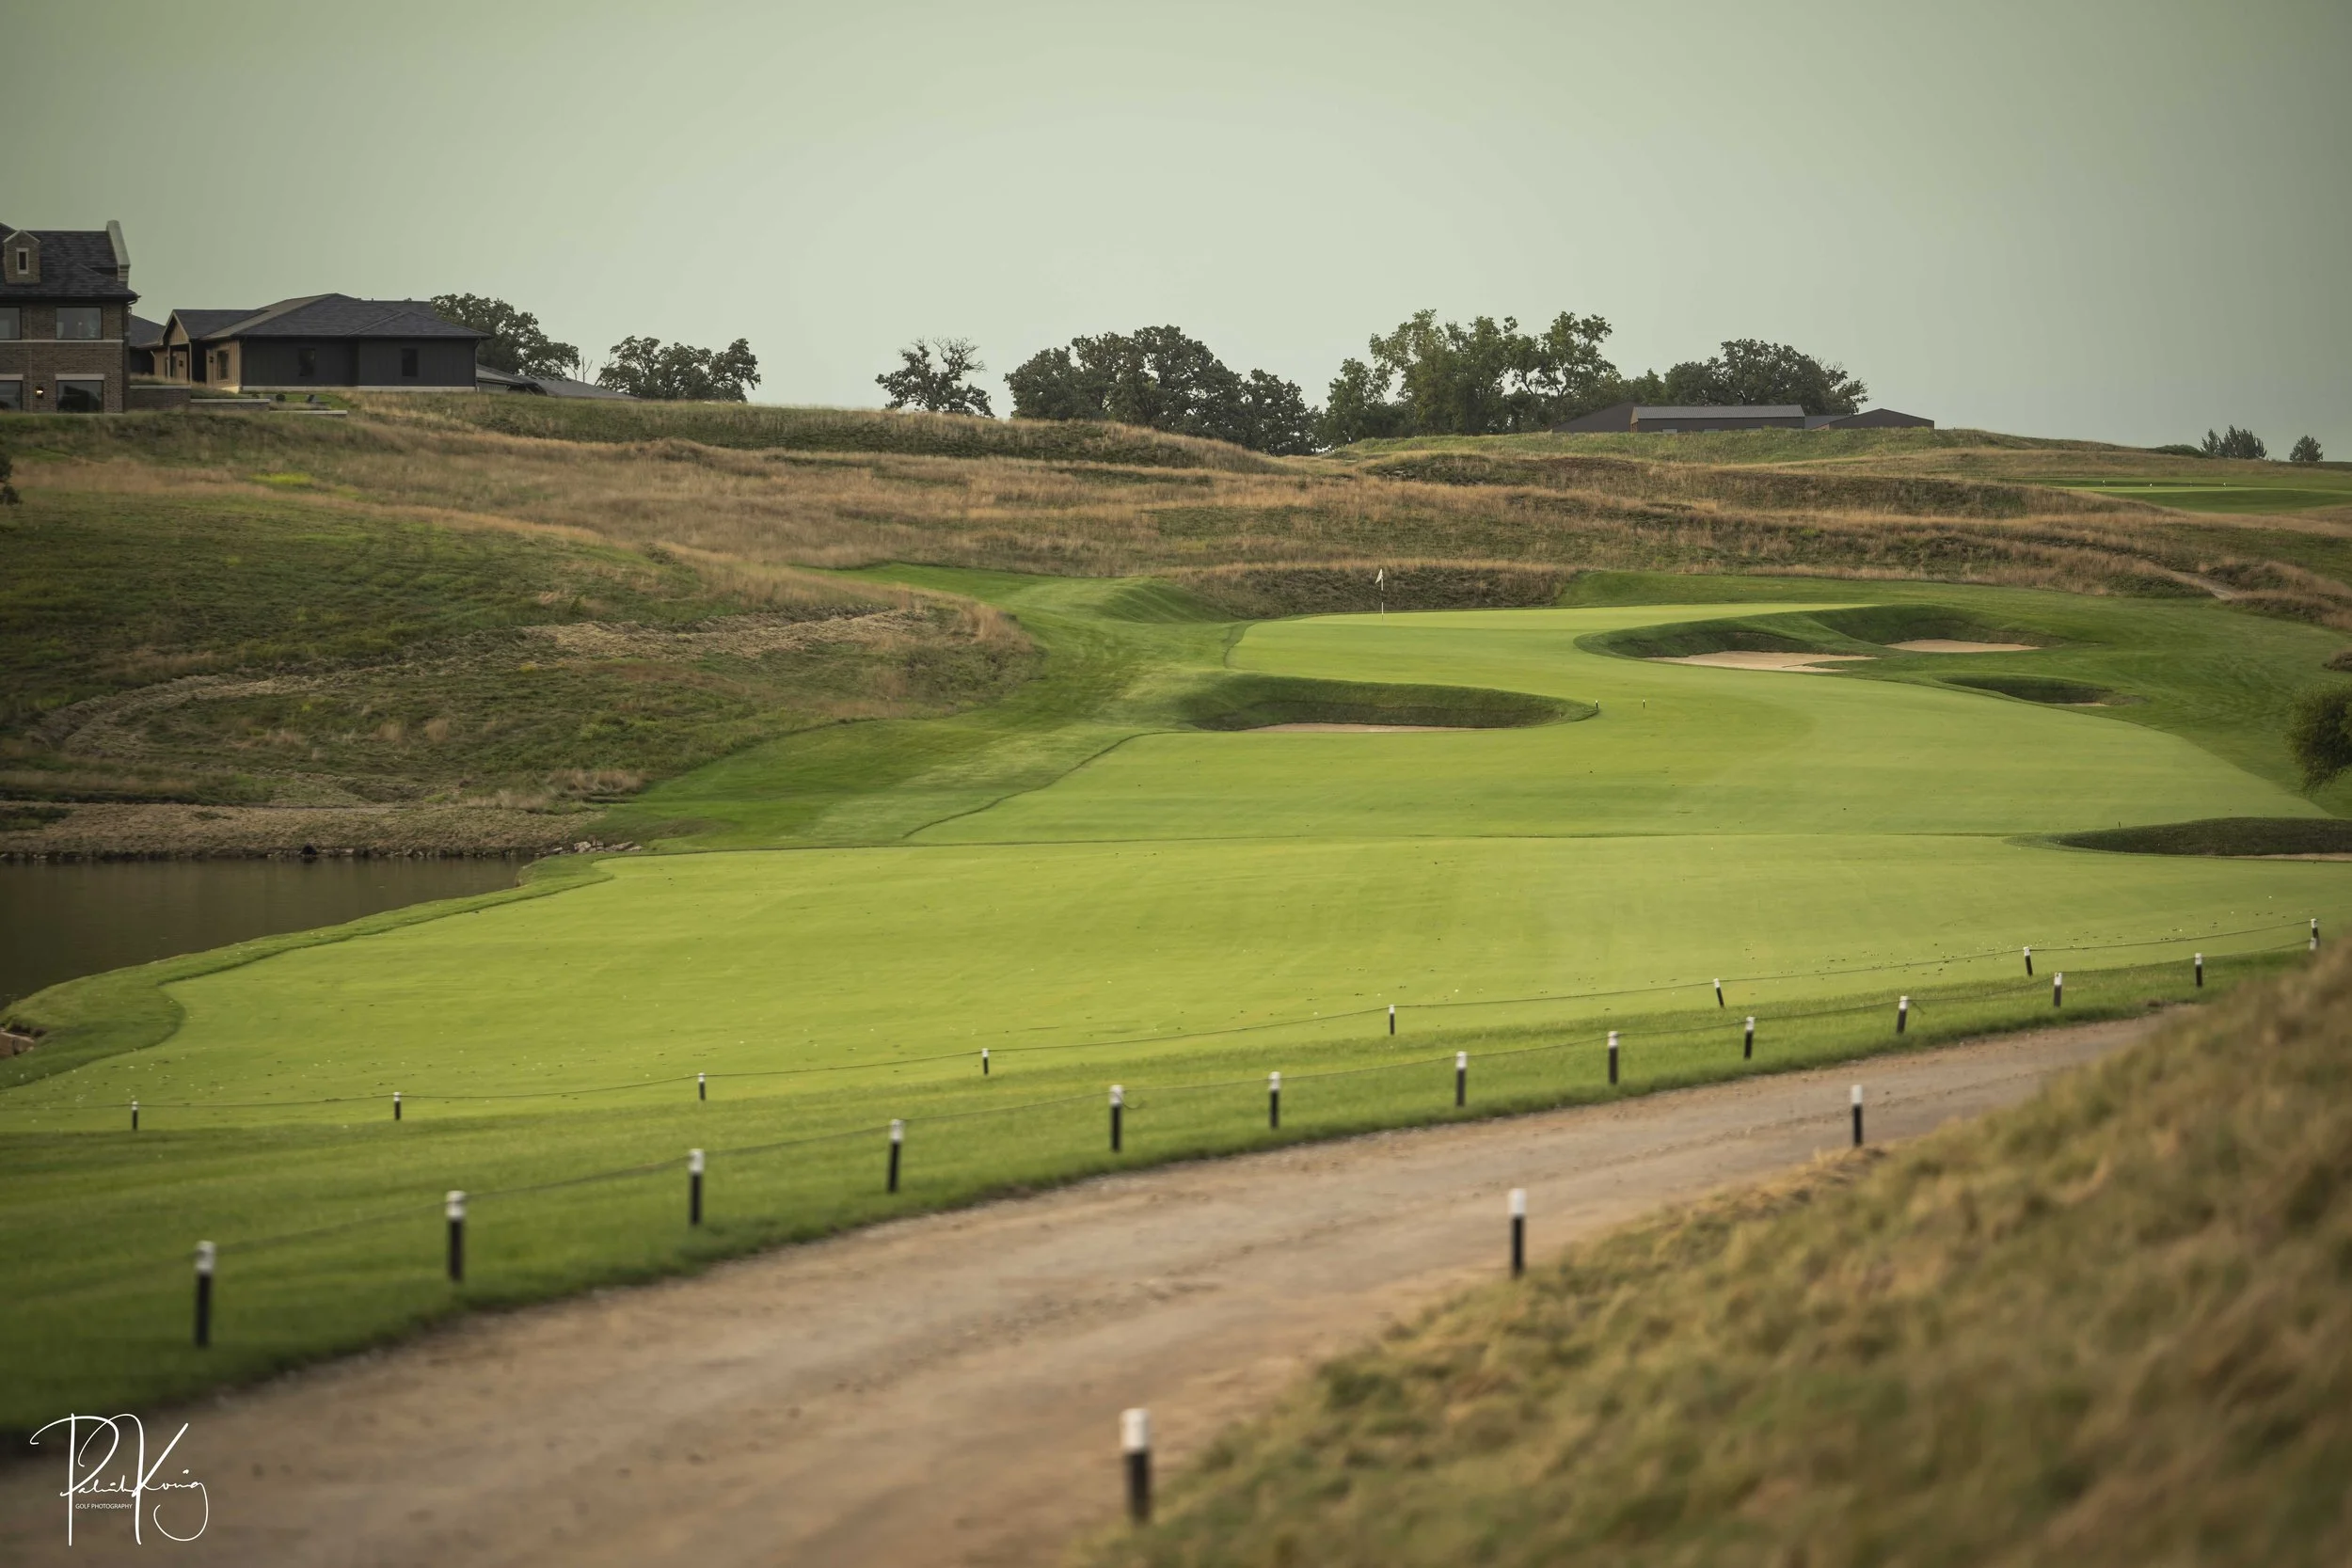
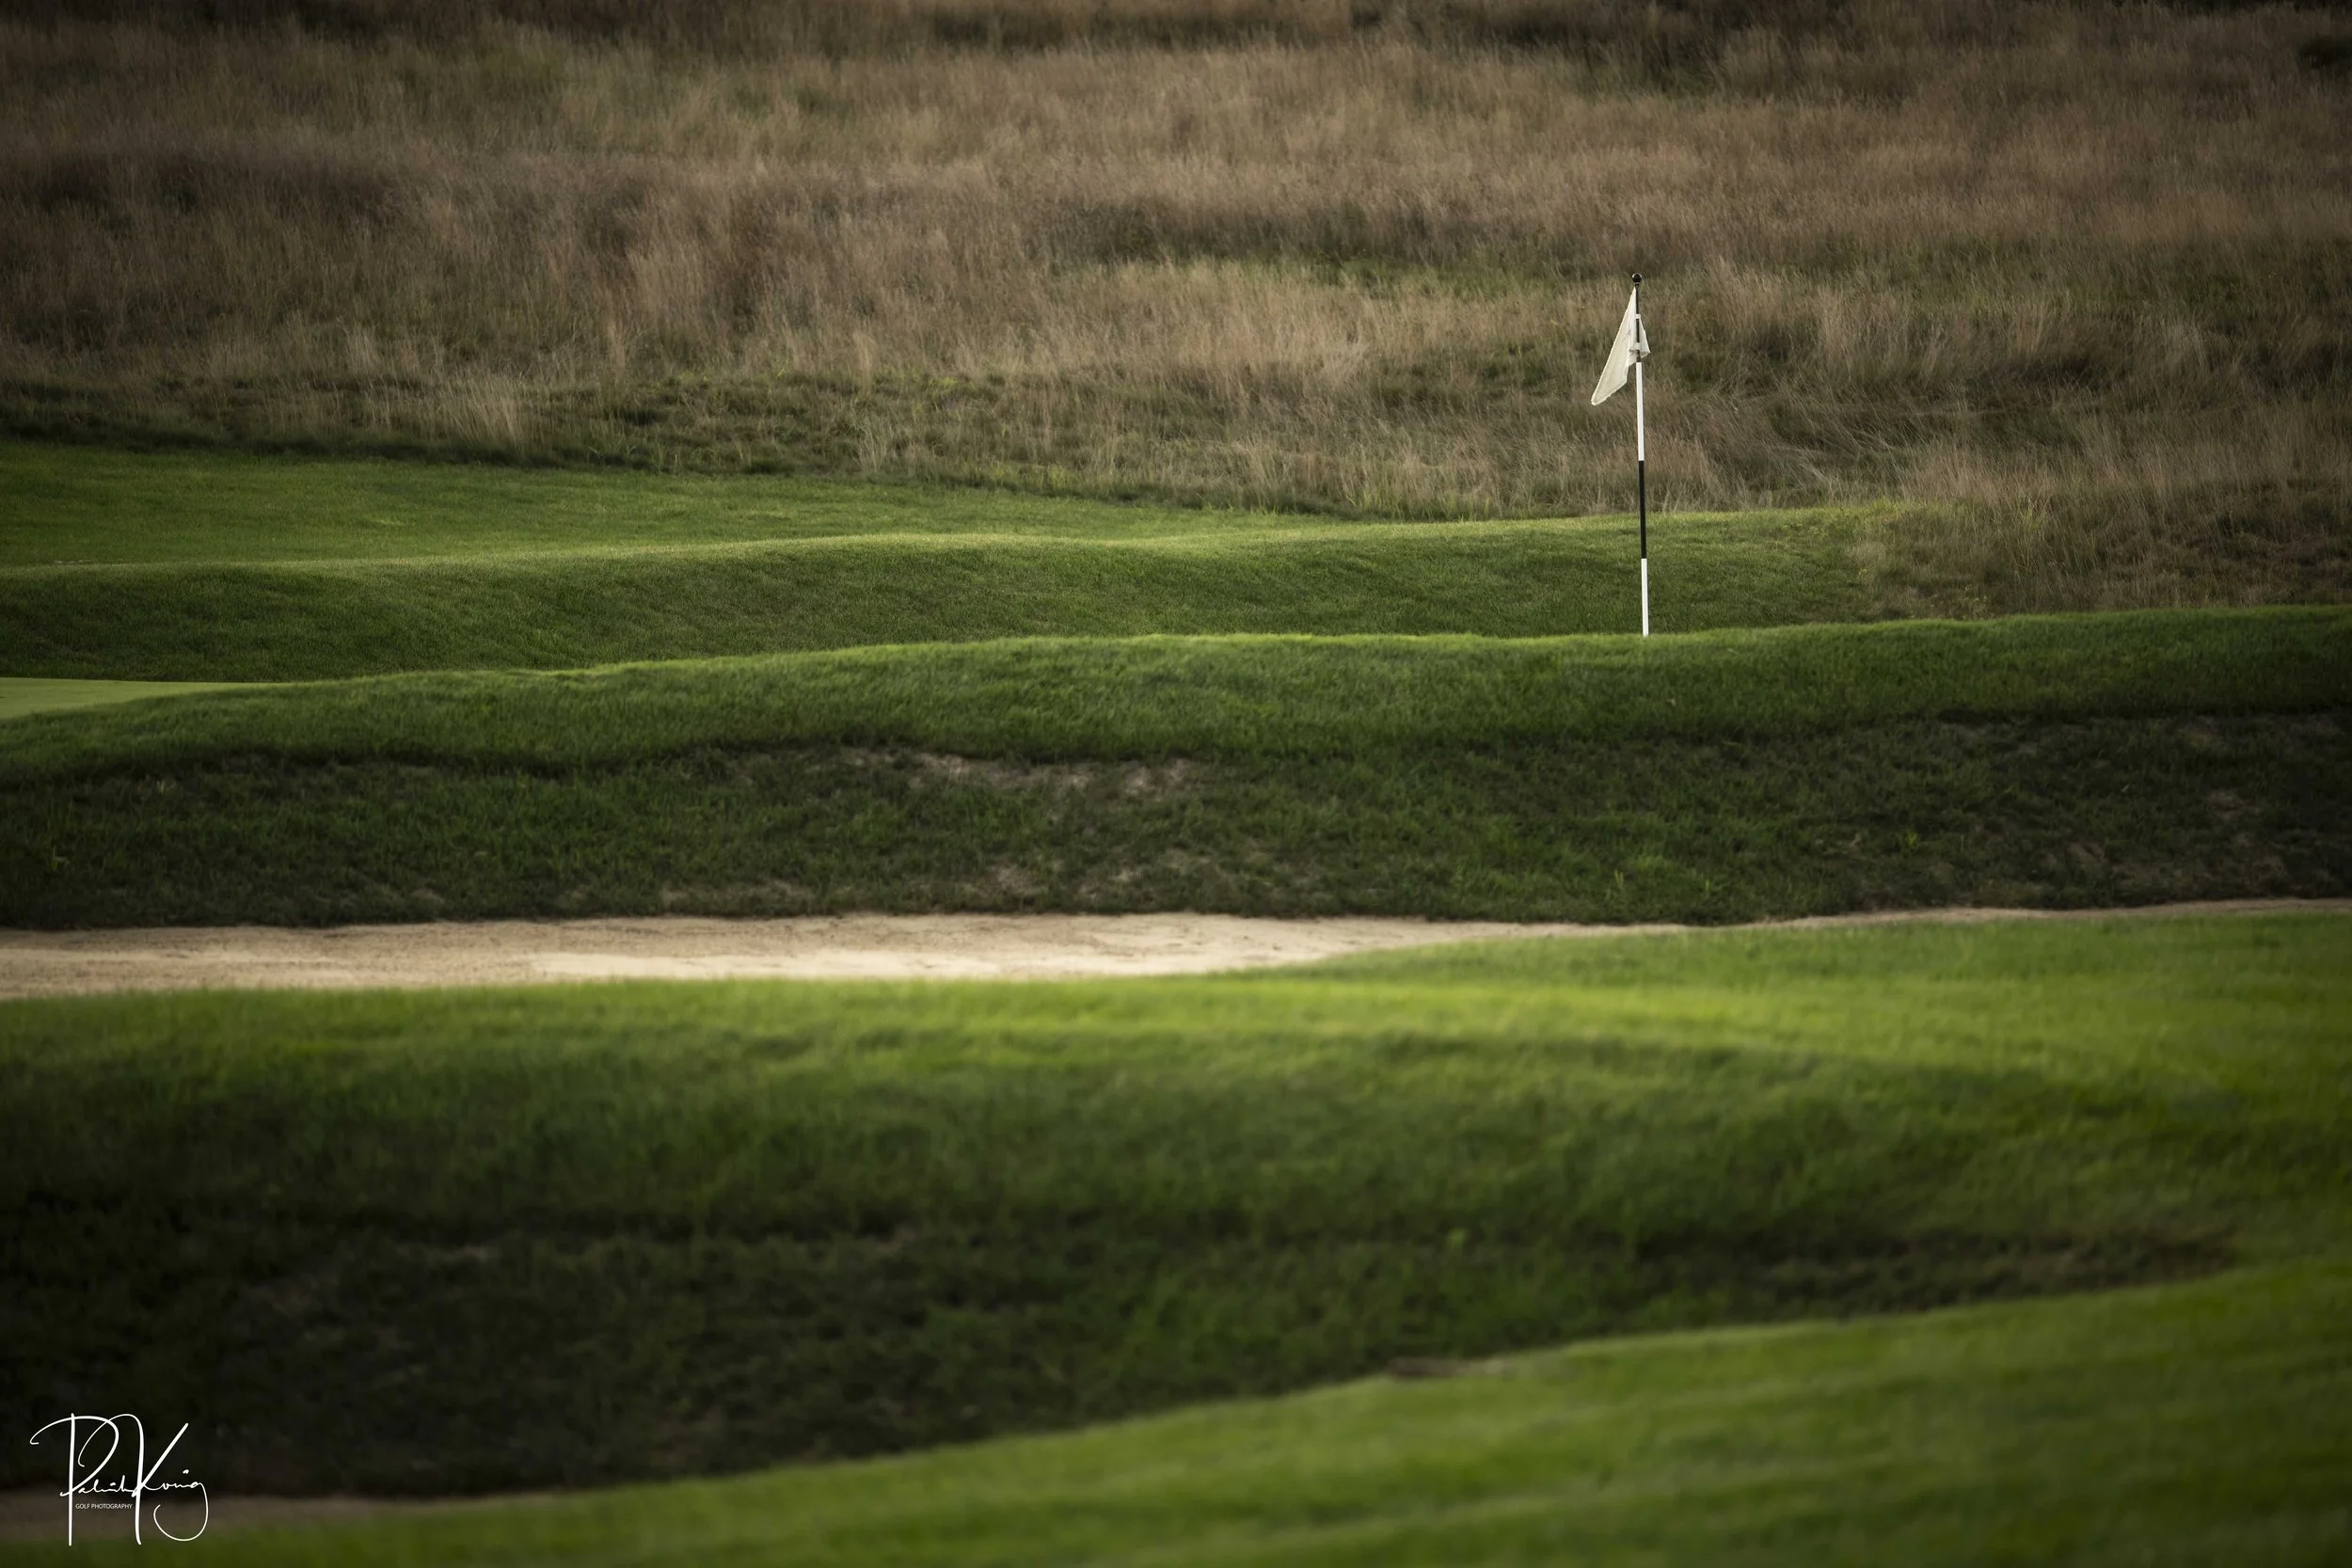
The back nine opens up with a solid par 4 that slopes hard from right to left. A trio of aiming bunkers start before the fairway begins and provide a nice visual touch to a pretty pedestrian golf hole. However, the name 88 Rods is interesting. A rod is a historical land surveying unit equal to 5.5 yards (88 x 5.5 = 448) which brings us to the hole’s approximate length. I have no idea if this is where the name comes from. For all i know… It could have been built by 88 guys named Rod.
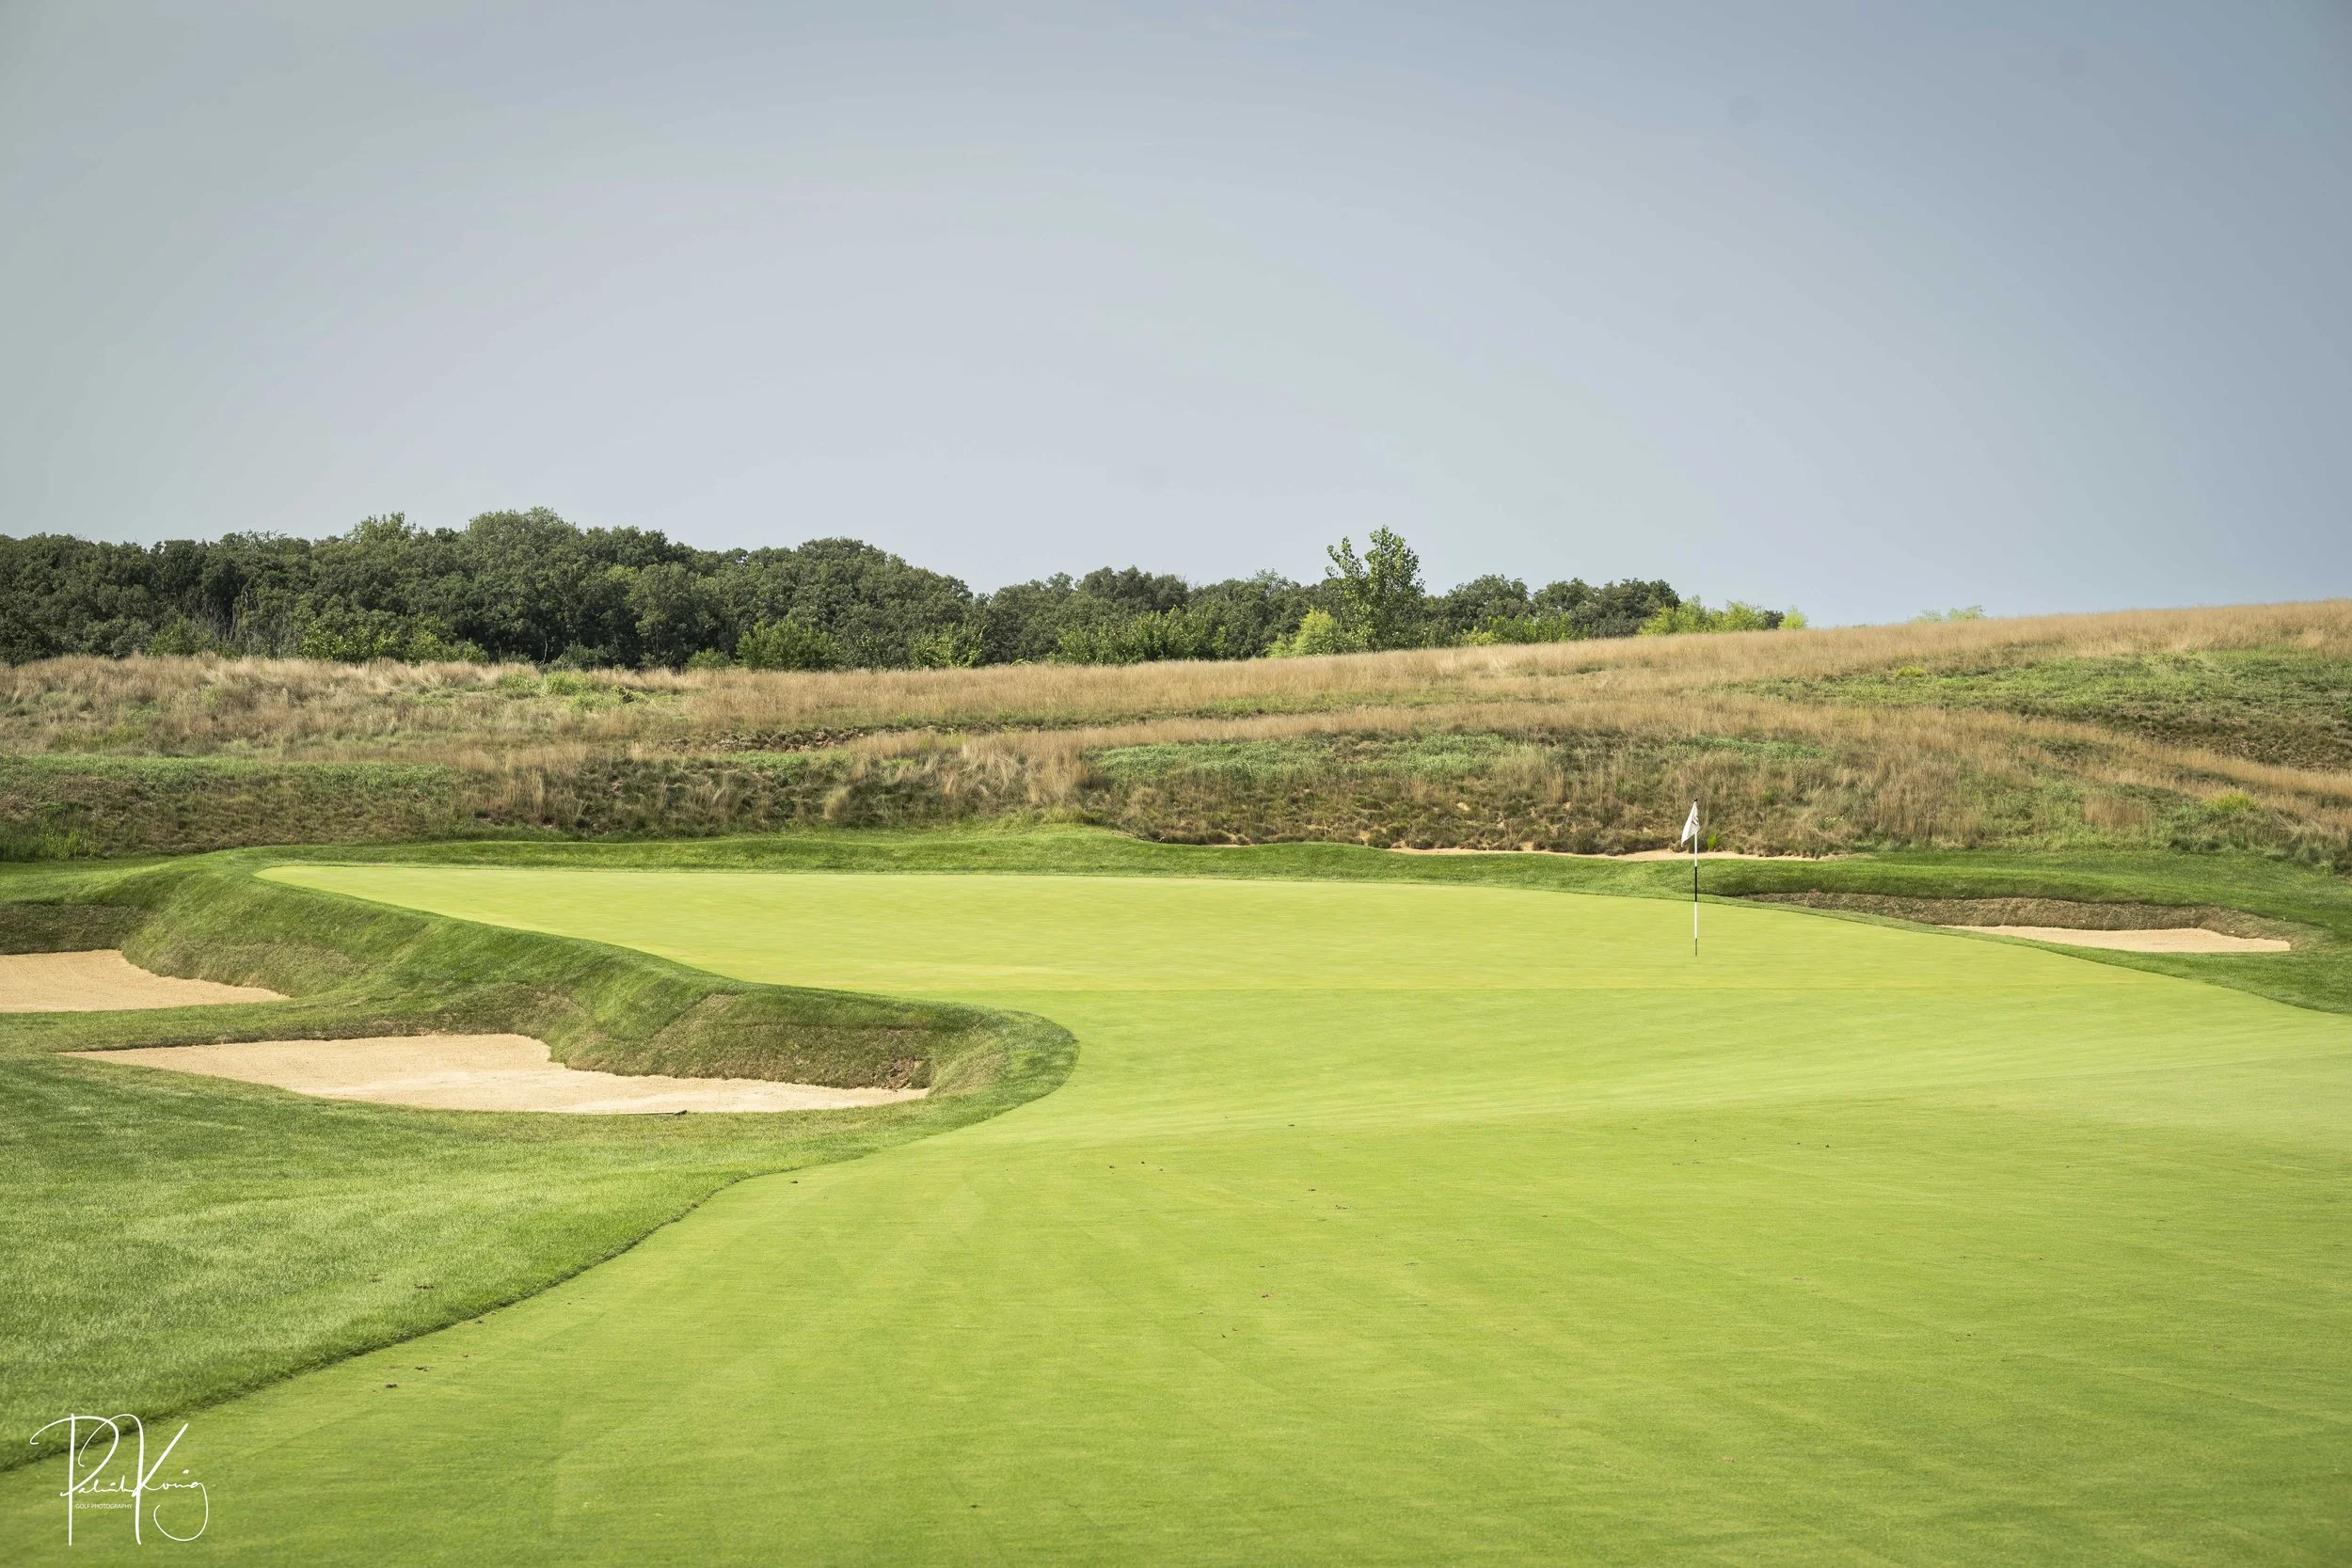
Hole #11 - The Sickle - Par 4 - 441 yards
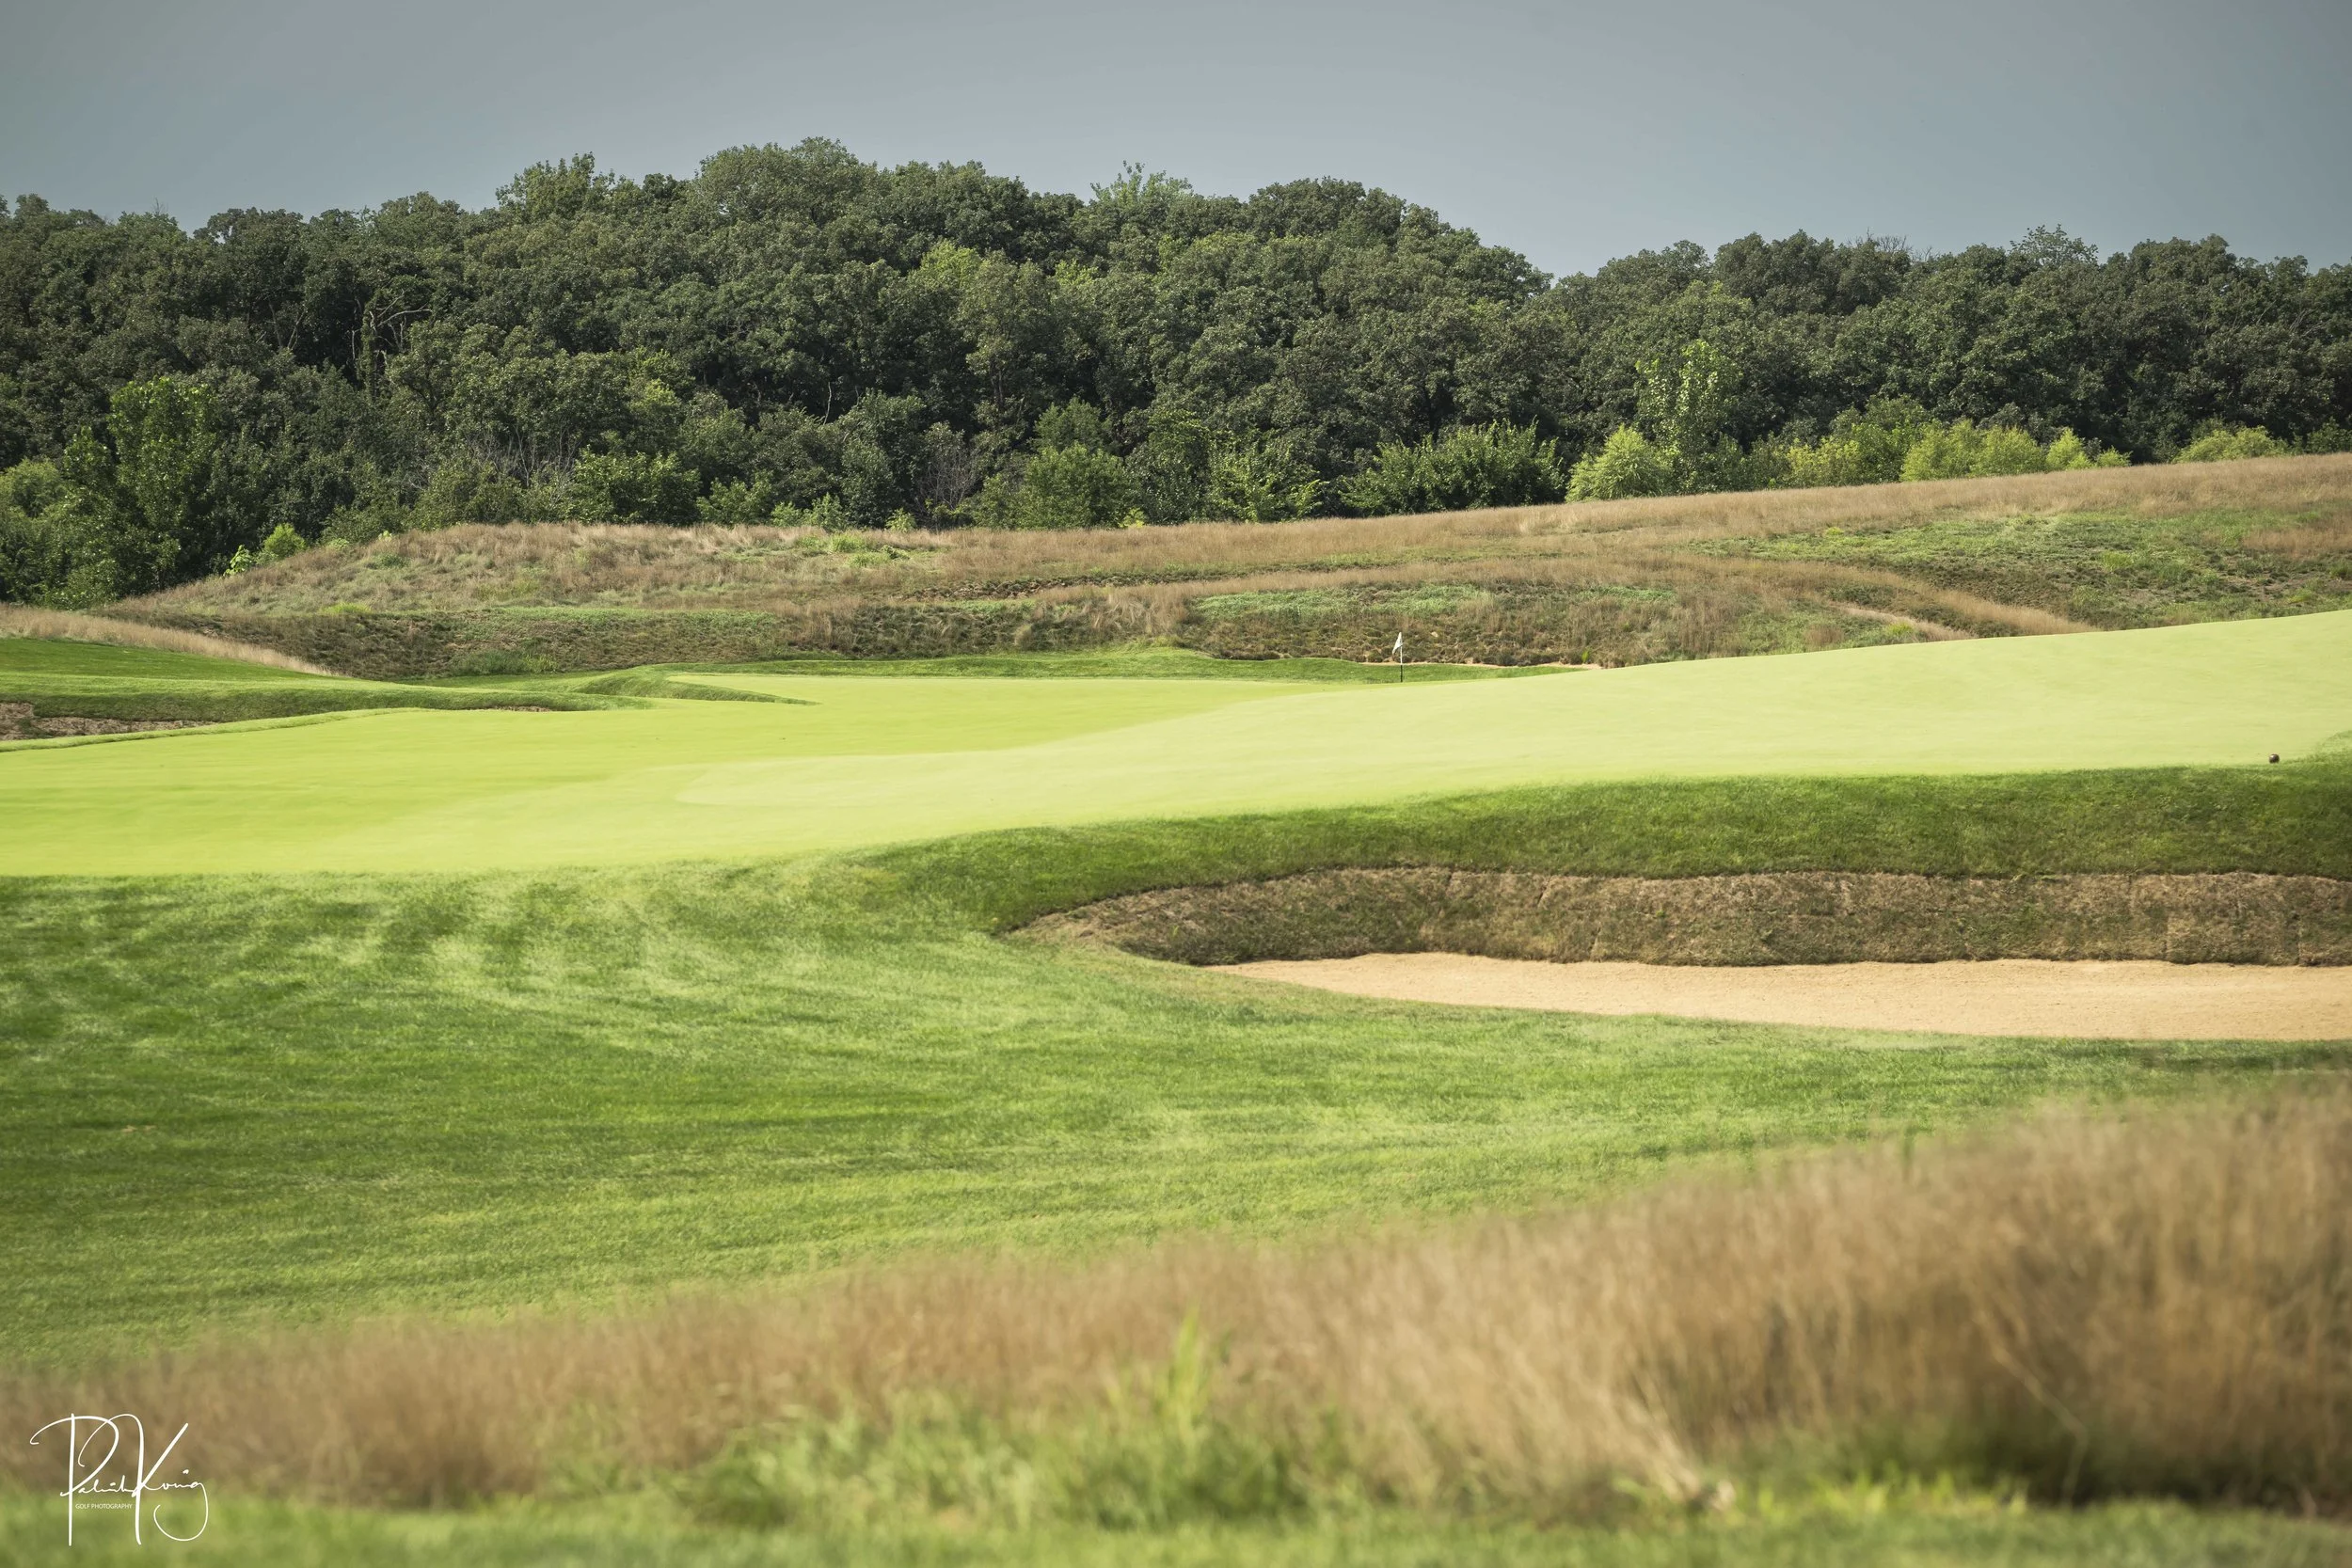
If you aren’t careful, the “Sickle” could easily harvest a quick double bogey out of you. With a pin position like the one below, a miss to the right will leave you short sided and in a tough position to save par. A good approach on the 11th stays below the hole.
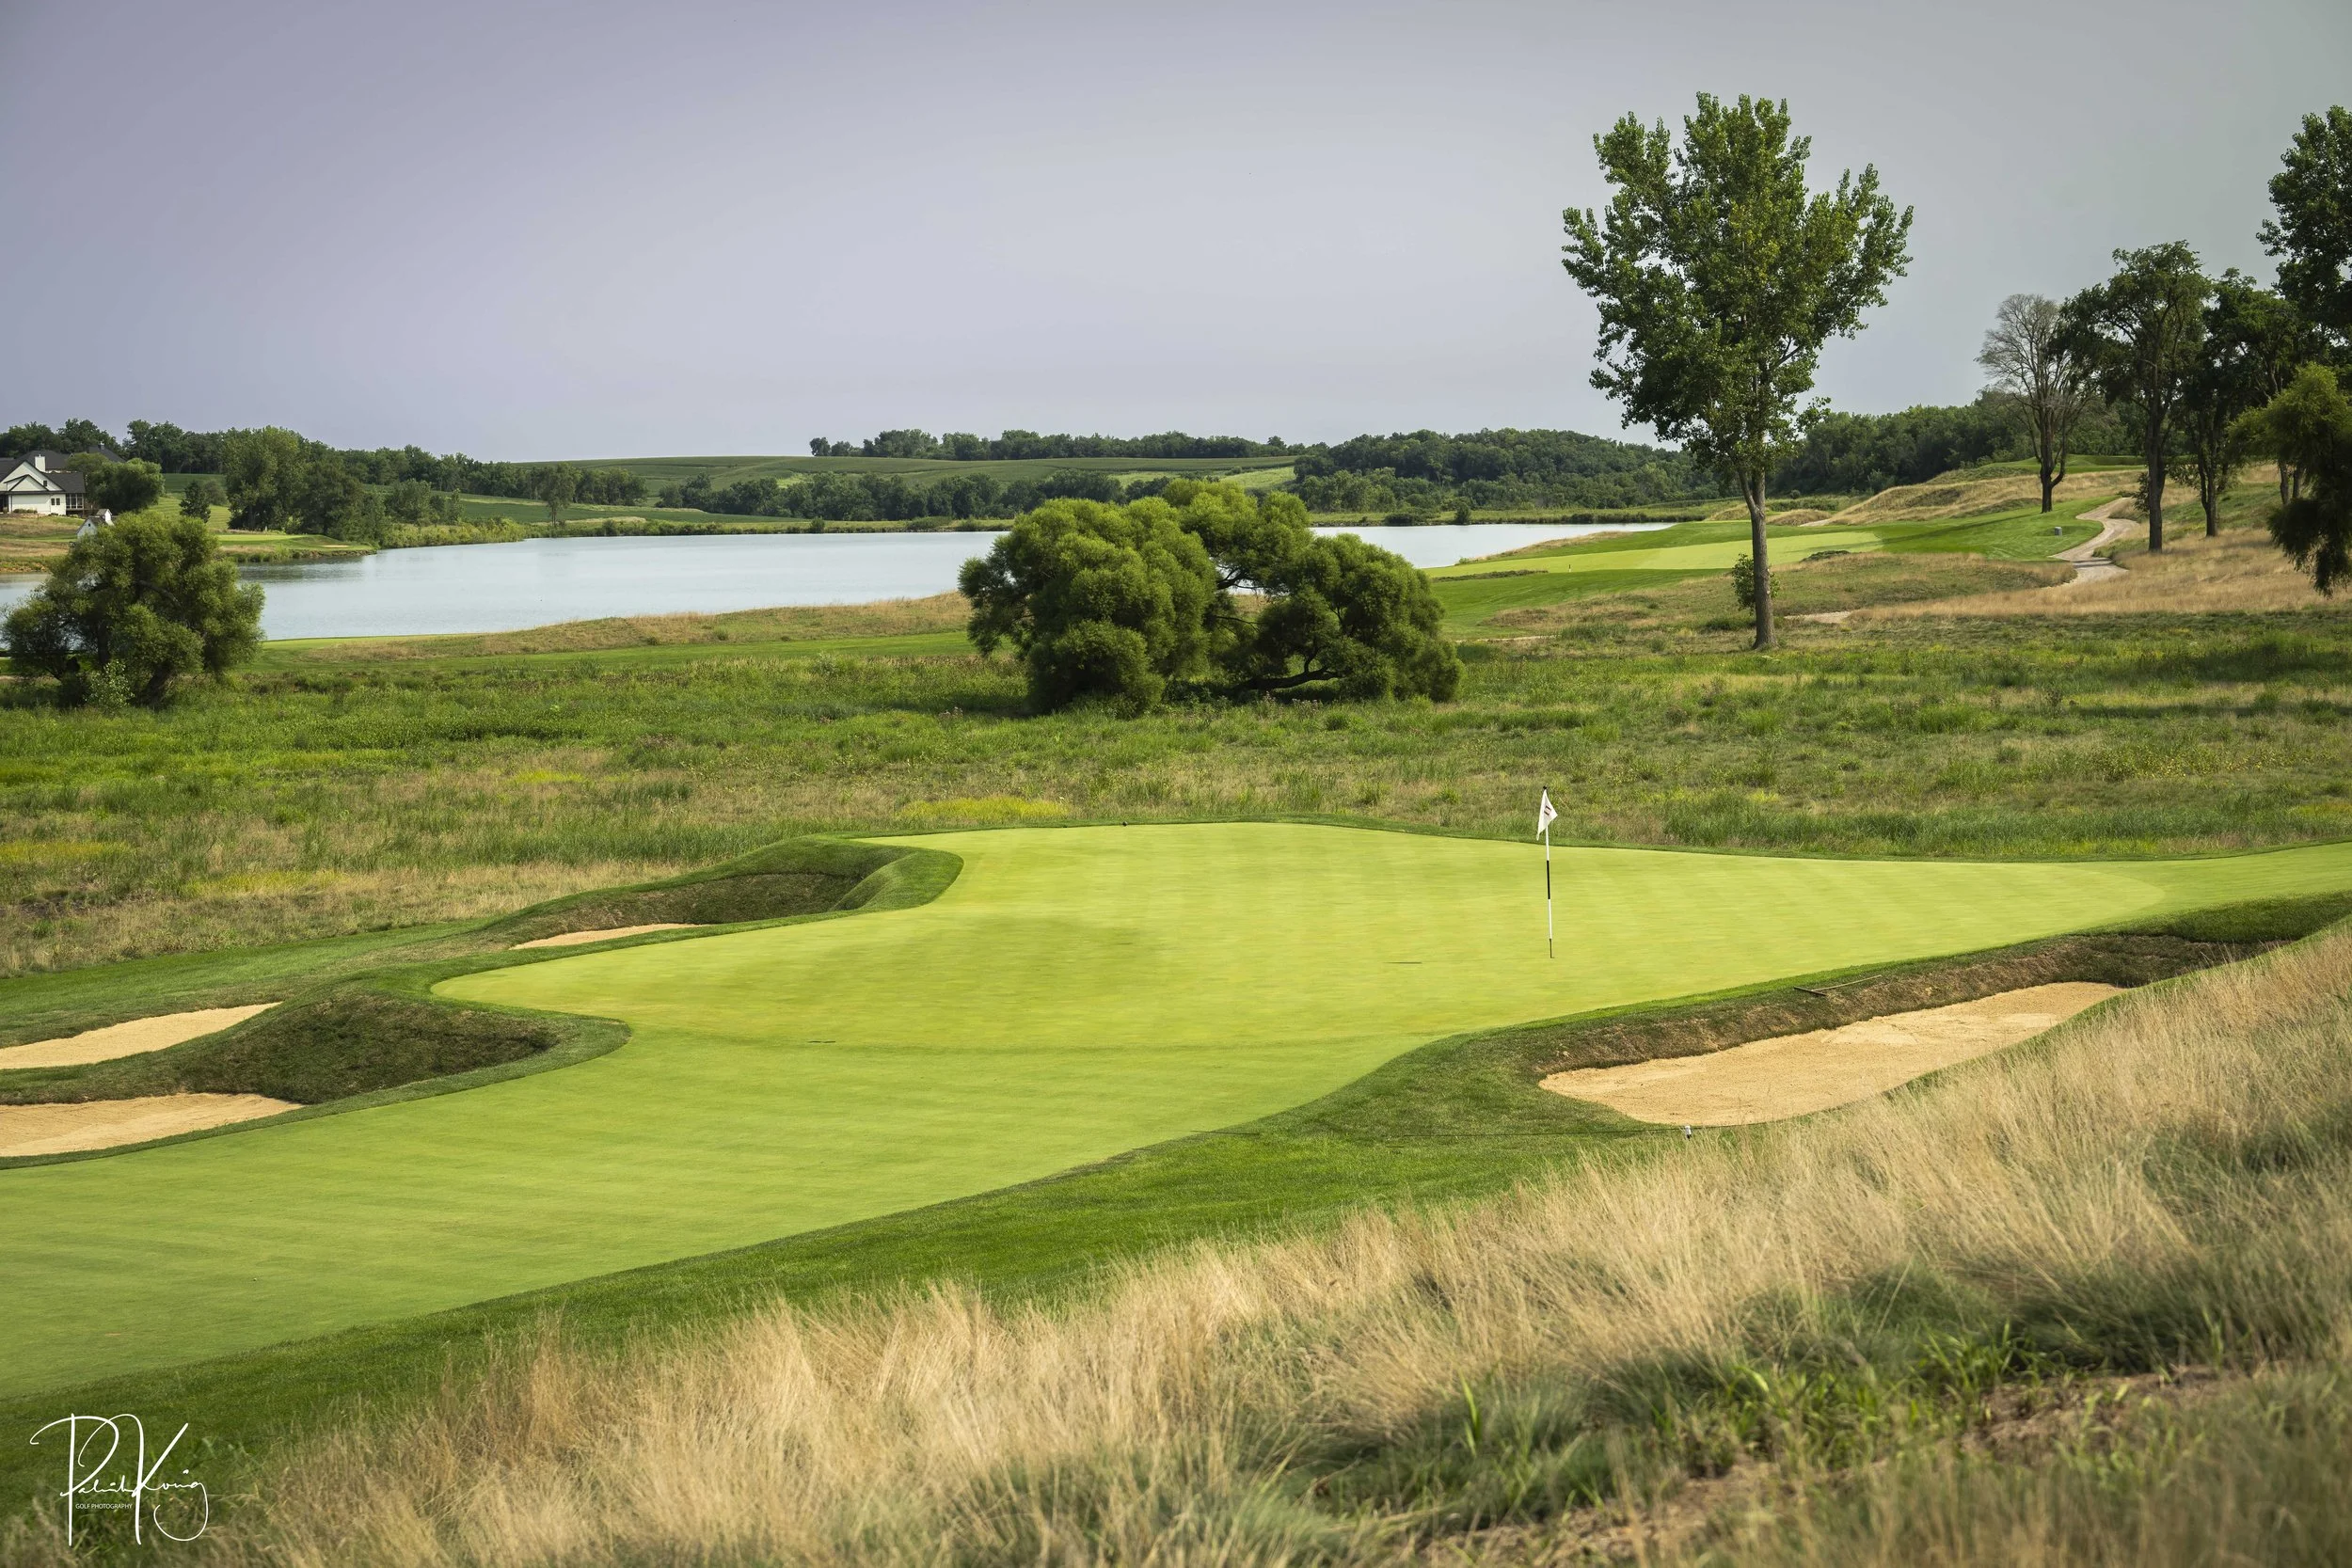
Hole #12 - Death Valley - Par 4 - 420 yards
A lot of trees were removed during the renovation at Harvester, but one big bold tree remains on the left hand side of the 12th hole. You will want to avoid it on your drive. On the approach, the bunker game at Harvester steps up a notch with 4 steep bunkers protecting the front of the green. The wise golfer will take an extra club and stick one tight.
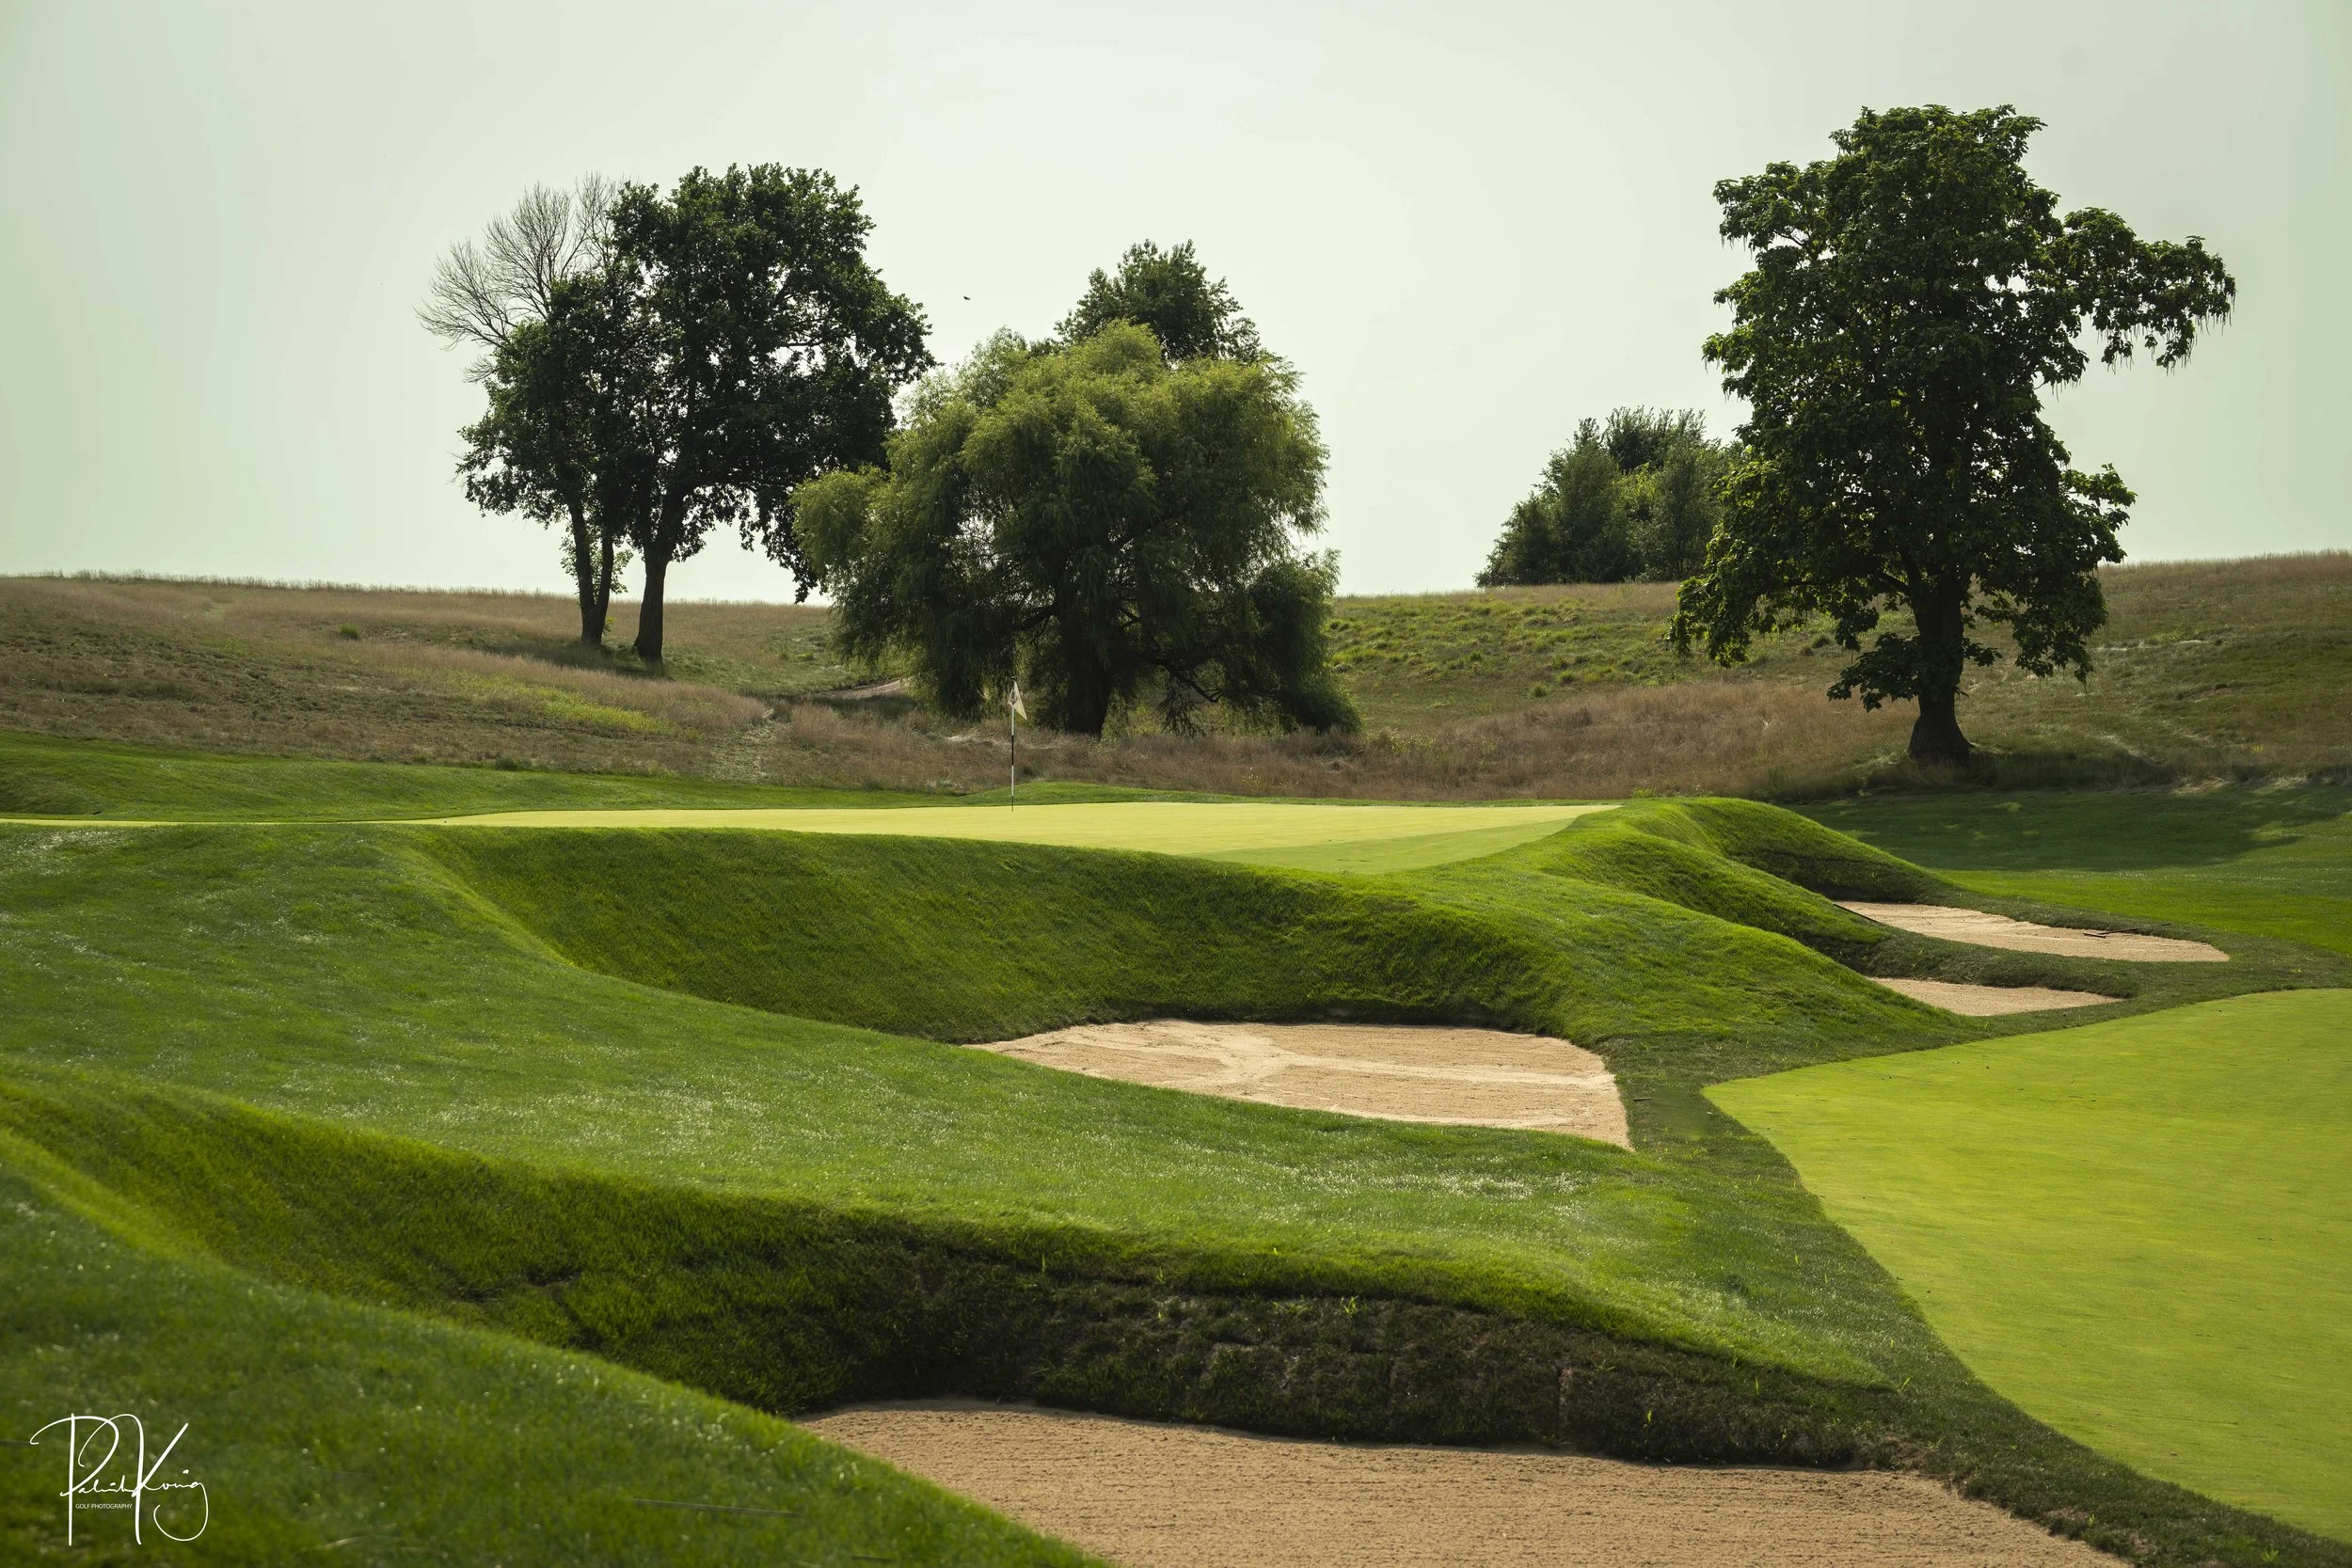
Hole #13 - Thistle Hill - Par 4 - 418 yards
The green provides most of the interest on this straight forward par 4. The elevated putting surface requires an accurate approach shot here with bunkers flanking the green front right and long.
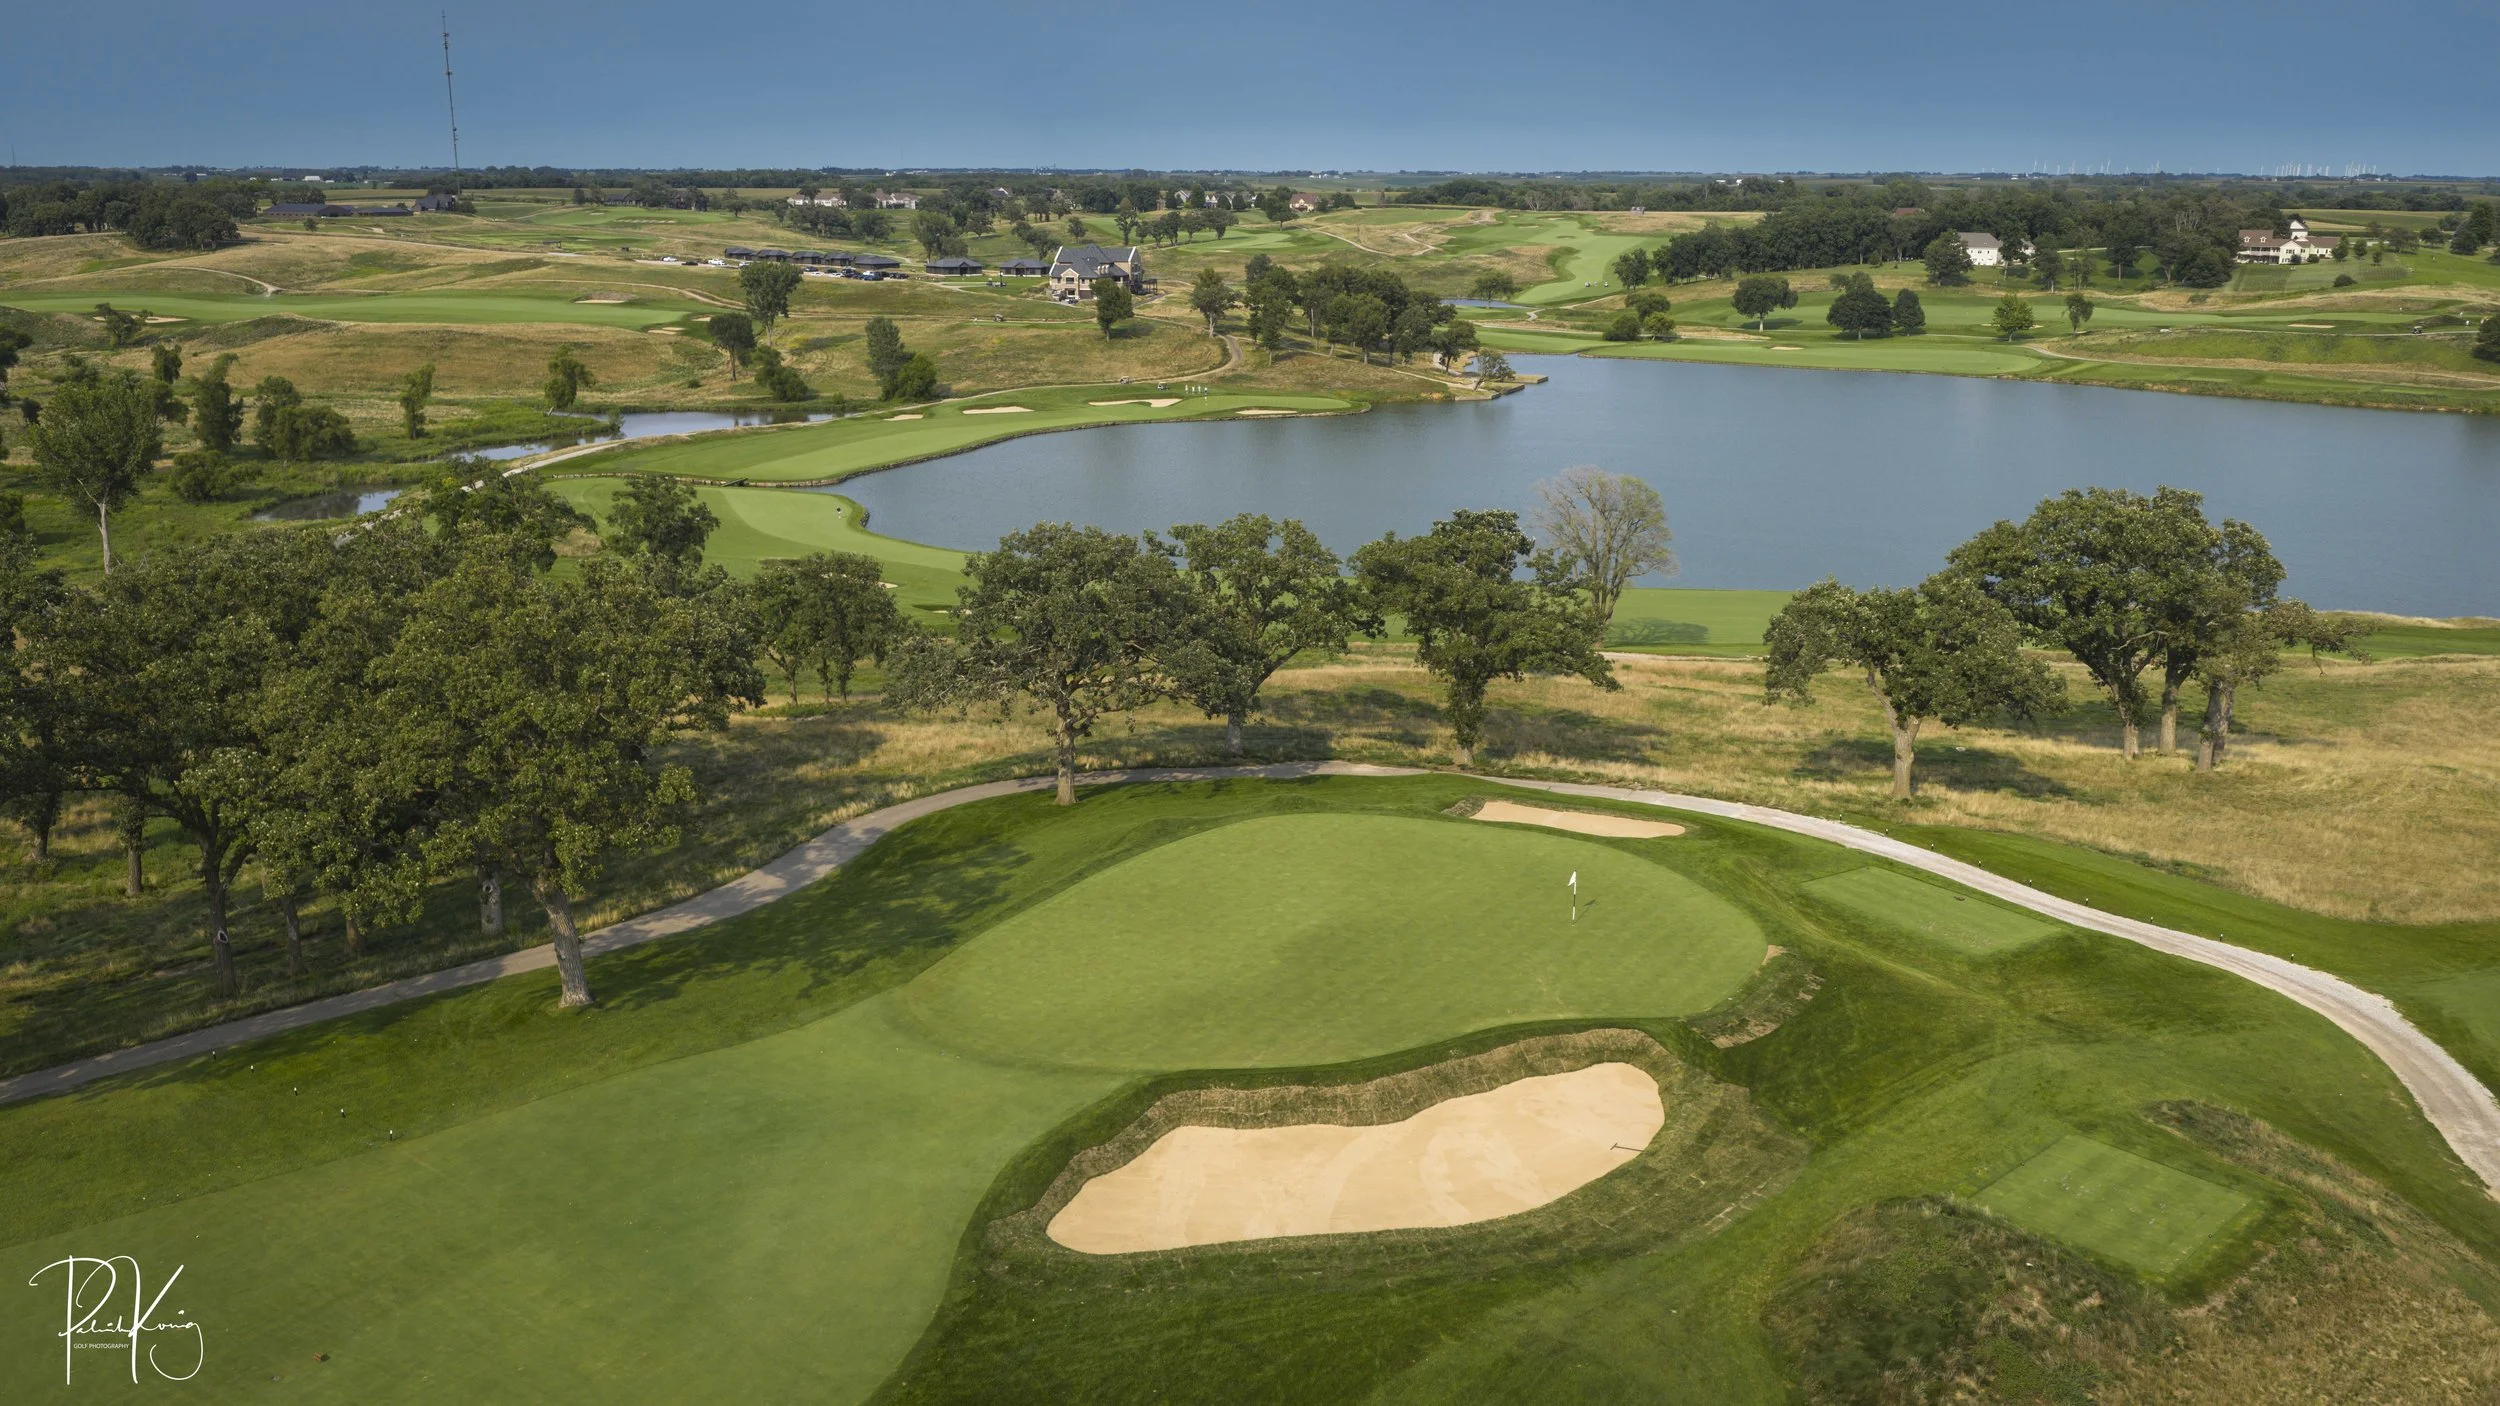
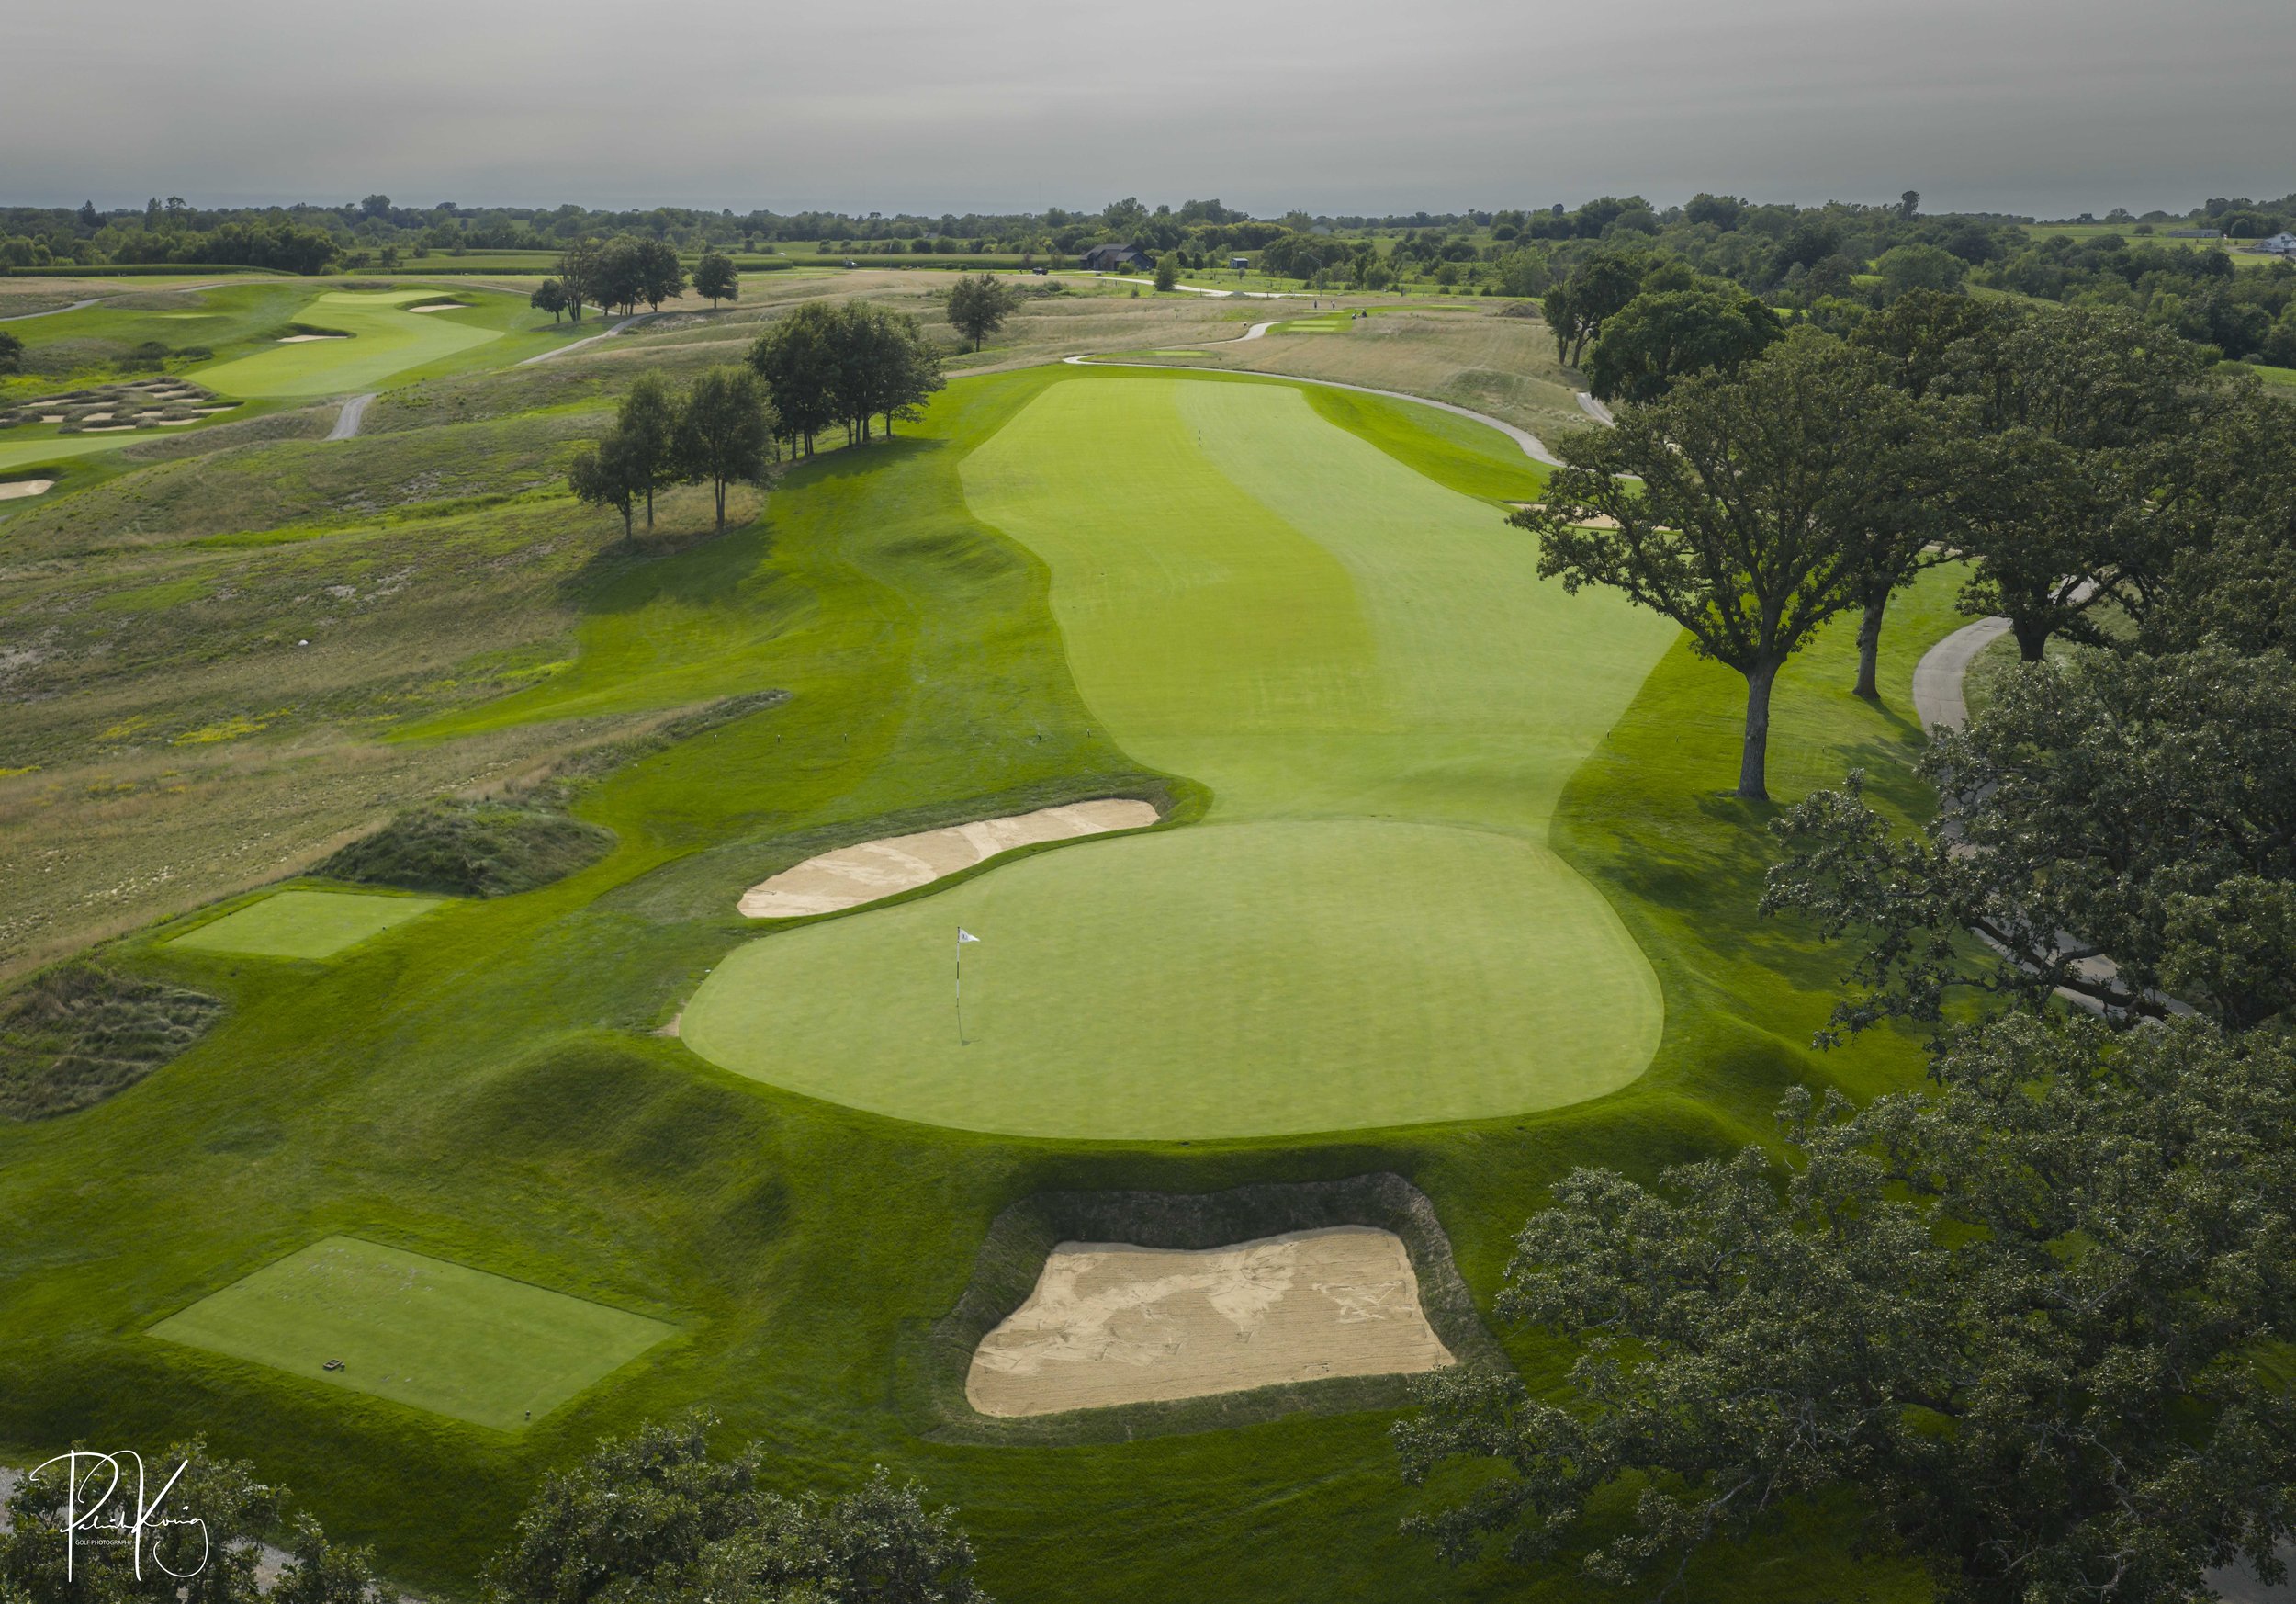
Hole #14 - Shorty - Par 3 - 180 yards
There are a lot of great shorts in this world. Martin Short, Trombone Shorty, Too $hort and the Shorty on hole 14 at The Harvester Club. While the rapper Too $hort isn’t everyone’s cup of tea, just about every golfer loves a good short par 3. The 14th is surrounded by 5 bunkers which generates a plethora of short game predicaments. Depending on the pin position, this shorty can play very different from day to day.
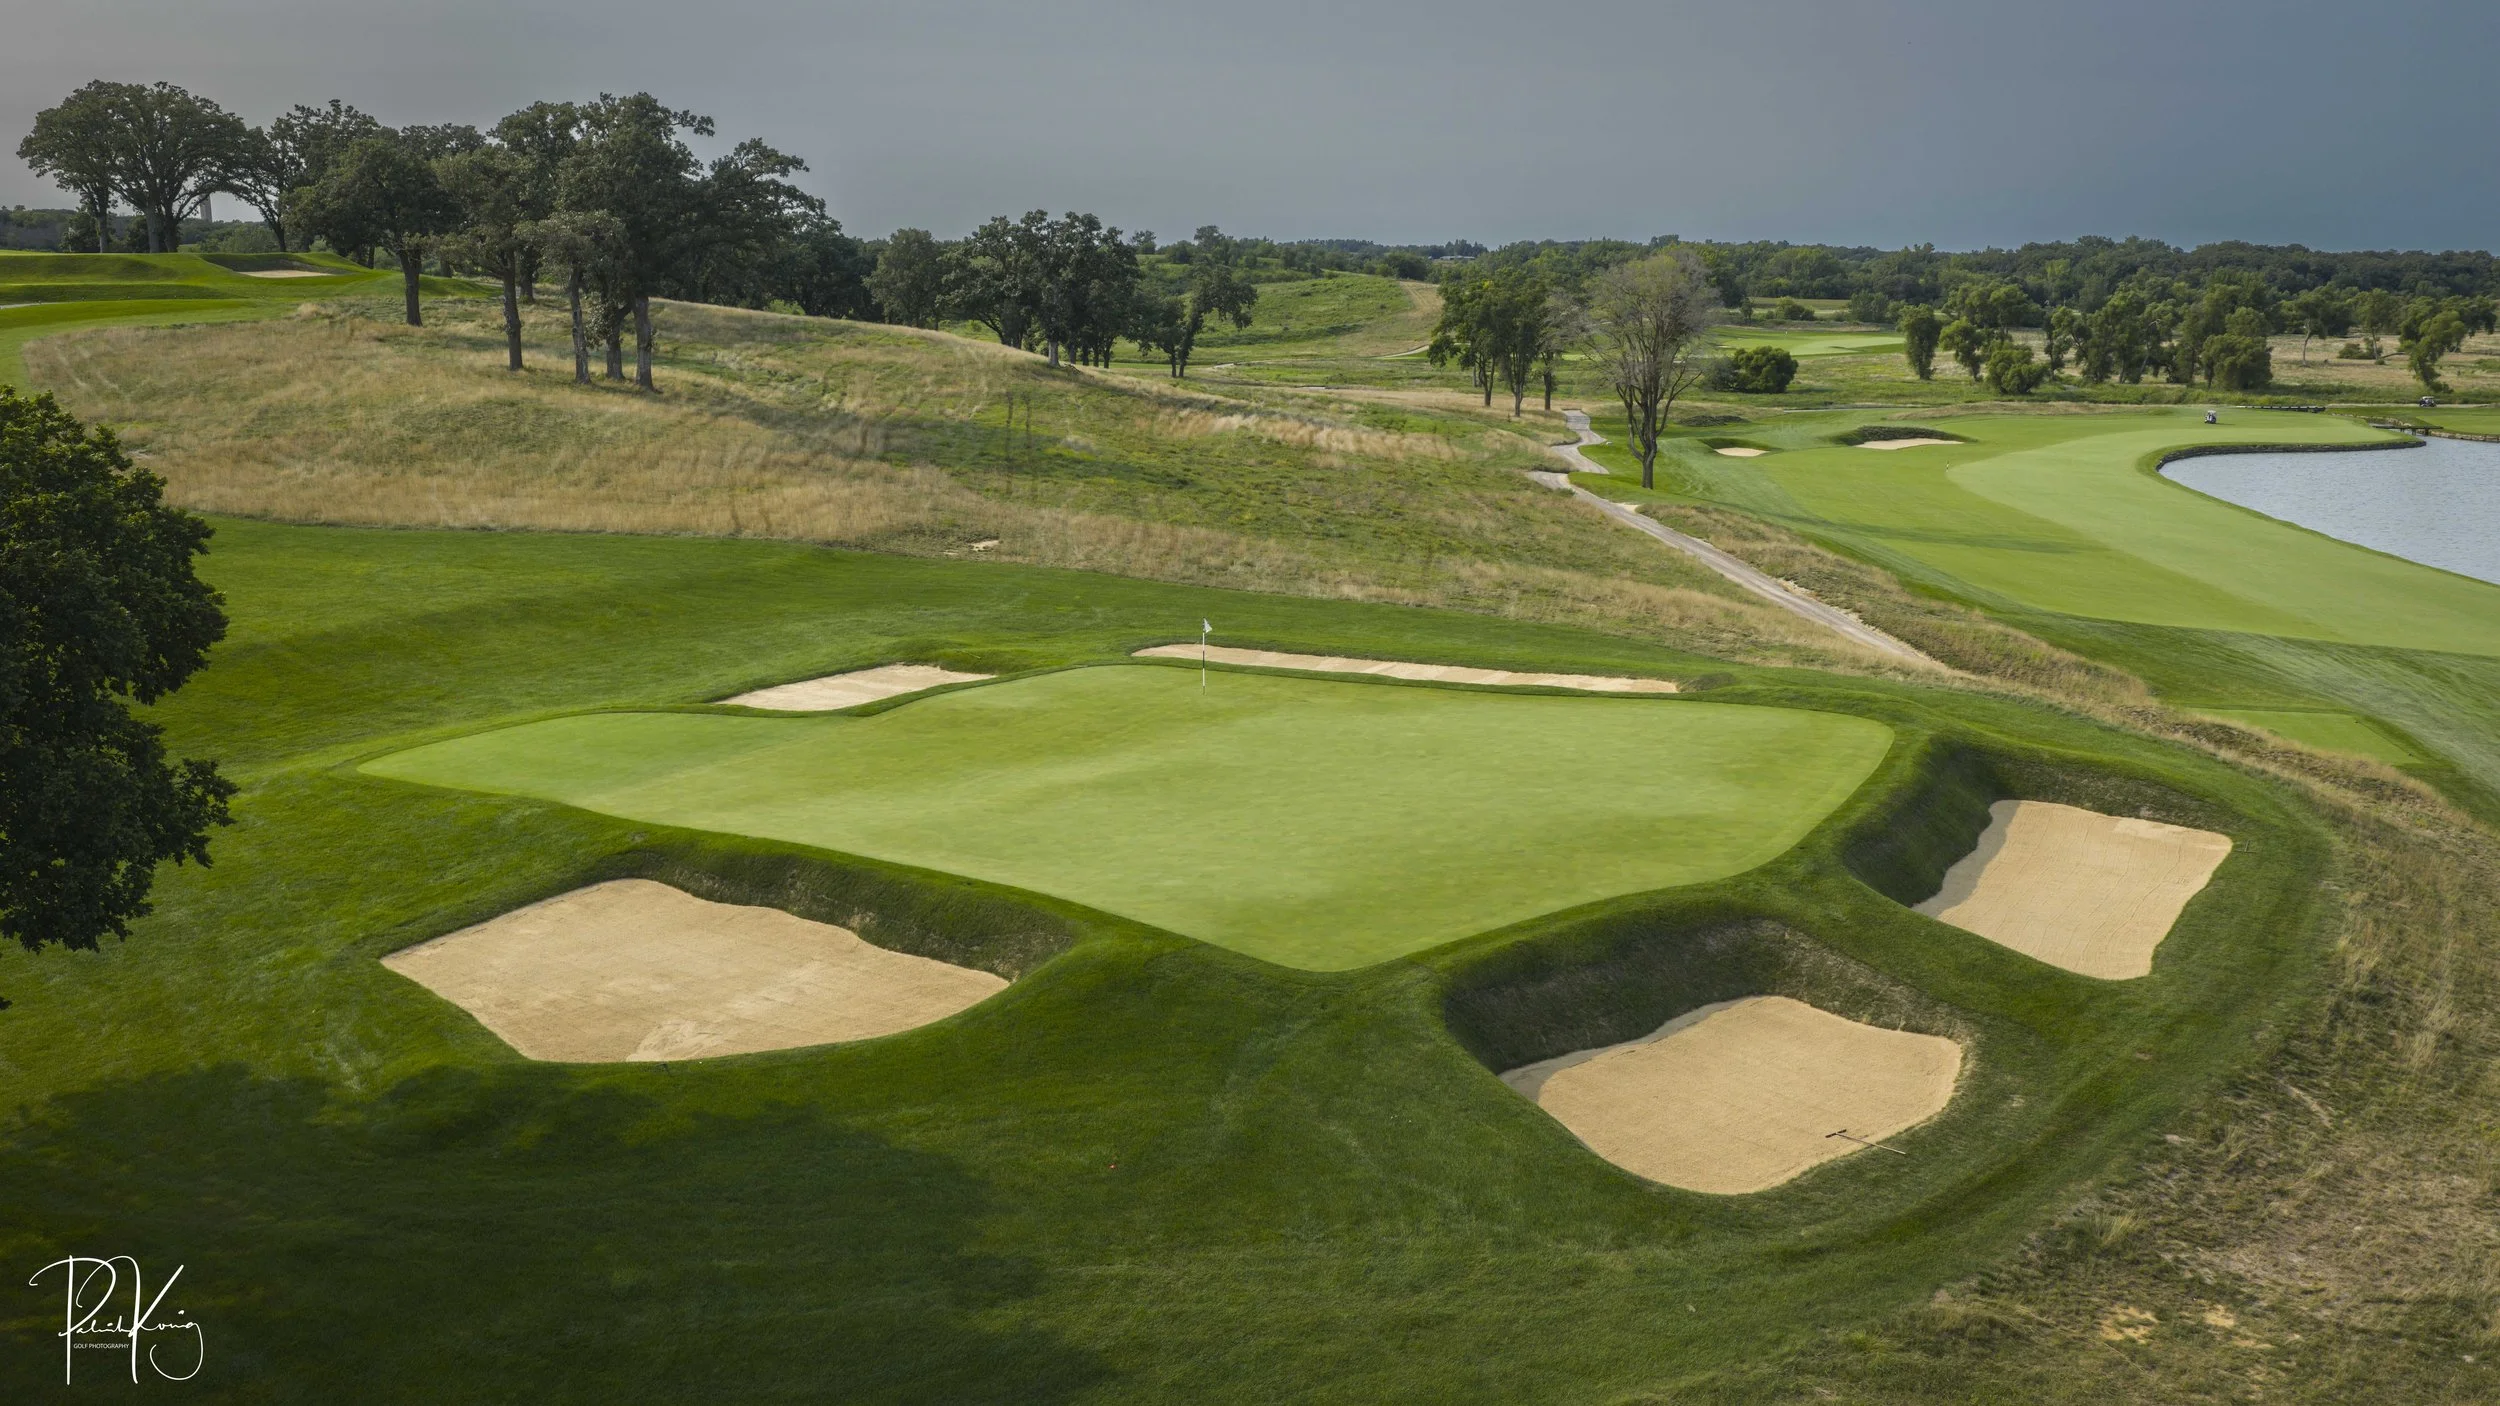
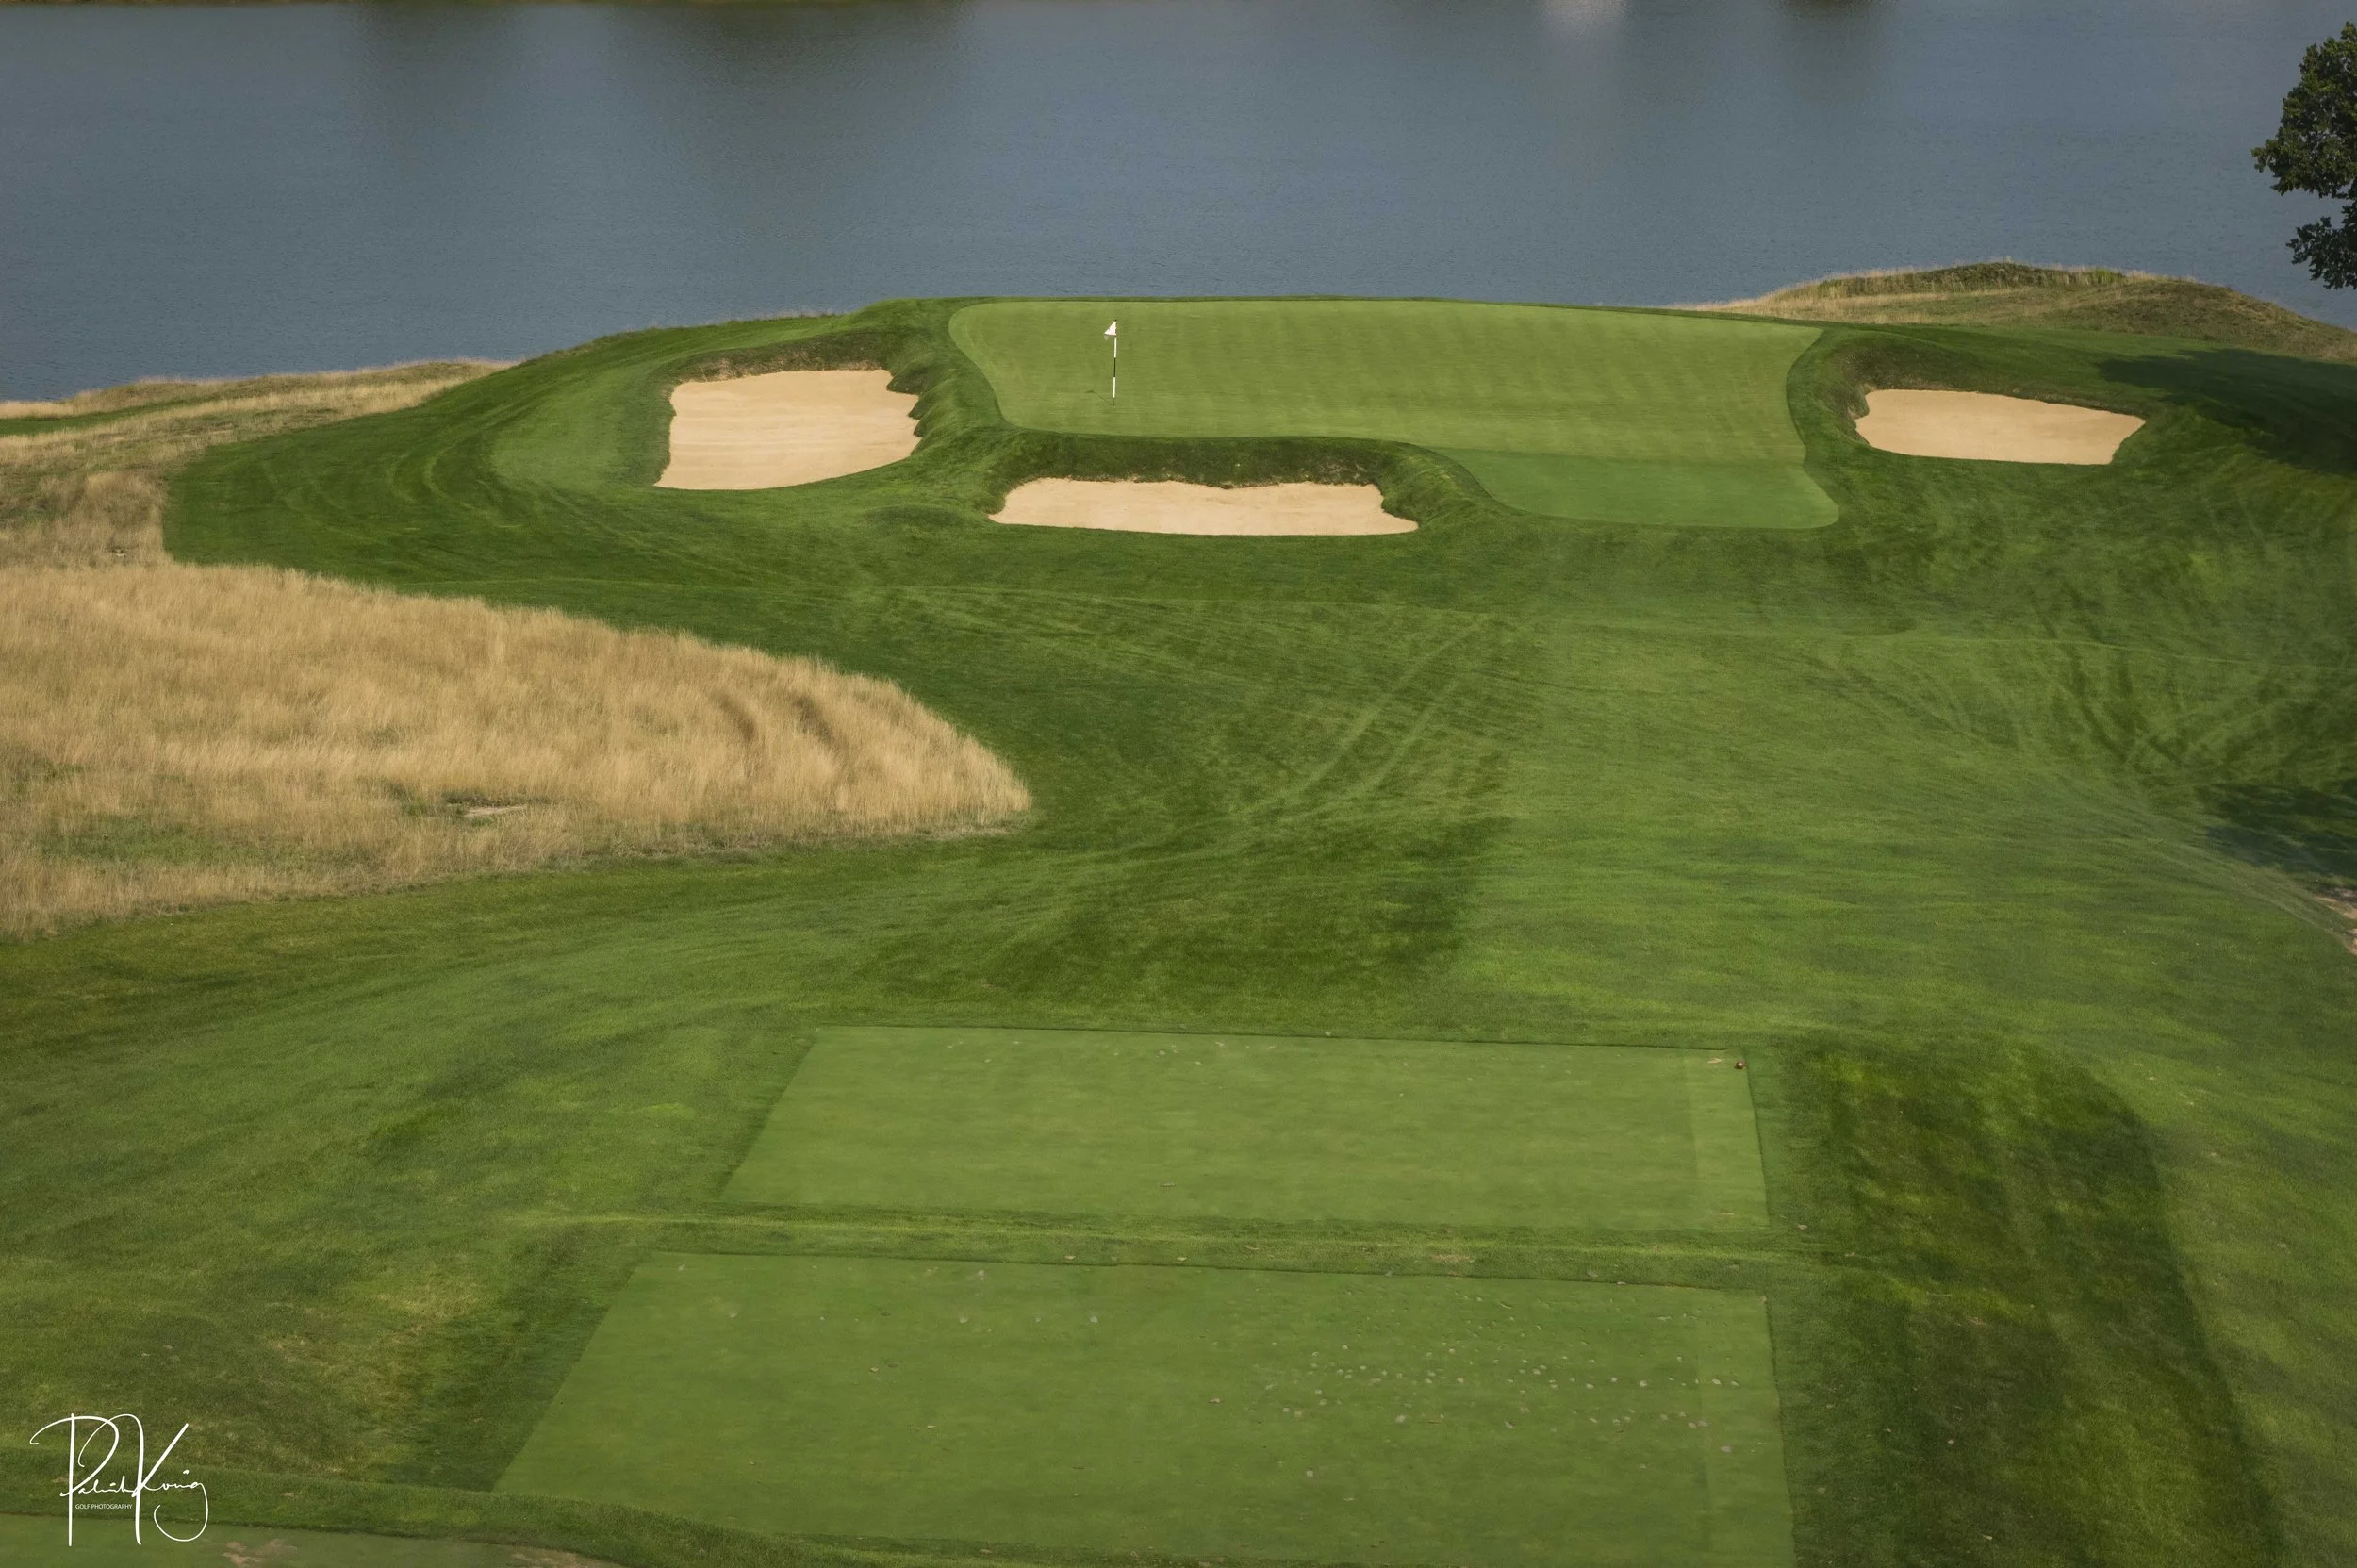
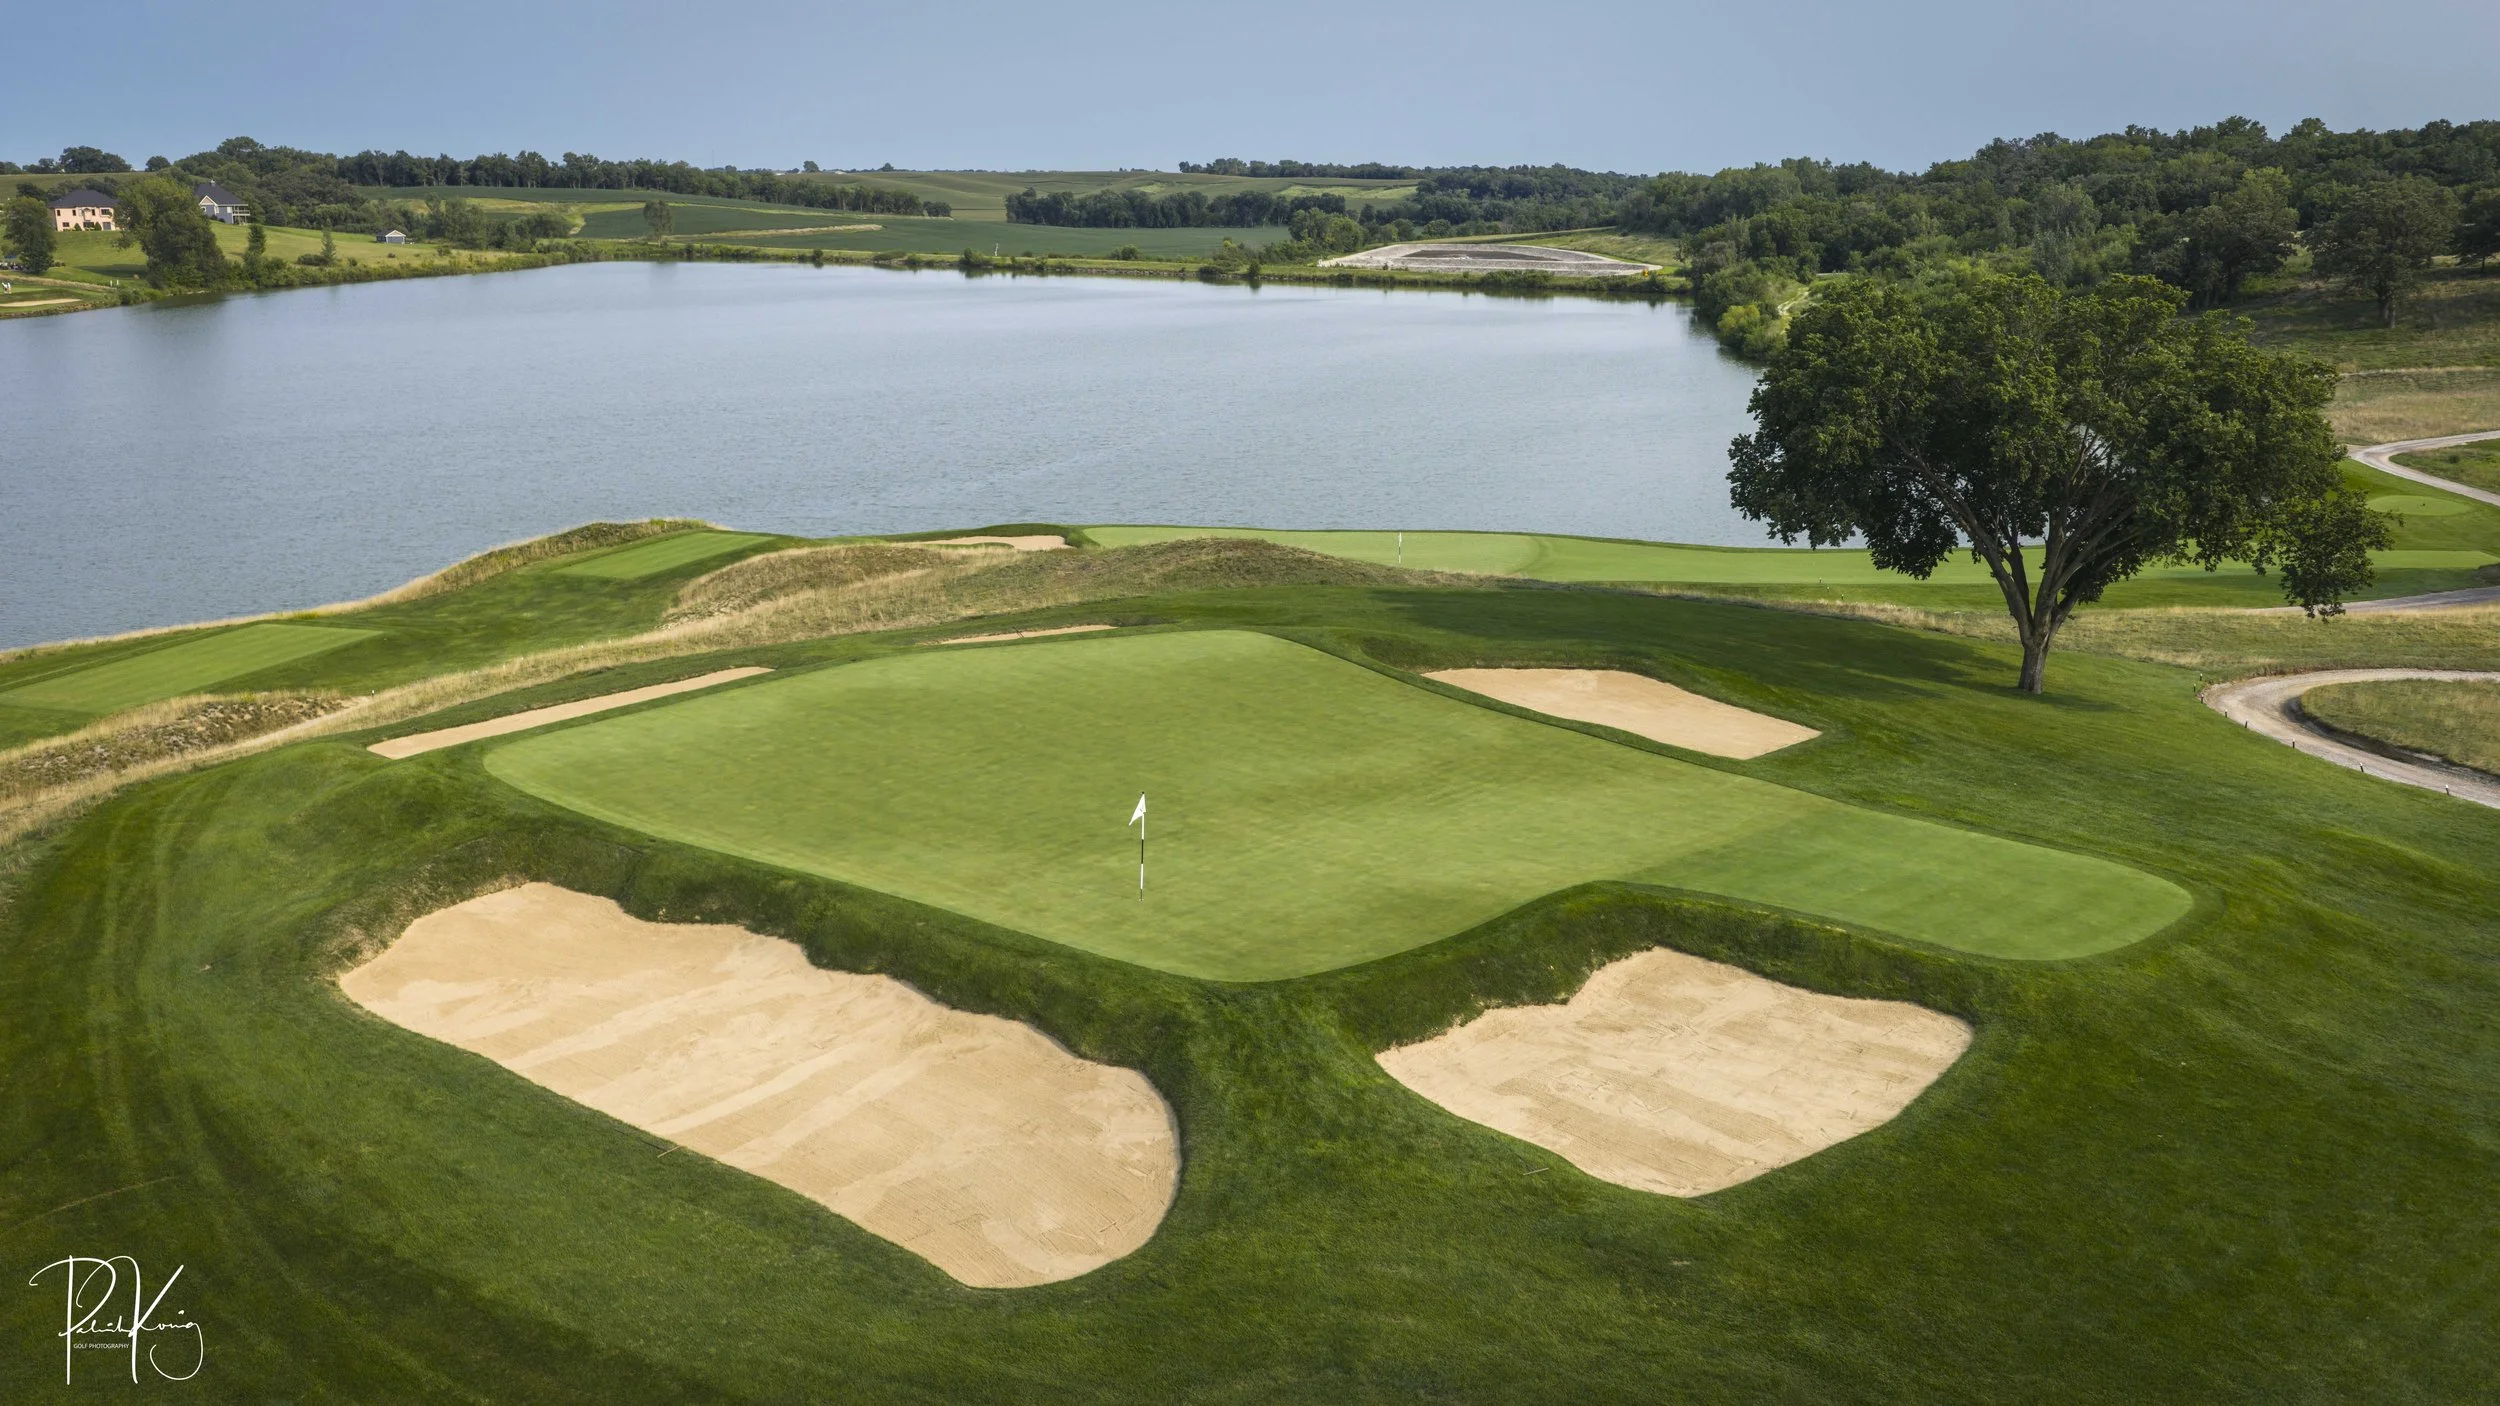
Hole #15 - Big Hog - Par 5 - 650 yards
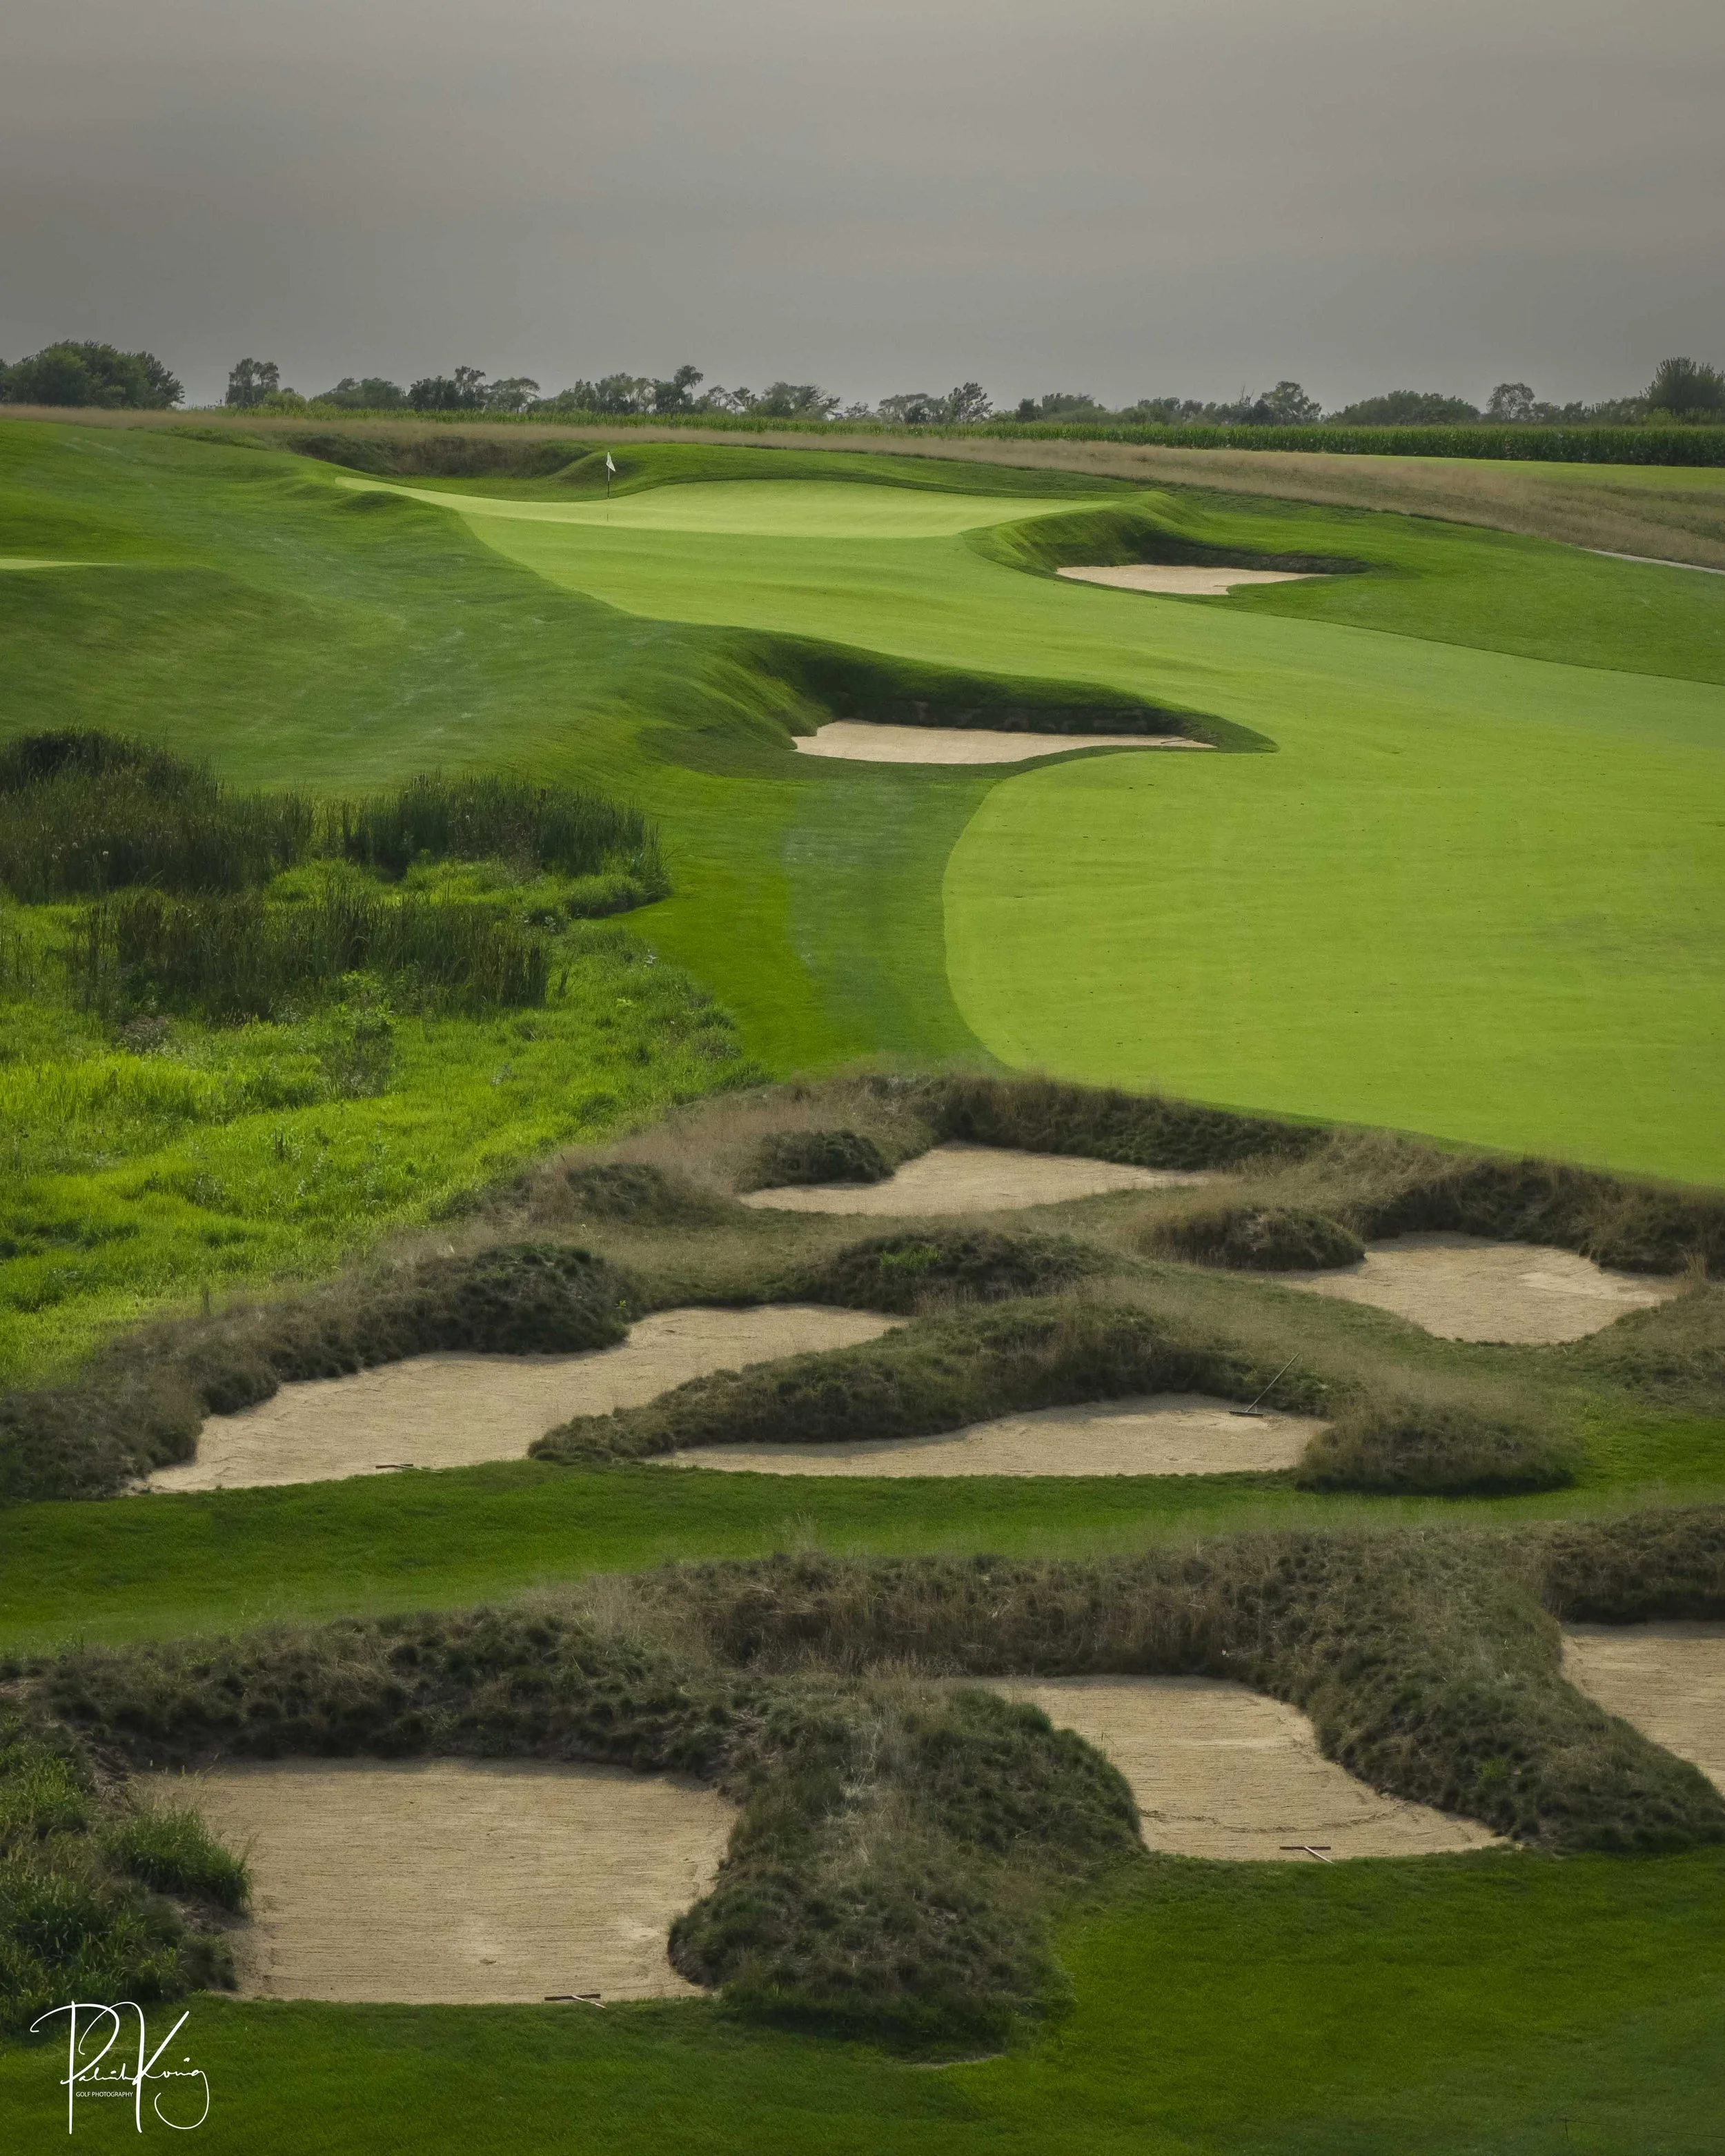
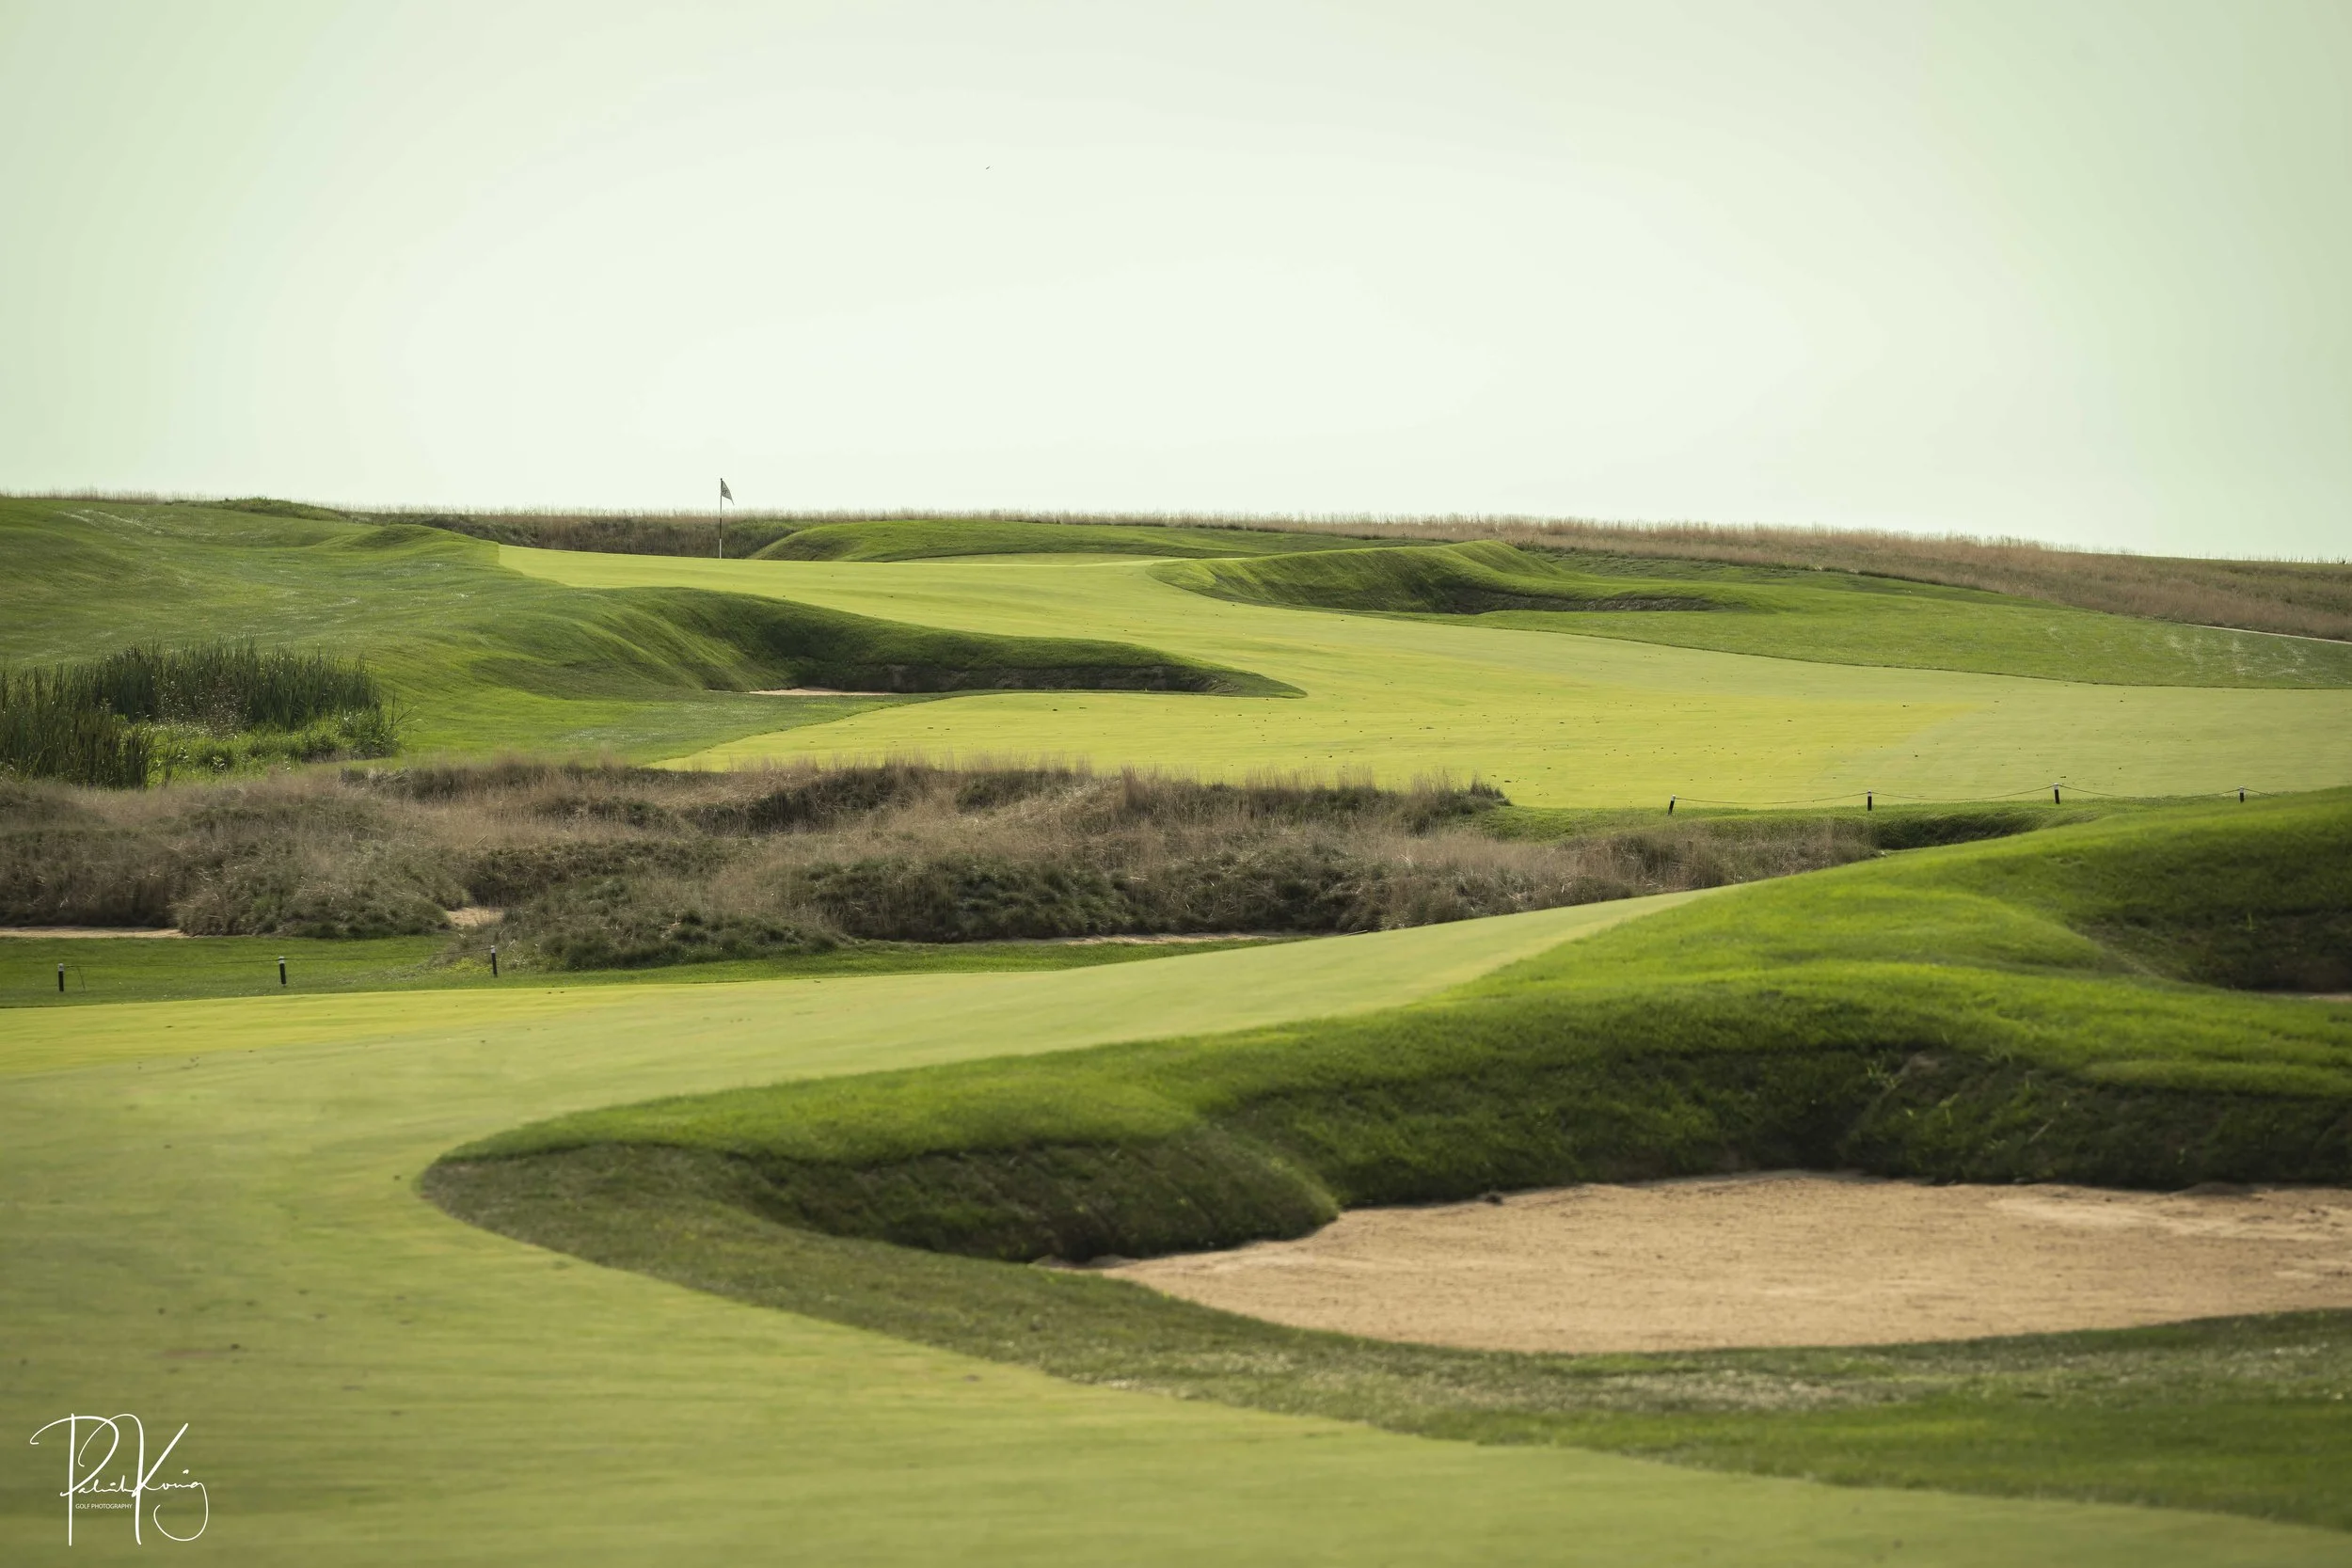
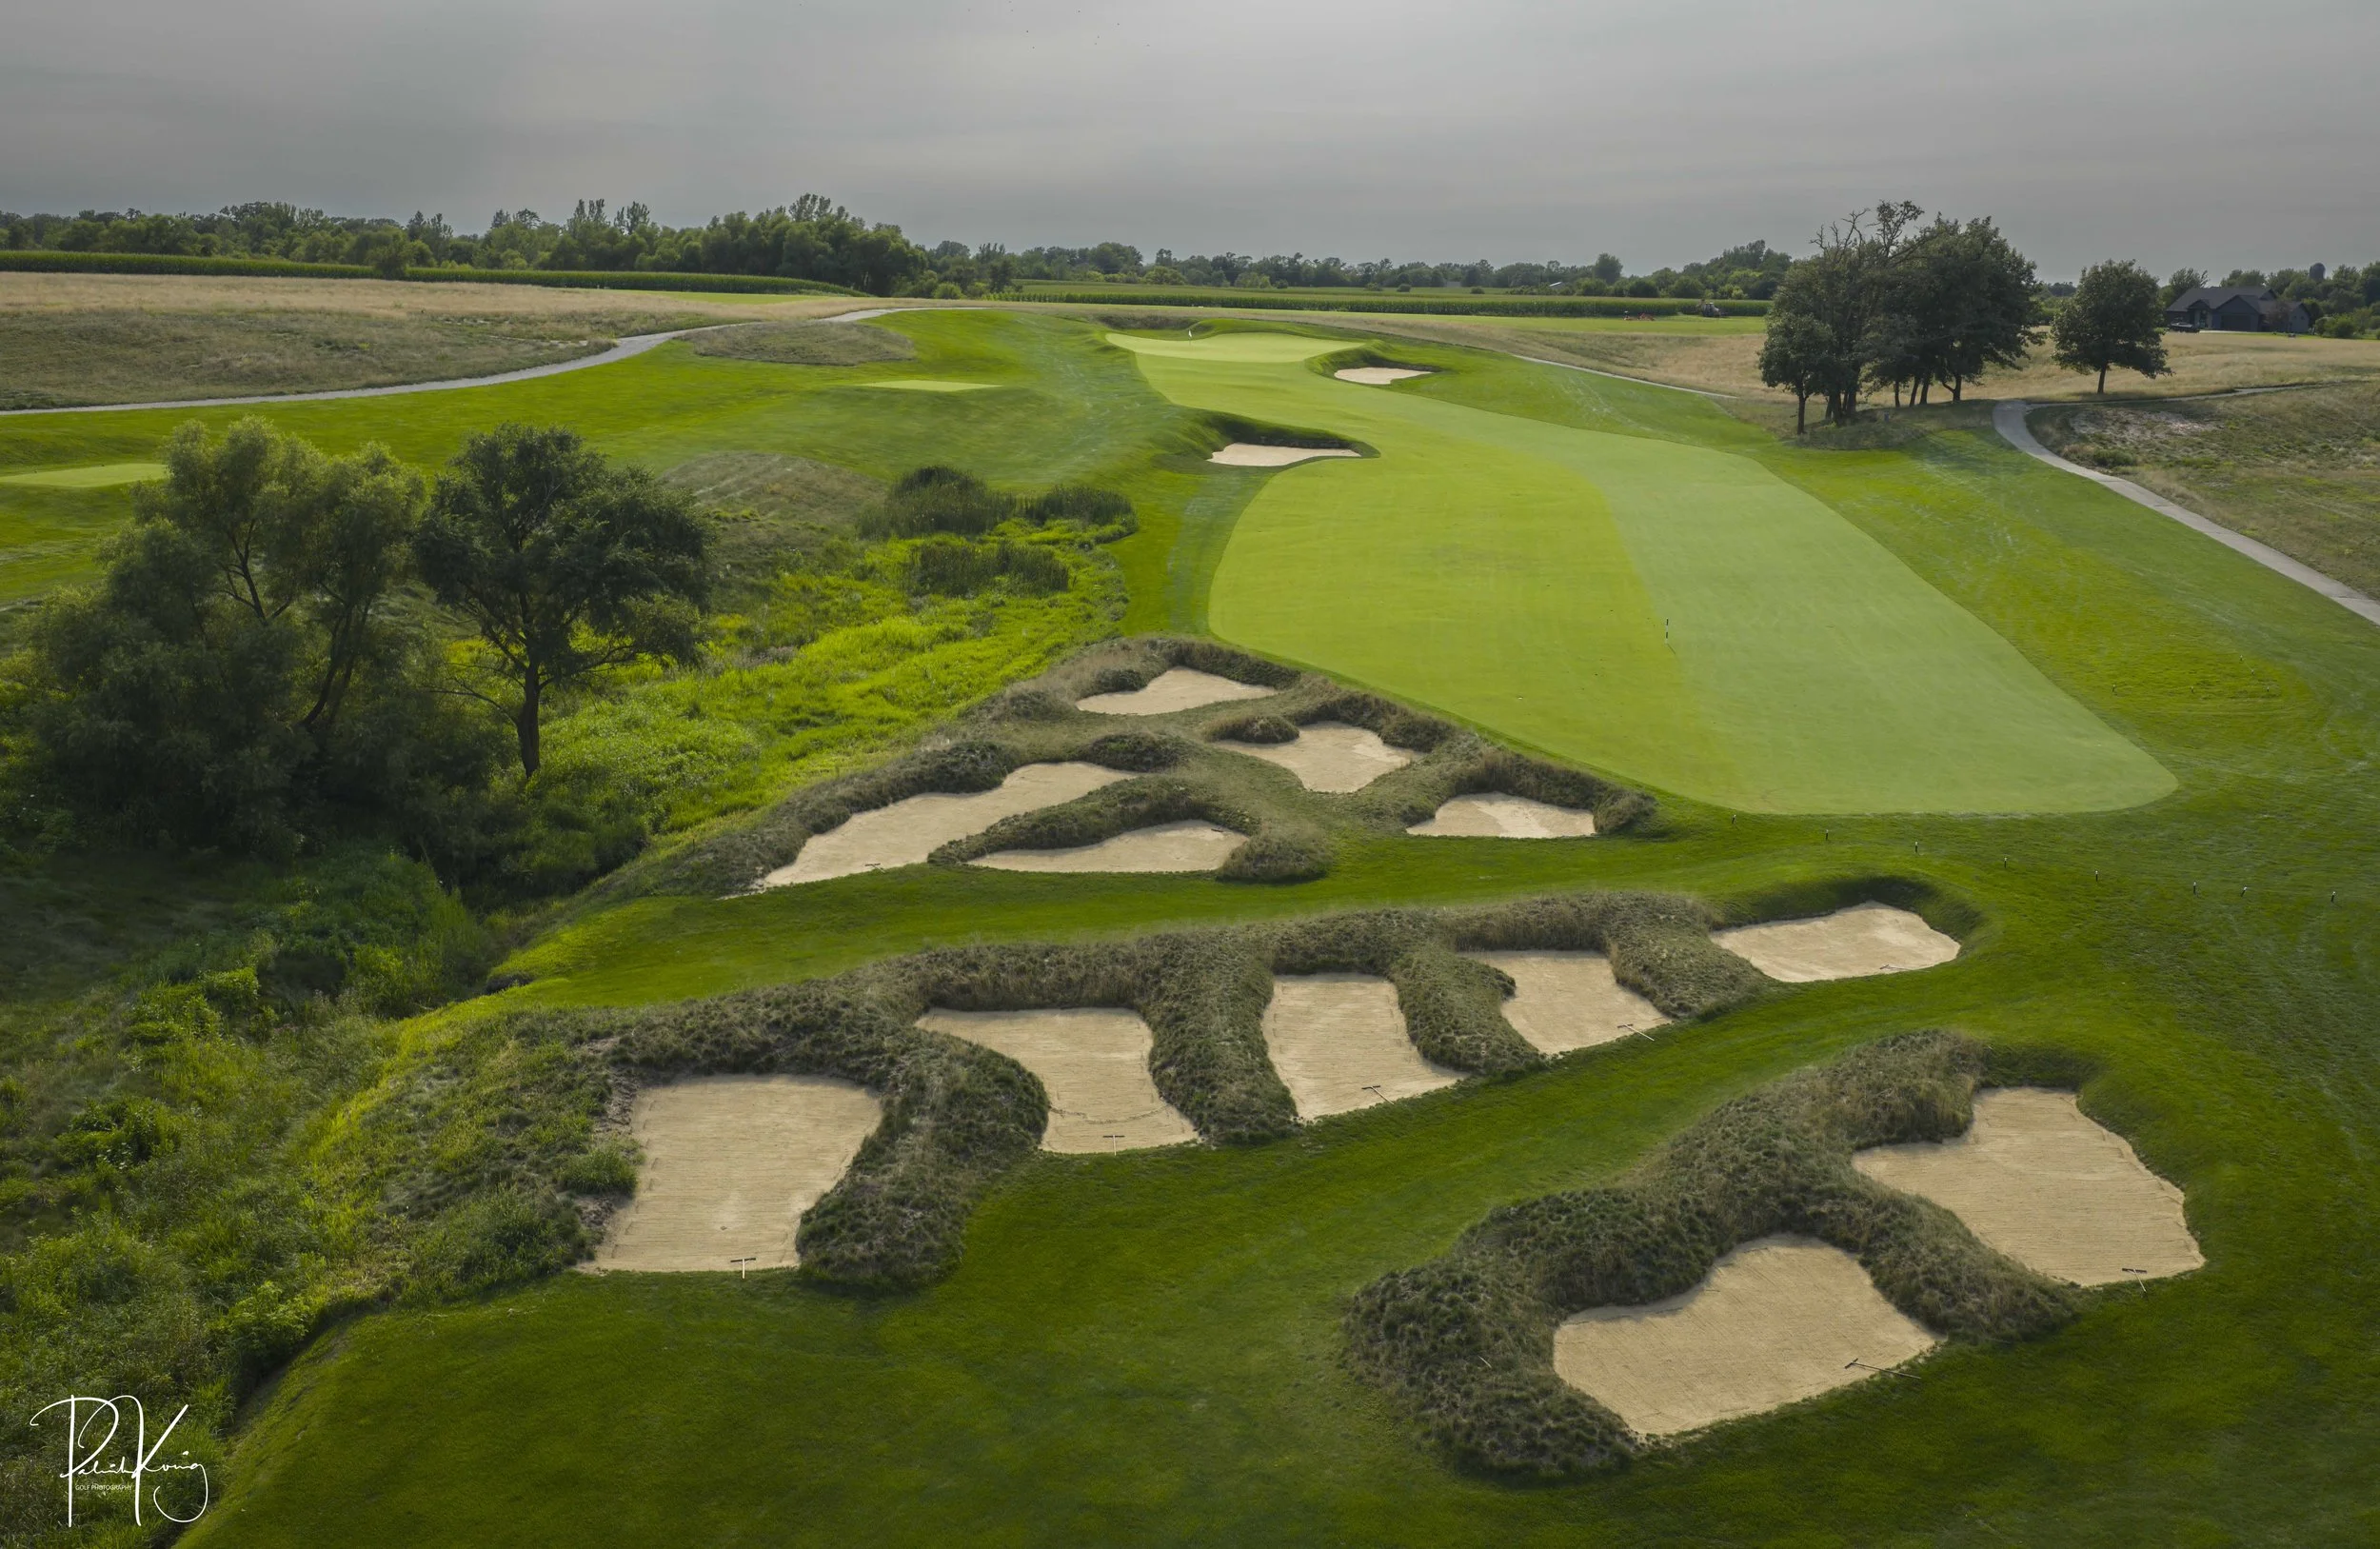
The “Big Hog” at Harvester is the most noteworthy hole on the golf course. At 650 yards, this monster is a real bruiser and a true 3 shot hole. Usually the lay up shot on a par 5 is rather uninteresting, but the 15th at Harvester provides a visual spectacle. Golfers are required to navigate the massive bunker complex which feels like an ode to Hells Half acre at Pine Valley. It’s a beautiful beast of a bunker complex that compliments this monstrous par 5 perfectly.
Hole #16 - The High Road - Par 4 - 518 yards
The 16th hole doesn’t play as long as the yardage indicates as the hole plays significantly downhill. The fairway is wide and a pair of bunkers guards the left and right sides of the green.
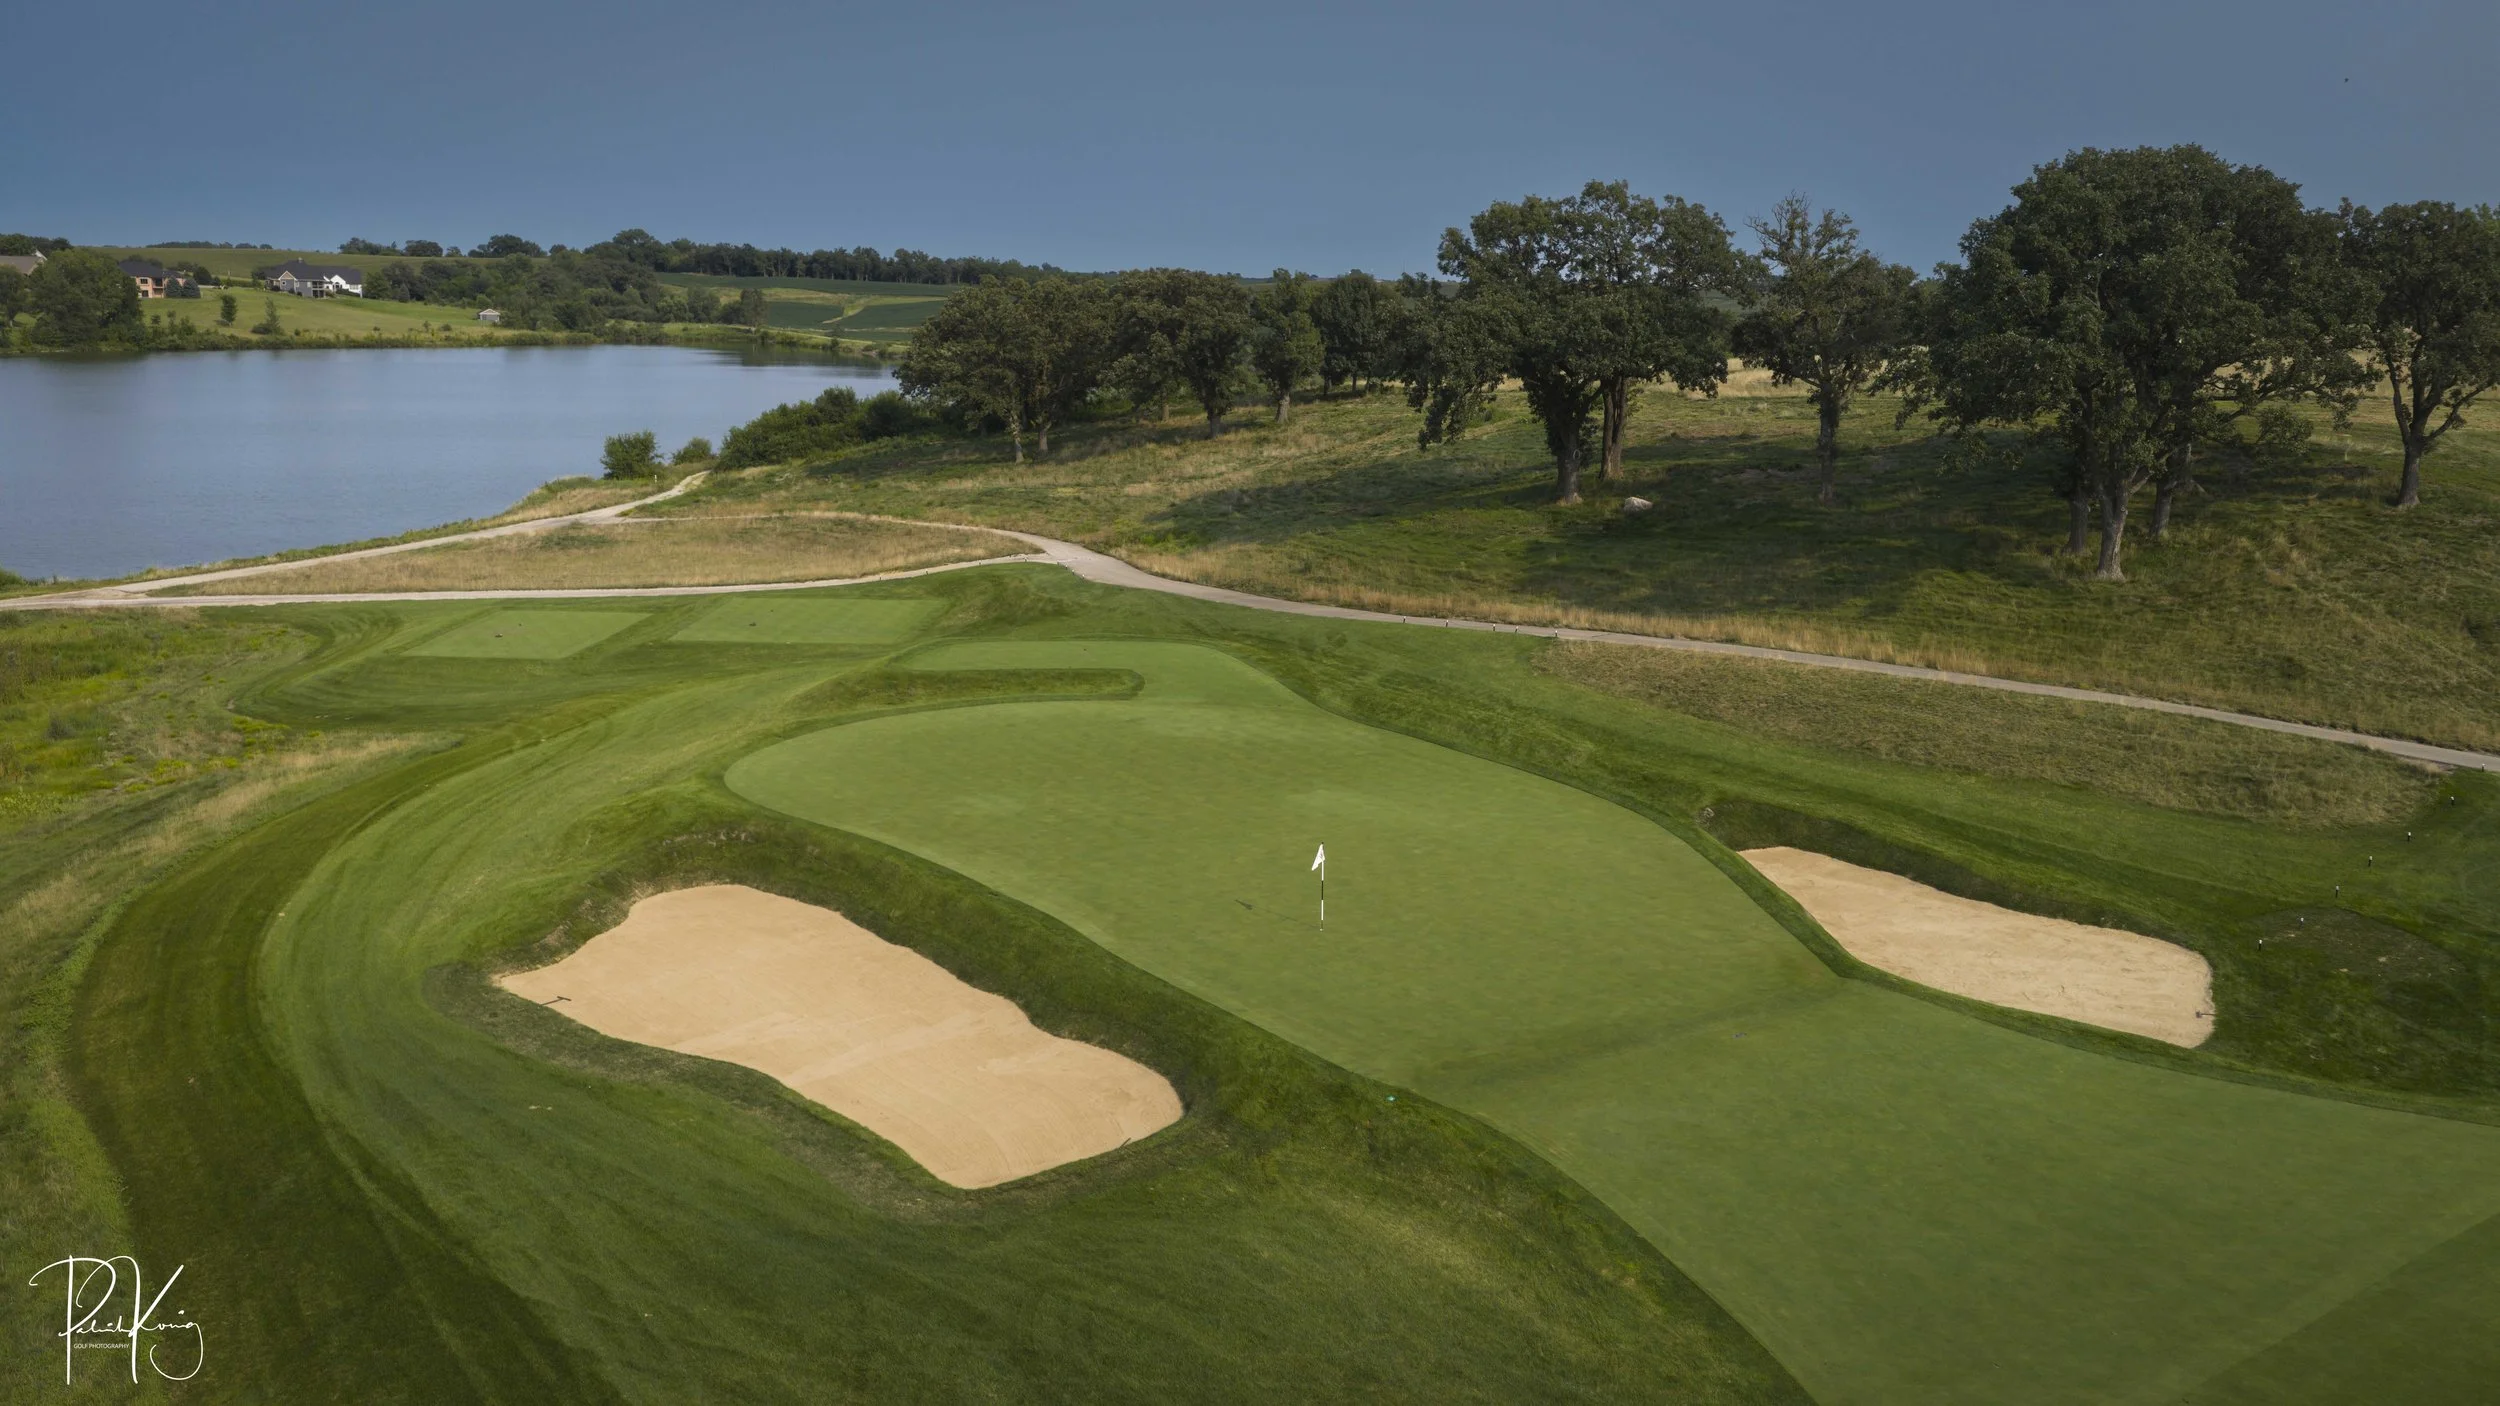
Hole #17 - The Thresher - Par 3 - 188 yards
The golfer gets up close and personal with Lake Harvester on the final two holes. Depending on the pin position, this par 3 can provide a good opportunity for birdie or cause a big score late in the round. It’s another great time to bust out the butter fade.
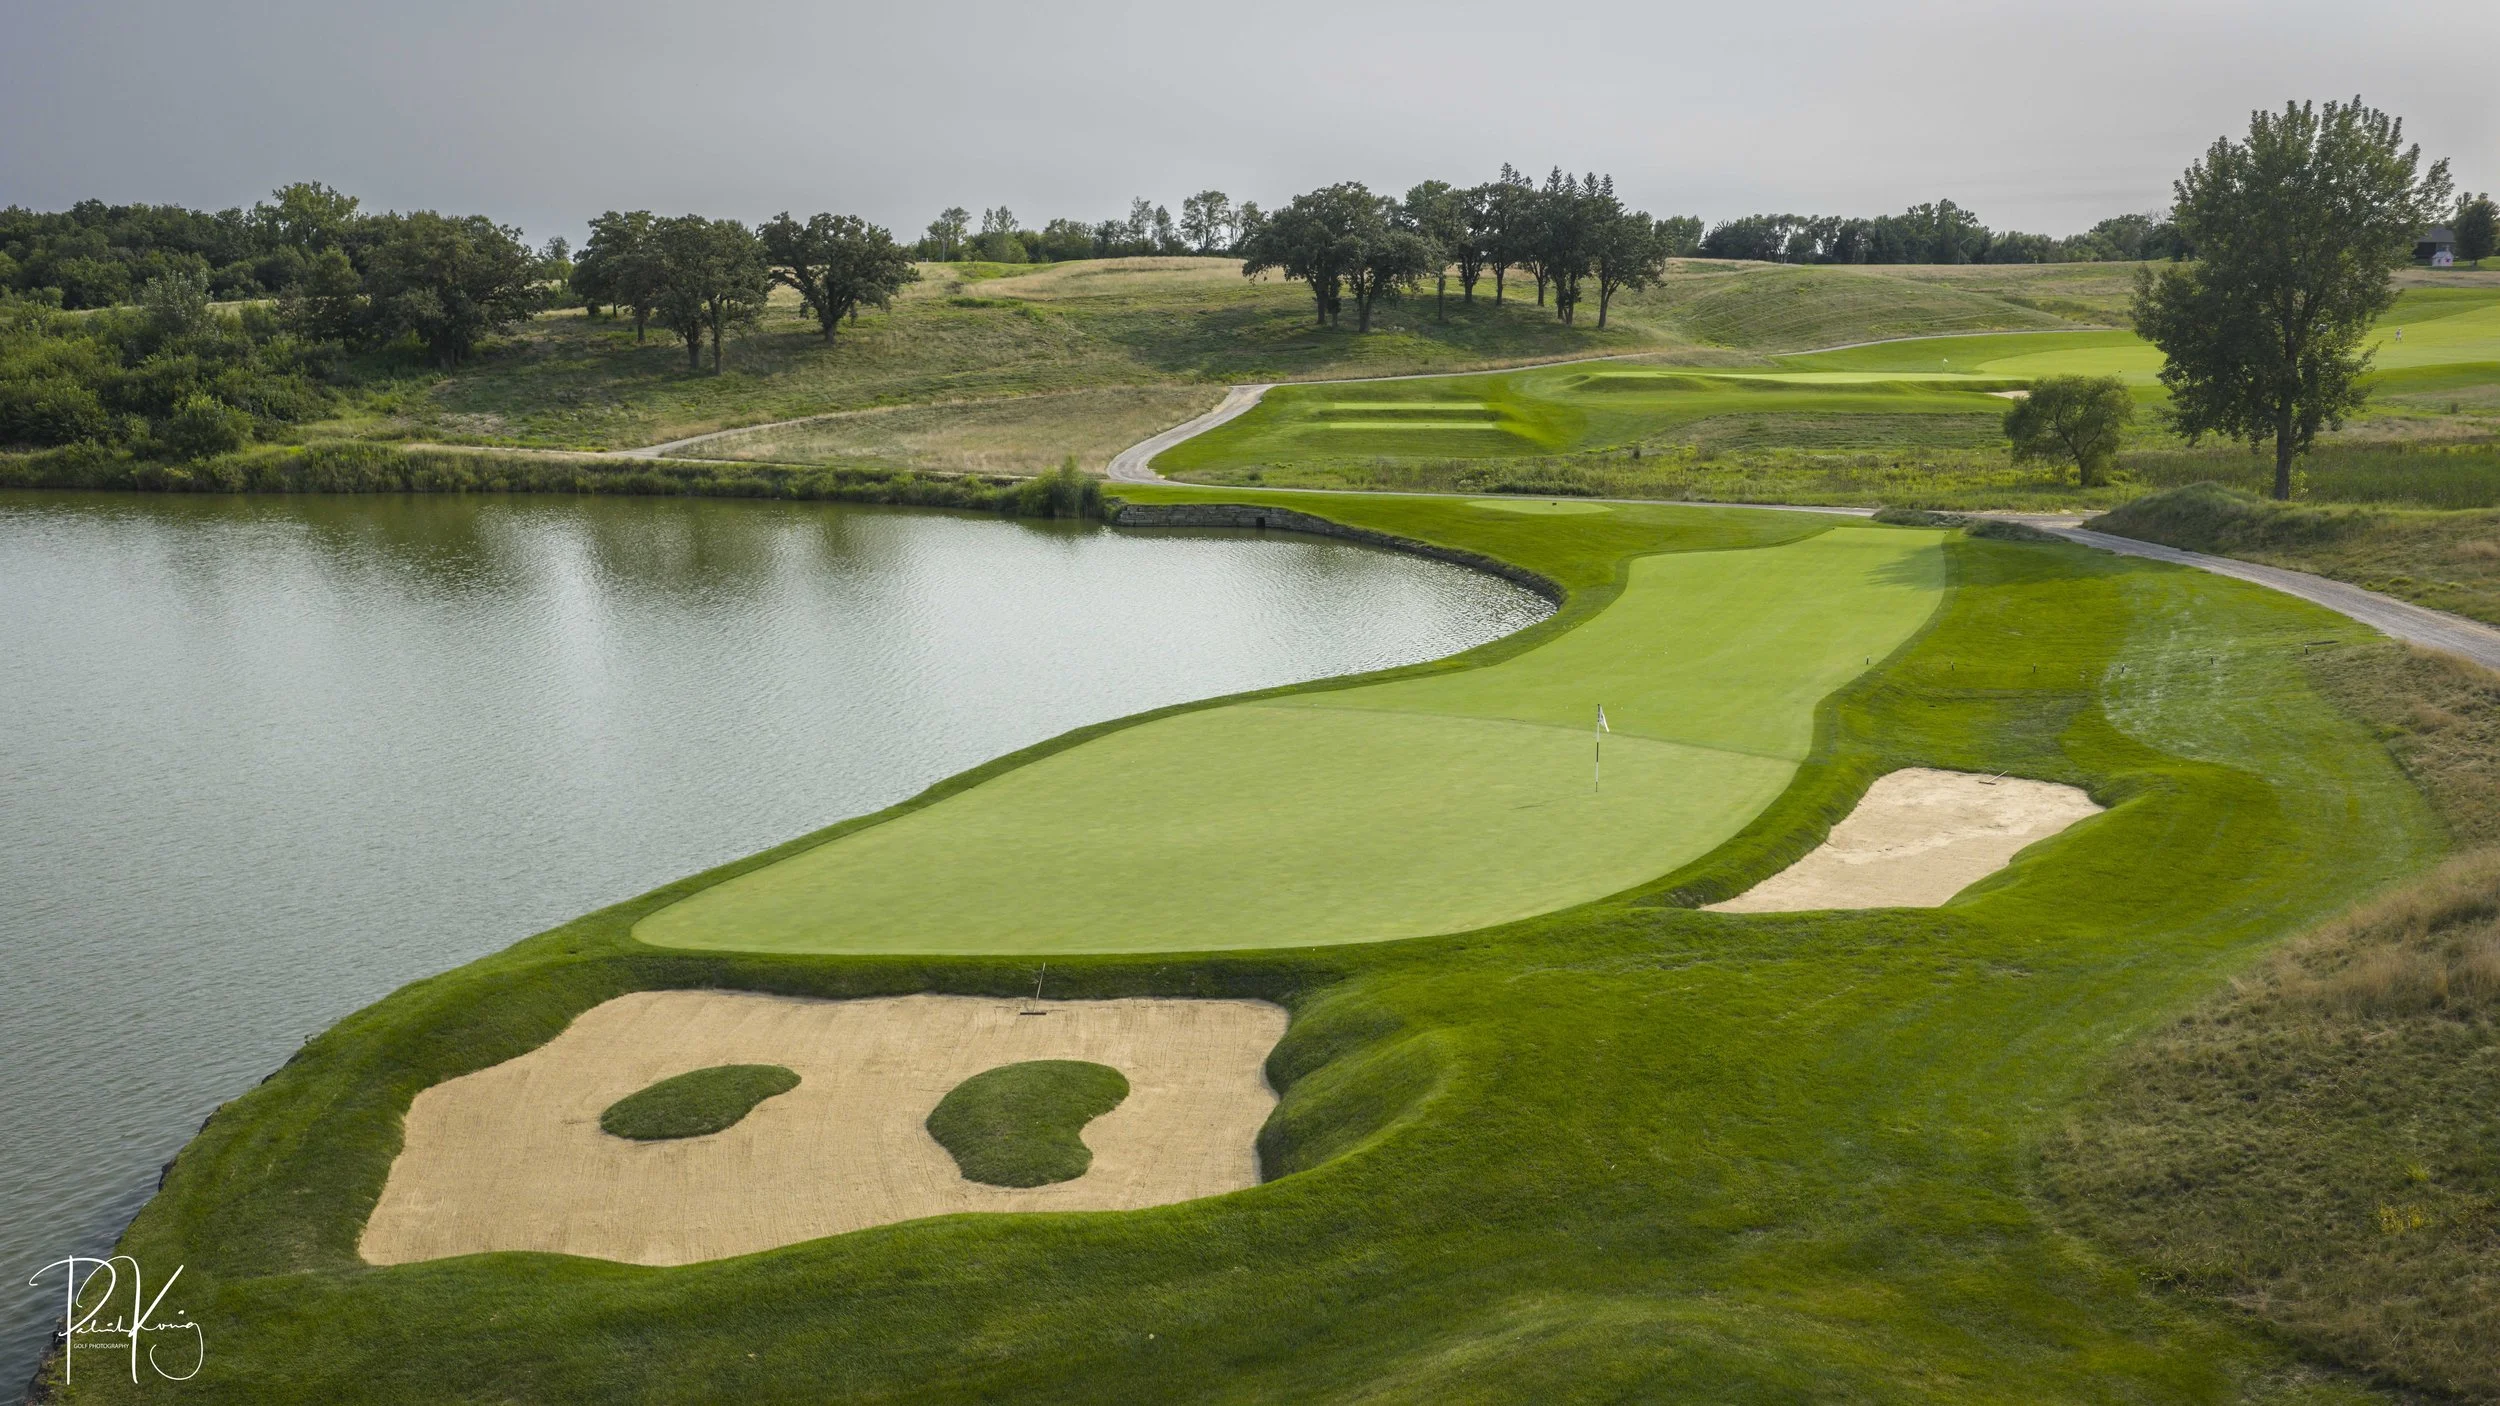
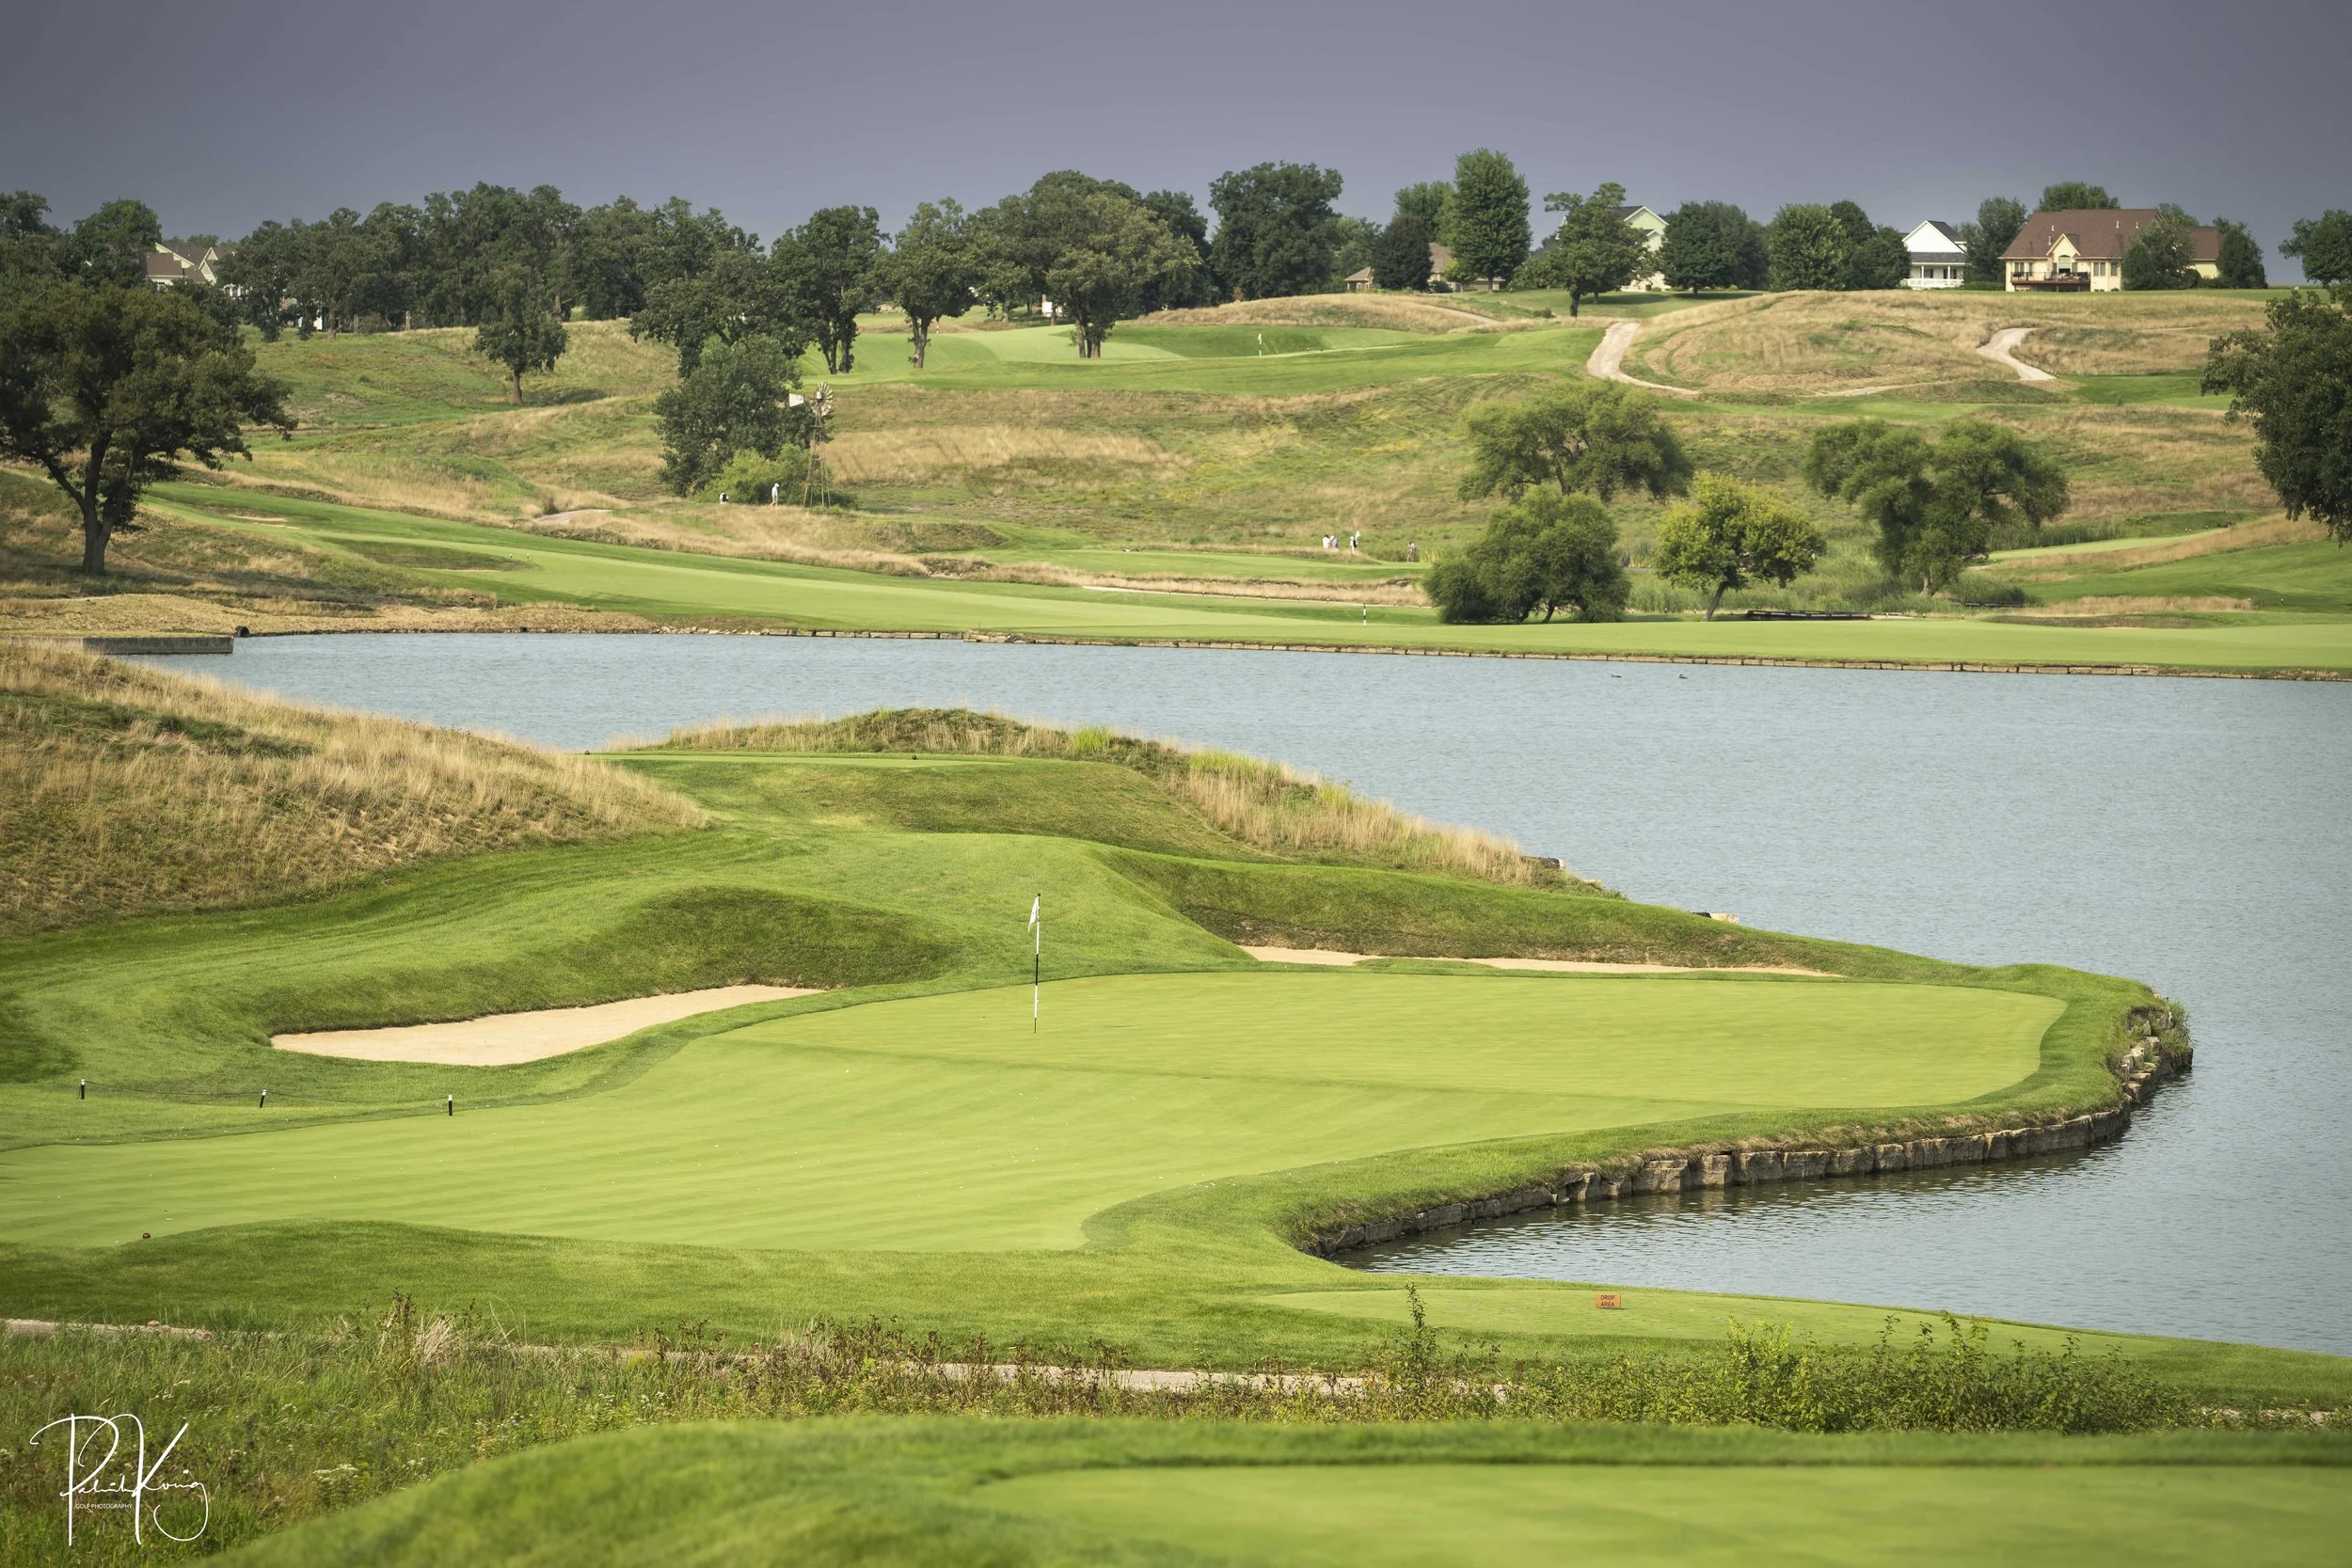
Hole #18 - Promised Land - Par 5 - 560 yards
A good drive that hugs that hazard can open up an opportunity to reach this green in two shots. Only the boldest players will avoid Lake Harvester find the “promised land” and putt for eagle. Most golfers will require 3 shots and have a short iron or a wedge into the final waterfront green.